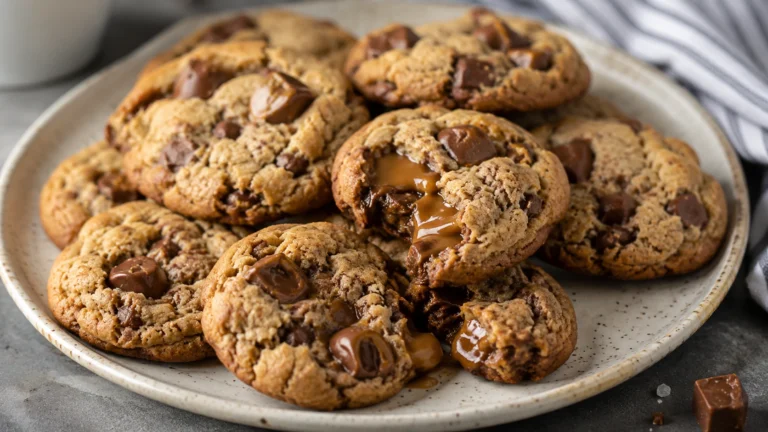
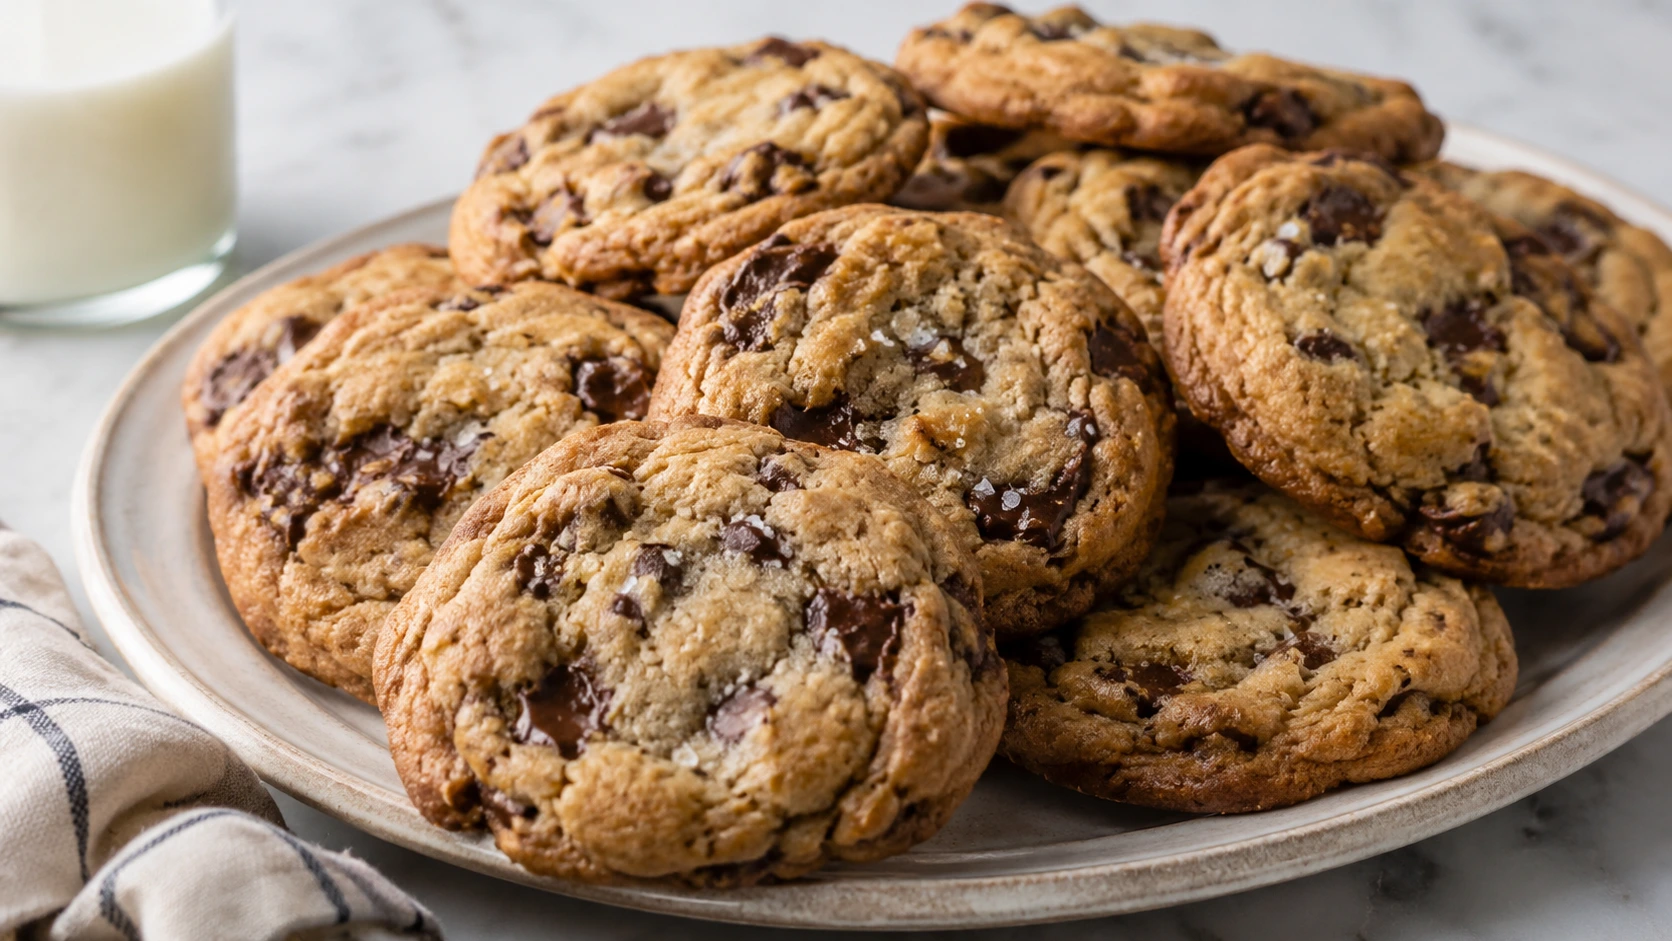
New York Times Chocolate Chip Cookie Recipe That’s Worth the Wait

The secret to a great New York Times Chocolate Chip Cookie Recipe is not just the ingredients. It comes down to one step that many people want to skip: letting the dough rest.
The first time I made these cookies, I almost baked them right away. Waiting more than a day for cookies sounded unnecessary. After testing batches at different times, I understood why this recipe became famous. The cookies baked after a long rest had deeper flavor, crisp edges, and soft, chewy centers that the first batch simply couldn’t match.
This version keeps everything people love about the original while also explaining why each step matters. You’ll learn what the two-flour blend does, whether specialty chocolate is worth buying, how to avoid flat cookies, and which substitutions still give great results. If you’ve been searching for a cookie that’s thick, rich, and loaded with chocolate, you’re in the right place.
What Is the New York Times Chocolate Chip Cookie Recipe?
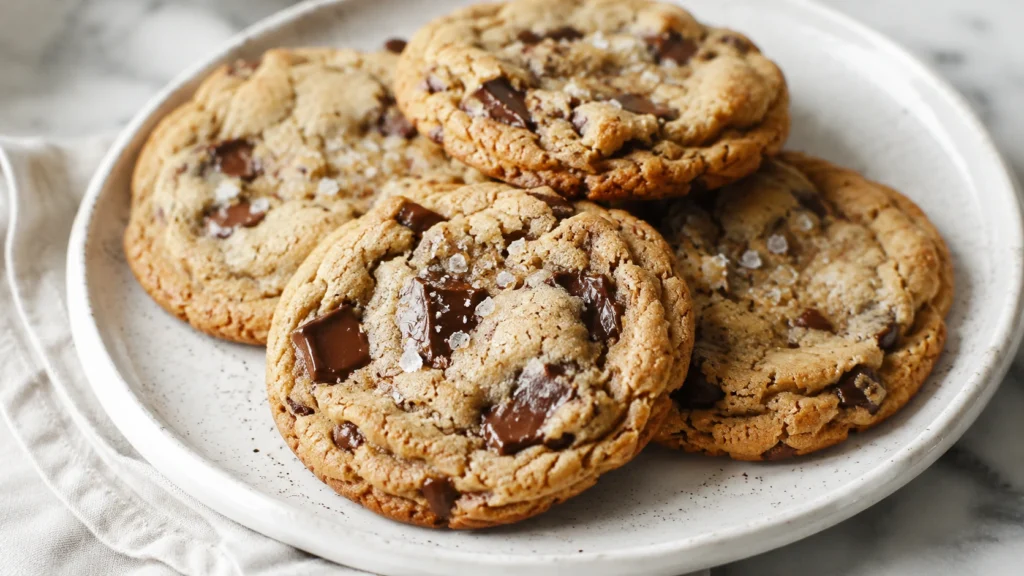
The New York Times Chocolate Chip Cookie Recipe is a homemade chocolate chip cookie made with cake flour, bread flour, butter, sugar, eggs, vanilla, and bittersweet chocolate. It is known for its chewy center, crisp edges, and a dough that rests for 24 to 72 hours before baking. The long chill creates deeper flavor and a better texture.
The recipe became famous after food writer David Leite shared it in The New York Times in 2008. The original formula was based on techniques from pastry chef Jacques Torres, who used a mix of specialty ingredients and a long dough-resting period.
Unlike many everyday cookie recipes, this one focuses on patience. Instead of baking the dough right away, you refrigerate it so the flour absorbs moisture and the flavors have time to develop. The result is a cookie with rich caramel notes, pools of melted chocolate, crisp golden edges, and a soft center that stays chewy for days.
Why This New York Times Chocolate Chip Cookie Recipe Is Worth Making
Some cookie recipes are perfect for a quick weeknight dessert. This isn’t one of them.
This recipe asks for cake flour, bread flour, and a full day—or longer—of chilling. It also works best with good-quality bittersweet chocolate instead of regular chips. That means a little more planning and a slightly higher grocery bill.
The payoff is easy to taste. The cookies bake up thick instead of flat, develop a rich caramel flavor, and stay soft inside while the edges become lightly crisp. If you’re baking for holidays, gifts, parties, or simply want the best homemade chocolate chip cookies you’ve ever made, the extra effort is worth it.
Recipe Overview
| Detail | Information |
|---|---|
| Prep Time | 20 minutes |
| Cook Time | 18–20 minutes |
| Dough Chill | 24–72 hours |
| Total Time | About 1 day 40 minutes (minimum) |
| Servings | 18 large cookies |
| Difficulty | Medium |
| Cuisine | American |
| Calories | About 450–500 per large cookie (estimate) |
| Estimated Cost | About $14–18 for one batch |
Is This Recipe Worth the Extra Cost?
One thing many recipes never mention is that this cookie costs more than a typical chocolate chip cookie.
The two specialty flours and better chocolate increase the price, especially if you don’t already keep them in your pantry. If you’re making cookies every week, a simple recipe with all-purpose flour may fit your budget better.
For birthdays, holidays, bake sales, or special weekends, I think this version earns its reputation. The difference in flavor and texture is noticeable enough that most people can tell these aren’t ordinary cookies.
| Ingredient | Standard Chocolate Chip Cookies | New York Times Version |
|---|---|---|
| Flour | All-purpose flour | Cake flour + bread flour |
| Chocolate | Regular chocolate chips | Bittersweet chocolate discs or good-quality chips |
| Rest Time | Usually none | 24–72 hours |
| Average Cost | $8–10 | $14–18 |
| Texture | Soft | Thick, chewy center with crisp edges |
| Flavor | Sweet | Rich, caramel-like, deeper chocolate flavor |
Ingredients and What Each One Does
Every ingredient in this recipe has a purpose. Instead of relying on one flour or one type of chocolate, each ingredient helps create the famous texture that made these cookies so popular.
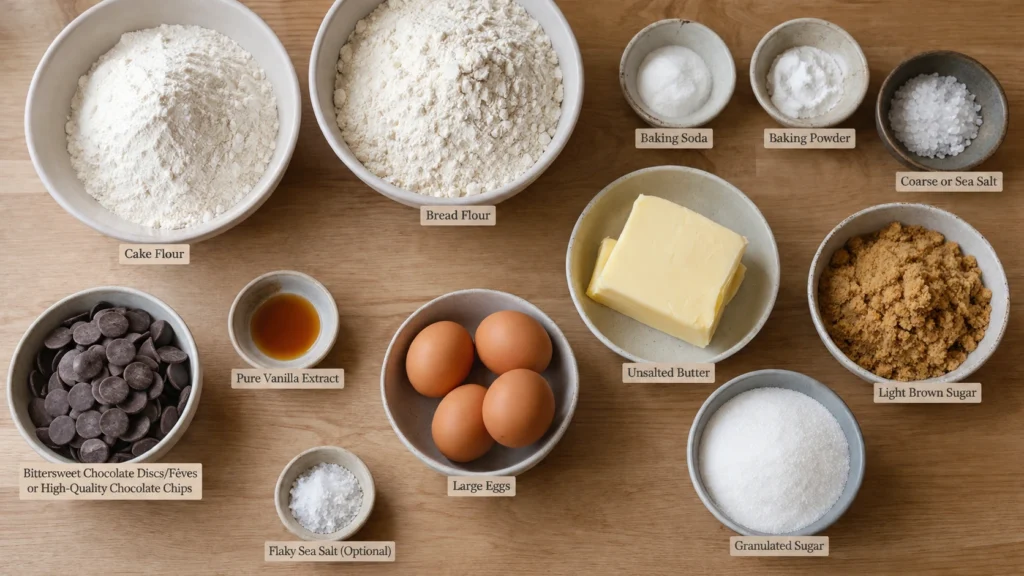
Main Ingredients
- Cake flour
- Bread flour
- Baking soda
- Baking powder
- Coarse or sea salt
- Unsalted butter
- Light brown sugar
- Granulated sugar
- Large eggs
- Pure vanilla extract
- Bittersweet chocolate discs, fèves, or high-quality chocolate chips
- Flaky sea salt (optional)
Why the Two-Flour Blend Matters
The mix of cake flour and bread flour is one of the biggest reasons these cookies stand out.
Cake flour keeps the cookies tender because it contains less protein. Bread flour adds extra protein, which creates more structure and gives the cookies their famous chewy bite. Using only one flour changes the final texture.
Why Good Chocolate Makes a Difference
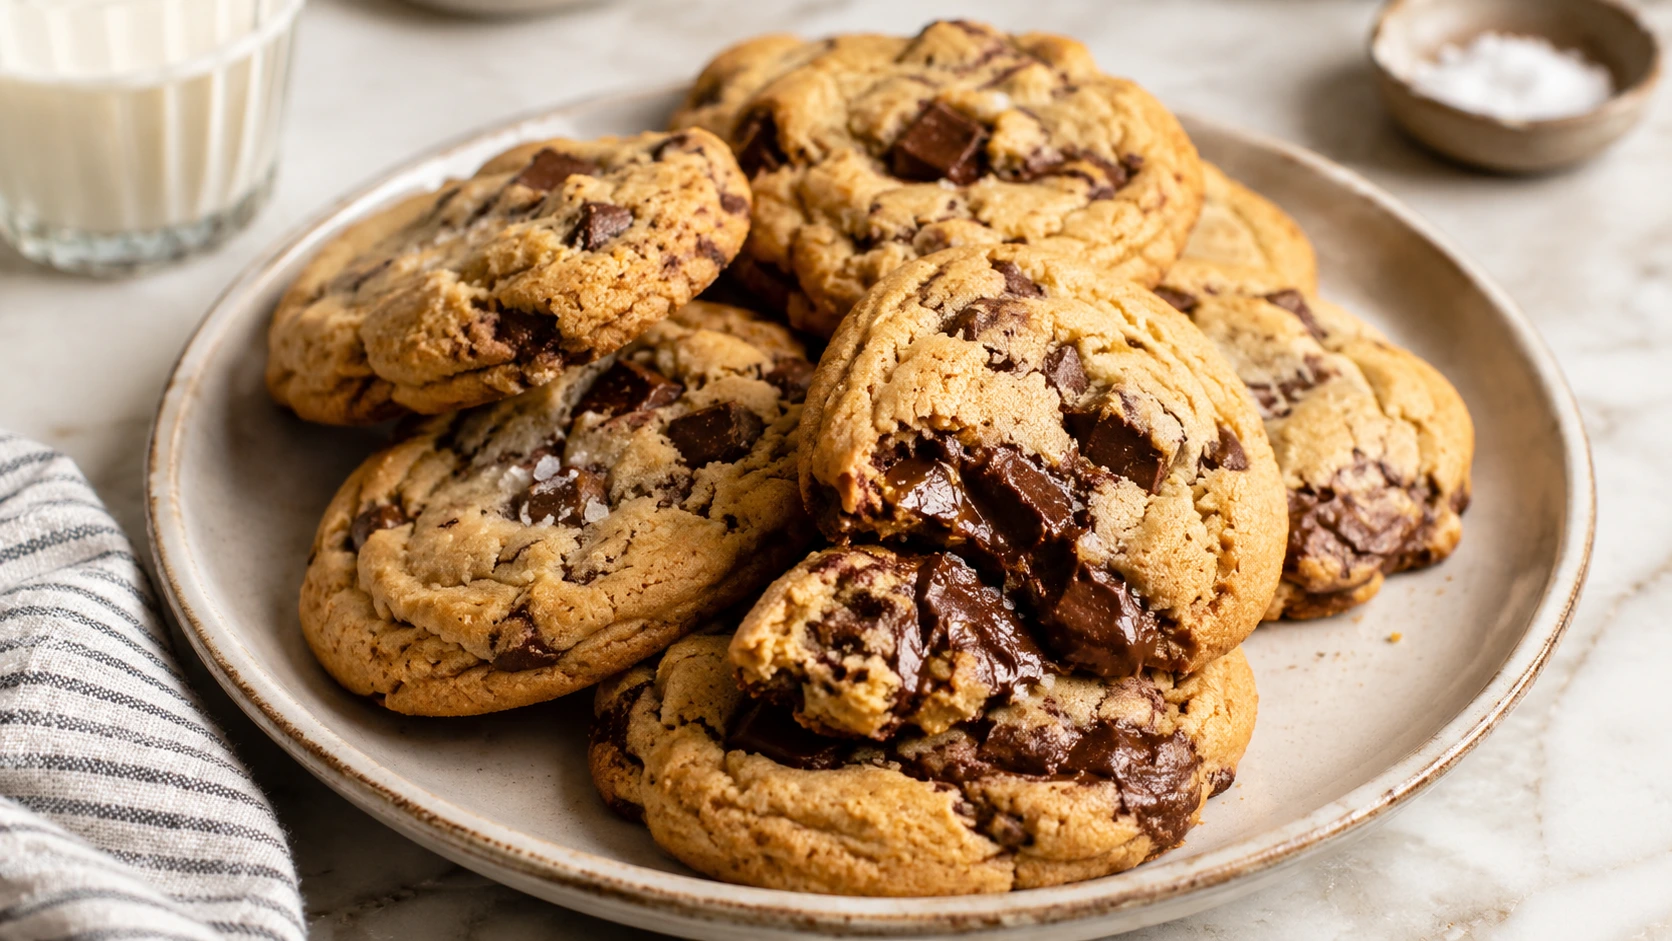
This recipe shines when made with bittersweet chocolate discs or couverture chocolate. They contain more cocoa butter than regular chocolate chips, so they melt into large chocolate pockets instead of holding their shape.
If you can’t find chocolate discs, high-quality bittersweet chocolate chips work very well. Regular semi-sweet chips are still a good option, but the finished cookies won’t have quite the same melted look.
Why Brown Sugar Is Important
Brown sugar adds moisture and helps create the soft center. Granulated sugar encourages crisp edges. Together, they create the balance that makes these cookies chewy inside but lightly crisp outside.
Ingredient Substitutions That Actually Work
Not everyone has access to specialty baking ingredients. These swaps still produce delicious cookies, although the texture may change slightly.
| Original Ingredient | Best Substitute | Ratio | What Changes |
|---|---|---|---|
| Cake flour | All-purpose flour + cornstarch | 1 cup cake flour = 1 cup AP flour minus 2 tablespoons, plus 2 tablespoons cornstarch | Slightly less tender |
| Bread flour | All-purpose flour | 1:1 | Slightly less chewy |
| Bittersweet chocolate discs | Good-quality bittersweet chocolate chips | 1:1 | Smaller chocolate pools |
| Flaky sea salt | Fine sea salt | Use less | Less crunch on top |
| Unsalted butter | Salted butter | 1:1 | Reduce added salt slightly |
Why the Dough Needs to Rest
Many recipes simply tell you to chill the dough. This recipe has a good reason.
As the dough sits in the refrigerator, the flour slowly absorbs moisture from the butter and eggs. This creates a firmer dough that spreads less during baking. At the same time, natural enzymes continue breaking down some of the starches into sugars. That creates a deeper caramel flavor and better browning in the oven.
The longer rest also gives the vanilla, butter, and chocolate more time to blend together. Instead of tasting each ingredient separately, the finished cookie tastes richer and more balanced.
Dough Rest Timeline
| Chill Time | What Happens | Final Cookie |
|---|---|---|
| 12 hours | Dough firms slightly | Good, but still fairly simple in flavor |
| 24 hours | Moisture spreads evenly through the dough | Chewier texture with better flavor |
| 36 hours | Flavors deepen even more | Rich caramel notes and the classic bakery-style texture |
| 72 hours | Maximum flavor development | Deepest flavor with the best balance of crisp edges and chewy centers |
Equipment Notes for Better Results
A few simple tools make this recipe much more consistent.
A digital kitchen scale is the biggest upgrade you can make. Flour measurements vary a lot when using cups, and even a little extra flour can make the dough dry.
Heavy aluminum baking sheets also help the cookies bake more evenly than thin, dark pans. Line them with parchment paper instead of greasing the pan. A medium cookie scoop keeps every dough ball the same size, so all of the cookies finish baking at the same time.
How to Make the New York Times Chocolate Chip Cookie Recipe Step by Step
Making these cookies isn’t difficult, but the timing matters. Mix the dough, let it rest, then bake it straight from the refrigerator. The dough should feel firm before it goes into the oven. That helps the cookies keep their thick shape while baking.
1. Mix the Dry Ingredients
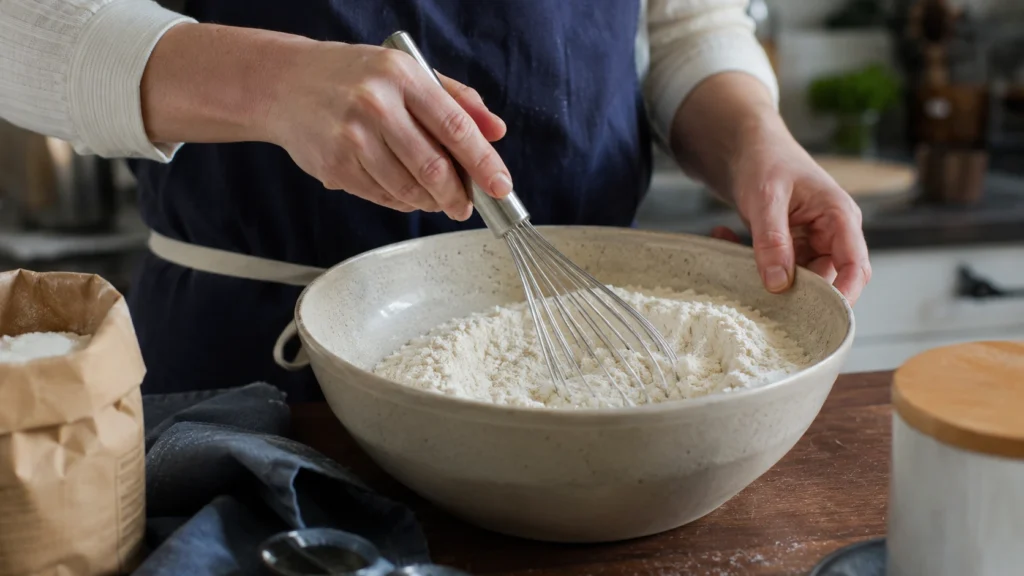
Whisk the cake flour, bread flour, baking soda, baking powder, and salt together in a bowl until everything looks evenly mixed.
This spreads the leavening ingredients evenly, so every cookie bakes the same way.
2. Cream the Butter and Sugars
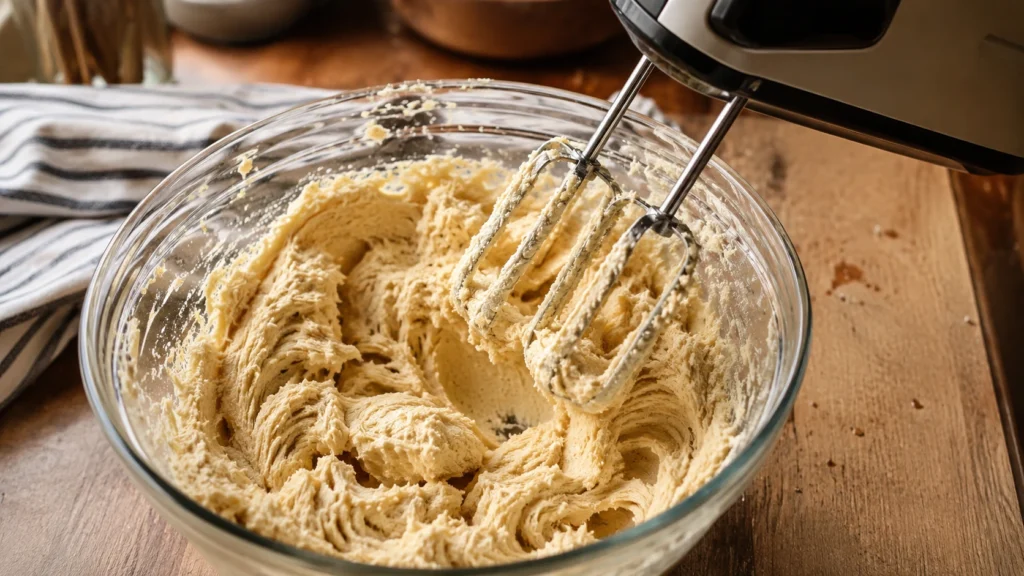
Beat the unsalted butter, light brown sugar, and granulated sugar for about 4 to 5 minutes until the mixture becomes pale and fluffy.
Don’t rush this step. Creaming adds tiny air pockets that help the cookies rise instead of becoming heavy.
Visual cue: The mixture should look lighter in color and almost creamy like frosting.
3. Add the Eggs and Vanilla
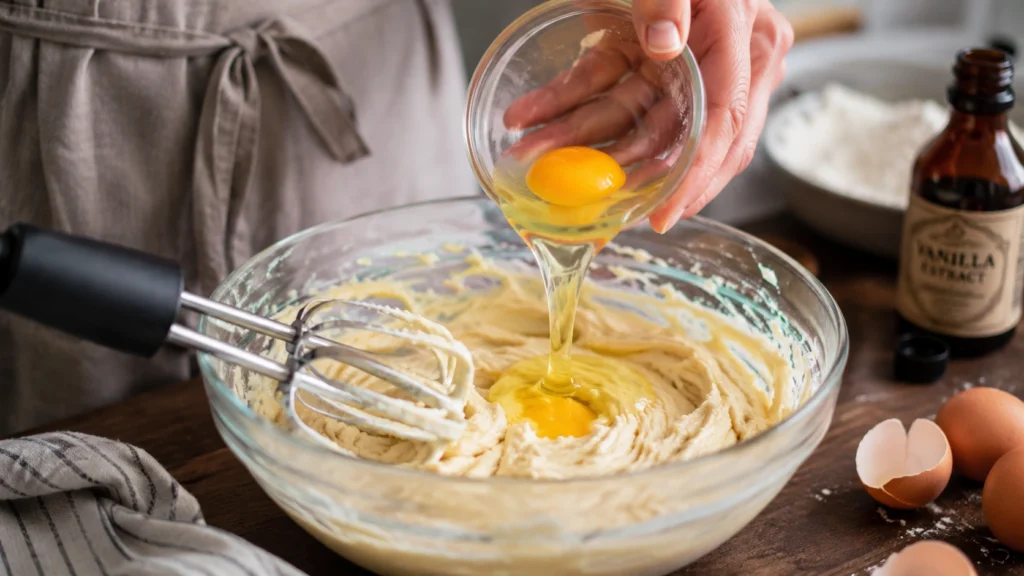
Mix in the eggs one at a time. Let each egg fully blend before adding the next. Stir in the vanilla extract.
This creates a smooth dough and keeps the butter from separating.
Visual cue: The batter should look silky with no streaks of egg.
4. Add the Flour Mixture
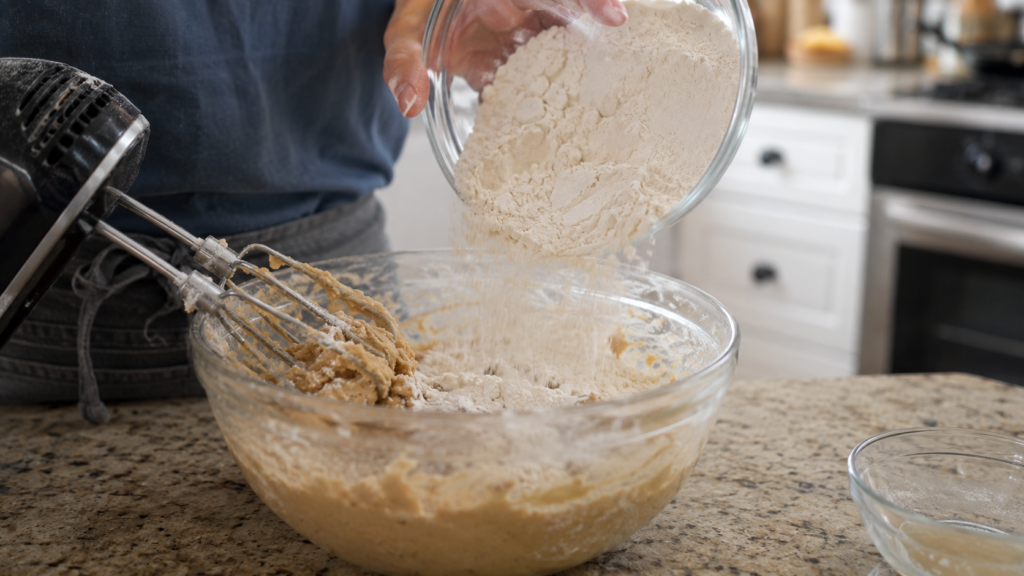
Reduce the mixer to low speed. Add the dry ingredients and mix only until you no longer see dry flour.
Overmixing develops too much gluten, making the cookies tougher instead of soft.
Visual cue: The dough should be thick with no loose flour in the bowl.
5. Fold in the Chocolate
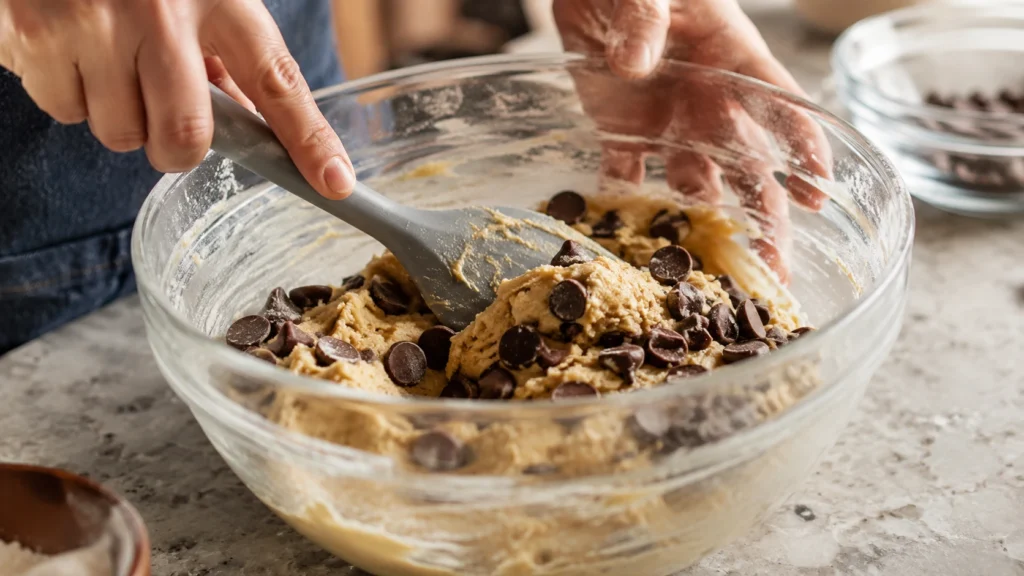
Use a spatula to gently fold in the bittersweet chocolate discs or chocolate chips.
If you’re using large chocolate discs, try not to break them. Bigger pieces create those beautiful melted chocolate pockets.
6. Scoop the Dough
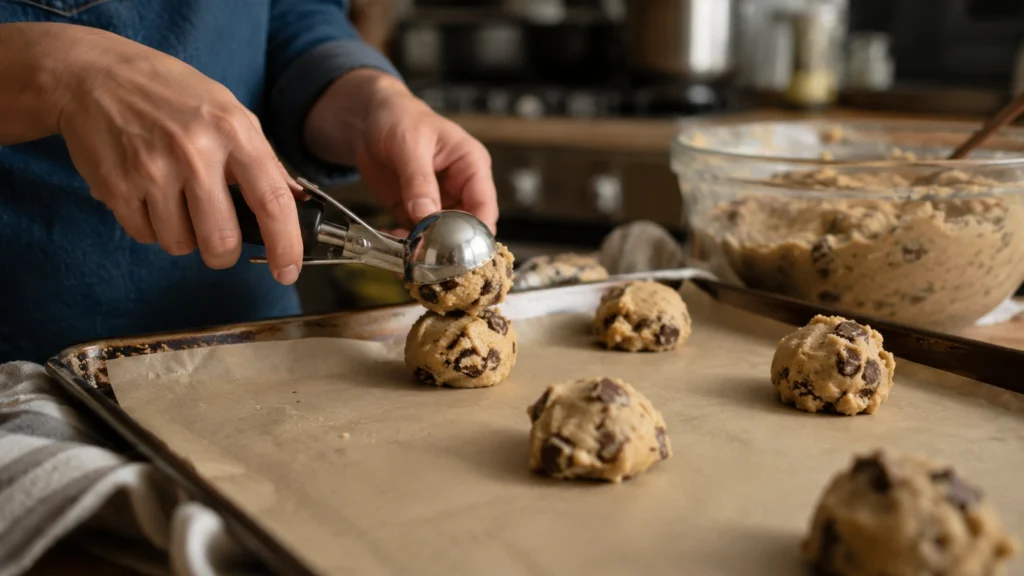
Use a cookie scoop or kitchen scale to divide the dough into even portions.
Large bakery-style cookies usually weigh about 3½ ounces each. If you don’t own a scale, each dough ball should be about the size of a generous golf ball.
7. Chill the Dough
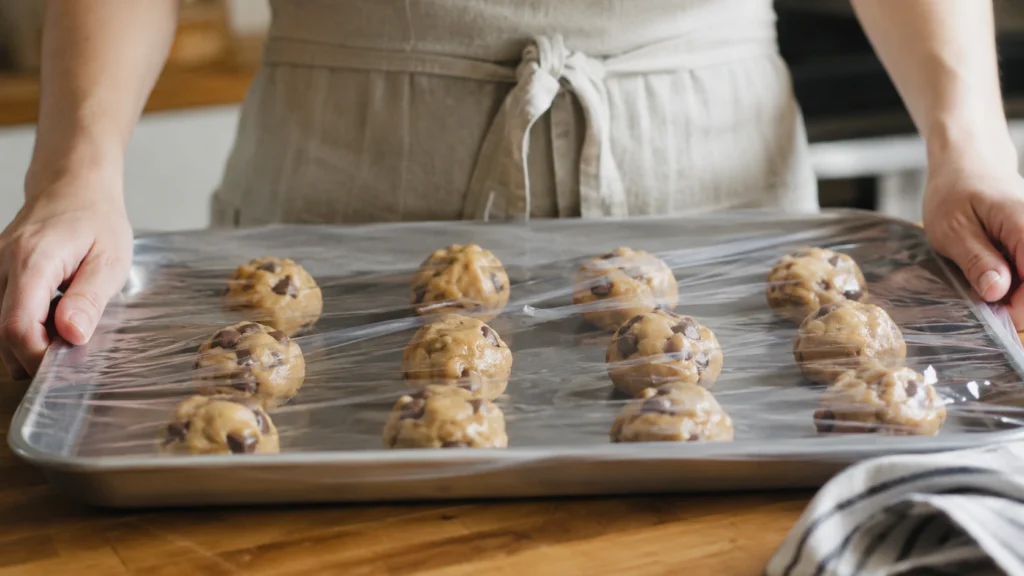
Place the dough balls on a tray, cover them with plastic wrap, and refrigerate for 24 to 36 hours. You can leave them up to 72 hours.
This is where the magic happens. The dough becomes firmer, the flavor deepens, and the cookies bake thicker with crisp edges.
8. Bake
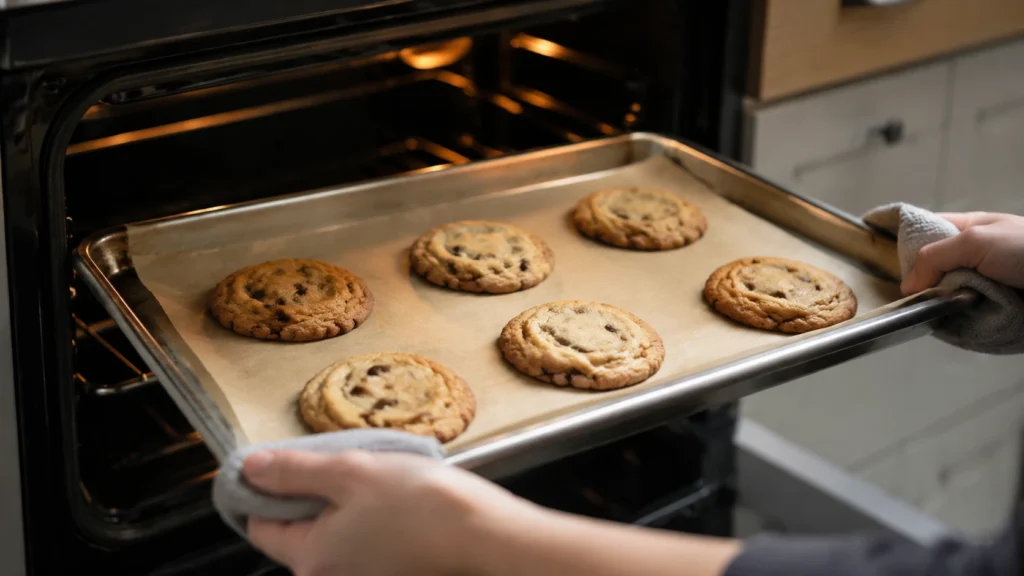
Preheat the oven to 350°F (175°C). Place six dough balls on a parchment-lined baking sheet with plenty of space between them.
Bake for 18 to 20 minutes.
Visual cue: The edges should be deep golden brown while the center still looks slightly underbaked.
Don’t wait until the center looks completely done. It will continue cooking on the hot baking sheet.
9. Cool Before Eating
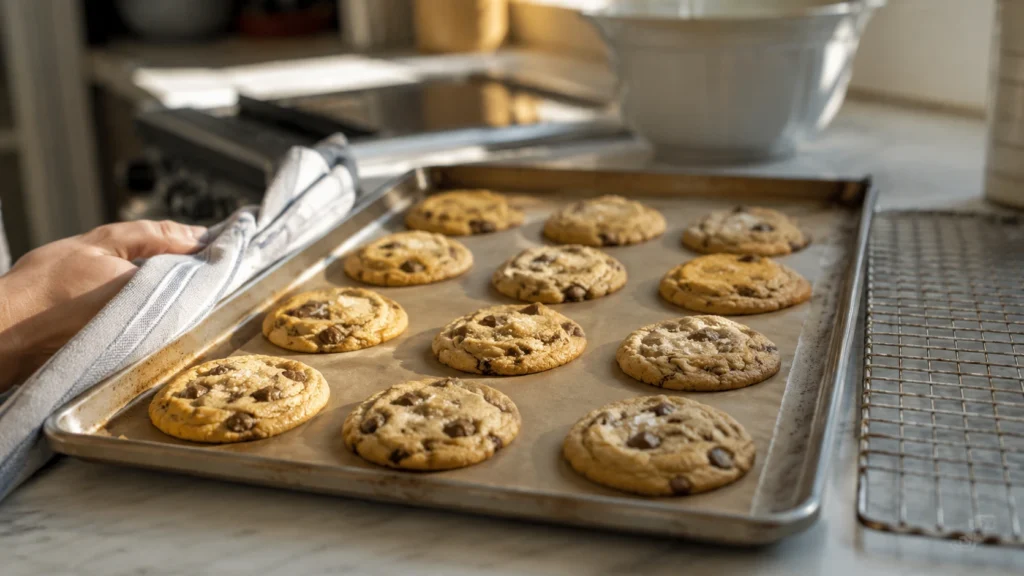
Leave the cookies on the baking sheet for about 10 to 15 minutes before moving them to a cooling rack.
The centers finish setting while staying wonderfully chewy.
Visual cue: The cookies should hold their shape but still feel soft when gently pressed.
Why Flat Cookies Happen (And How to Prevent It)
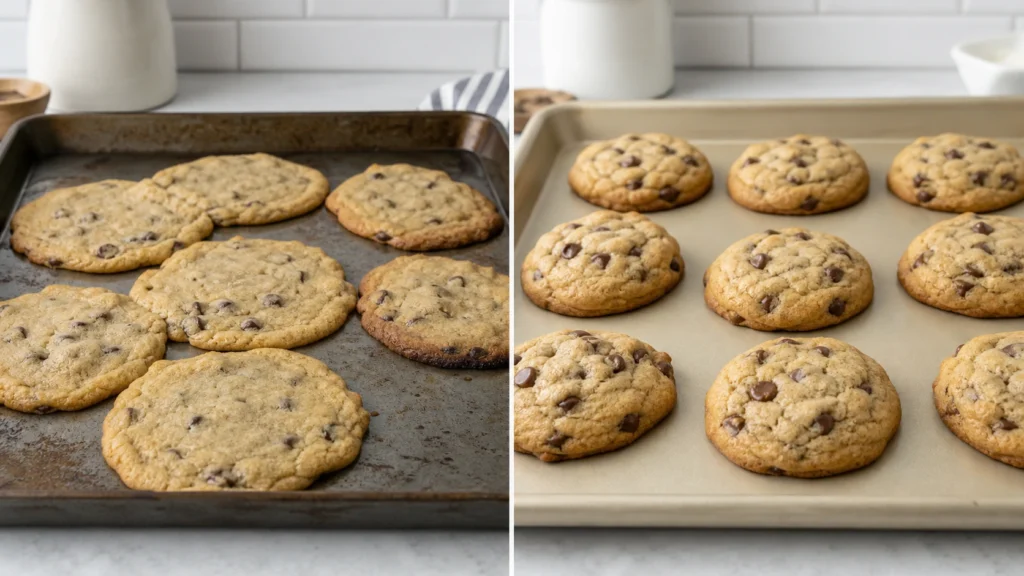
Even great recipes can disappoint if one small detail goes wrong. Here are the most common problems I see and the easiest fixes.
| Problem | Most Likely Cause | Easy Fix |
|---|---|---|
| Cookies spread too much | Dough wasn’t chilled long enough | Chill at least 24 hours |
| Cookies bake flat | Butter was too warm | Start with cool room-temperature butter |
| Cookies spread unevenly | Hot baking sheet | Always use a completely cooled baking sheet |
| Dry cookies | Too much flour | Weigh ingredients with a kitchen scale |
| Tough texture | Dough overmixed | Mix only until combined |
| Pale cookies | Removed too early | Bake until the edges are golden brown |
| Burned bottoms | Dark baking sheet | Use a light-colored aluminum baking sheet |
| Cookies bake unevenly | Dough balls different sizes | Scoop or weigh every portion |
Quick Tips
- Always chill the dough.
- Bake on cool baking sheets only.
- Use a kitchen scale when possible.
- Don’t overmix after adding the flour.
- Pull the cookies out while the centers still look slightly soft.
Why a Kitchen Scale Makes a Bigger Difference Than Fancy Chocolate
If I could recommend only one upgrade for this recipe, it would be a digital kitchen scale.
Bread flour and cake flour pack differently depending on how you scoop them. Just a few extra tablespoons can completely change the dough. Measuring by weight keeps every batch consistent.
Professional bakeries almost always weigh ingredients instead of measuring by cups. Once I started doing the same, my cookies became thicker and much more reliable.
Easy Variations You Can Try at Home
Once you’ve mastered the original recipe, it’s fun to experiment.
- Replace half the bittersweet chocolate with semi-sweet chocolate chips for a sweeter cookie.
- Add toasted pecans or walnuts for extra crunch.
- Sprinkle flaky sea salt on top just before baking for a sweet-and-salty finish.
- Use chopped dark chocolate instead of chocolate chips for larger chocolate puddles.
- Make smaller 2-ounce cookies and reduce the baking time to about 15–16 minutes.
- For a dairy-free version, use a plant-based butter that works for baking. The cookies stay chewy but spread a little more.
Love homemade sweets? Explore our collection of Dessert Recipes for more cookies, cakes, bars, and easy treats that are perfect for every occasion.
How to Scale This Recipe
The original recipe makes large bakery-style cookies. That’s great for parties, but not everyone needs eighteen giant cookies.
| Dough Size | Yield | Bake Time |
|---|---|---|
| 3½-ounce dough balls | 18 large cookies | 18–20 minutes |
| 2-ounce dough balls | About 30 cookies | 15–17 minutes |
| 1-ounce dough balls | About 55 cookies | 10–12 minutes |
Smaller cookies bake faster and have more crisp edges. Larger cookies stay softer in the center.
Estimated Nutrition Per Cookie
These numbers are estimates. They will change depending on cookie size and the chocolate you use.
| Nutrient | Approximate Amount |
|---|---|
| Calories | 450–500 |
| Carbohydrates | 60–65 g |
| Protein | 5–6 g |
| Fat | 22–25 g |
| Saturated Fat | 13–17 g |
| Sugar | 35–40 g |
| Fiber | 2–3 g |
| Sodium | 300–350 mg |
If you’re making smaller cookies, each serving will naturally contain fewer calories and less sugar.
Can You Bake the Dough Straight From the Freezer?
Yes, and this is one of my favorite time-saving tricks.
Freeze the dough balls on a baking sheet until solid. Then transfer them to a freezer-safe bag or airtight container.
When you’re ready for fresh cookies, place the frozen dough directly onto a parchment-lined baking sheet. There’s no need to thaw. Simply add about 2 to 4 extra minutes to the baking time.
I almost always keep a few dough balls in my freezer. It makes fresh, homemade cookies possible any night without mixing a new batch.
What to Serve With the New York Times Chocolate Chip Cookie Recipe
These cookies are rich and buttery, so they pair well with simple drinks and desserts. Whether you’re serving them warm from the oven or packing them for later, a few easy pairings make them even better.
- Cold glass of milk – The classic choice. The creamy milk balances the rich chocolate.
- Fresh coffee – A hot cup of coffee brings out the deep cocoa and caramel flavors.
- Vanilla ice cream – Turn two cookies into an easy ice cream sandwich.
- Hot chocolate – Perfect for holidays or cold evenings when you want an extra cozy dessert.
- Fresh berries – Strawberries or raspberries add a bright, fresh contrast to the rich cookies.
Love making homemade kitchen staples? Don’t miss our Fire Honey Recipe: 5-Minute Easy Homemade Sweet Heat. It’s a simple sweet-and-spicy condiment that adds bold flavor to toast, biscuits, roasted vegetables, grilled meats, and even a drizzle over vanilla ice cream if you enjoy sweet-and-heat desserts.
My Honest Experience Making This Recipe
The first time I made this recipe, I ignored the waiting time. I baked half the dough after only a few hours because I didn’t think another day would matter.
It mattered a lot.
The second batch stayed in the refrigerator for about 36 hours. The cookies baked thicker, the edges turned beautifully golden, and the centers stayed soft for days. That side-by-side comparison completely changed how I bake chocolate chip cookies.
One surprise was how much a kitchen scale helped. Once I started weighing the flour instead of scooping it with measuring cups, every batch became much more consistent.
How to Store, Freeze, and Reheat the New York Times Chocolate Chip Cookie Recipe
These cookies stay fresh surprisingly well because of the higher brown sugar content. The dough also stores beautifully, making this an excellent make-ahead recipe.
| Storage Method | How Long | Best Container |
|---|---|---|
| Room temperature | 3–4 days | Airtight container |
| Refrigerator (dough) | Up to 72 hours | Covered bowl or airtight container |
| Freezer (dough balls) | Up to 3 months | Freezer-safe zip-top bag or airtight container |
| Frozen baked cookies | Up to 2 months | Airtight freezer container |
Reheating Tip
Warm a baked cookie in the microwave for 8 to 10 seconds if you like a soft, gooey center.
If you’re reheating several cookies, place them in a 300°F oven for about 4 minutes. They’ll taste almost like they just came out of the oven.
Common Questions About the New York Times Chocolate Chip Cookie Recipe
New York Times Chocolate Chip Cookie Recipe
Ingredients
Equipment
Method
- Whisk together the cake flour, bread flour, baking soda, baking powder, and salt until evenly combined. The mixture should look uniform with no streaks.
- Beat the butter, brown sugar, and granulated sugar for 4–5 minutes until pale, fluffy, and creamy. This step creates air for a lighter cookie.
- Mix in the eggs one at a time, then add the vanilla extract. The mixture should look smooth and silky.
- Add the dry ingredients on low speed and mix only until no dry flour remains. Fold in the chocolate gently with a spatula.
- Scoop the dough into large portions, about 3½ ounces each, and place them on a tray. Cover and refrigerate for at least 24 hours and up to 72 hours.
- Preheat the oven to 350°F (175°C). Arrange six chilled dough balls on a parchment-lined baking sheet, leaving plenty of space between them.
- Bake for 18–20 minutes until the edges are deep golden brown while the centers still look slightly soft. Do not overbake.
- Let the cookies cool on the baking sheet for 10–15 minutes before transferring them to a cooling rack. They will finish setting while staying chewy inside.
Notes
- Chilling the dough for at least 24 hours gives the cookies better flavor and a thicker texture.
- Measure the flour by weight whenever possible for the most consistent results.
- Freeze extra dough balls for up to 3 months and bake straight from frozen by adding 2–4 minutes to the baking time.
Final Thoughts on the New York Times Chocolate Chip Cookie Recipe
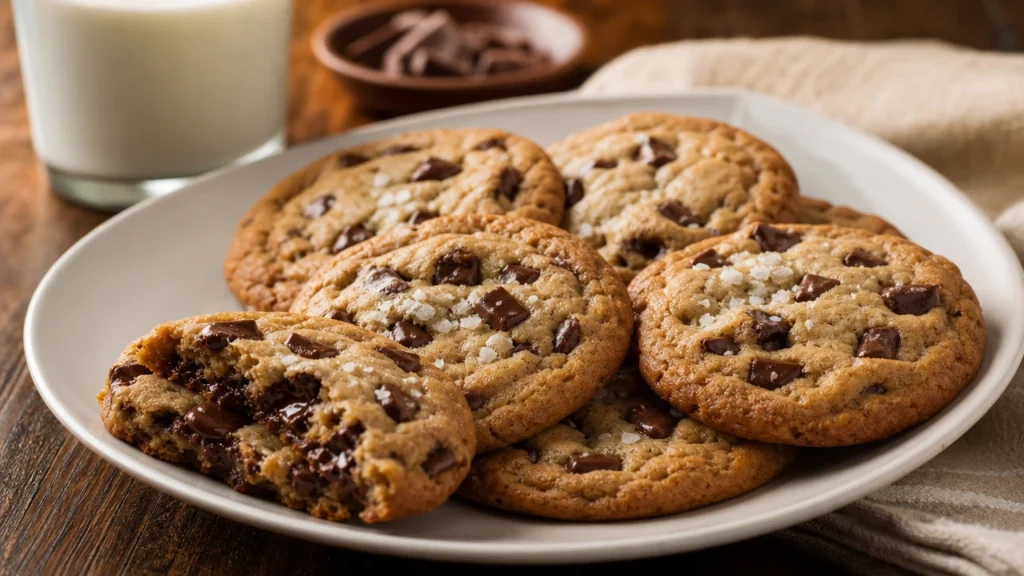
The New York Times Chocolate Chip Cookie Recipe has stayed popular for years because it delivers exactly what people want in a homemade cookie. The crisp edges, chewy center, rich chocolate, and deep caramel flavor make it feel more like something from a great bakery than an ordinary homemade batch.
Yes, it asks for a little patience. It also uses a few ingredients that aren’t always in the pantry. But once you taste the difference, it’s easy to understand why so many home bakers keep coming back to it.
Still in the mood for something homemade? Our Blackberry Jelly Recipe is another reader favorite. It has a rich berry flavor and comes together with simple ingredients, making it perfect for spreading on toast, swirling into yogurt, or even adding a spoonful alongside these warm chocolate chip cookies for a sweet homemade treat.