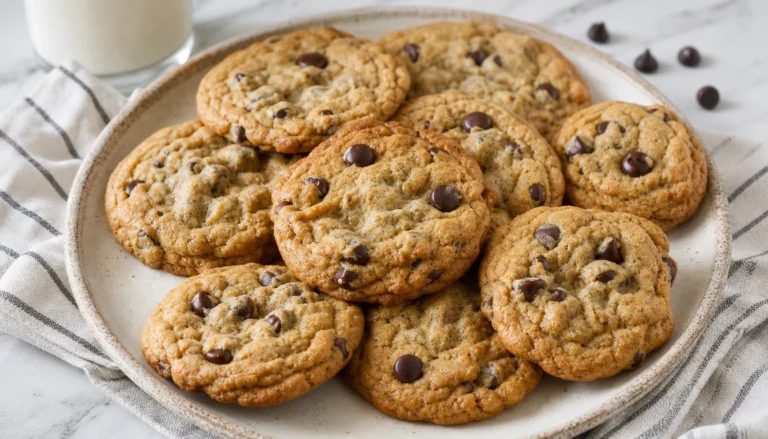
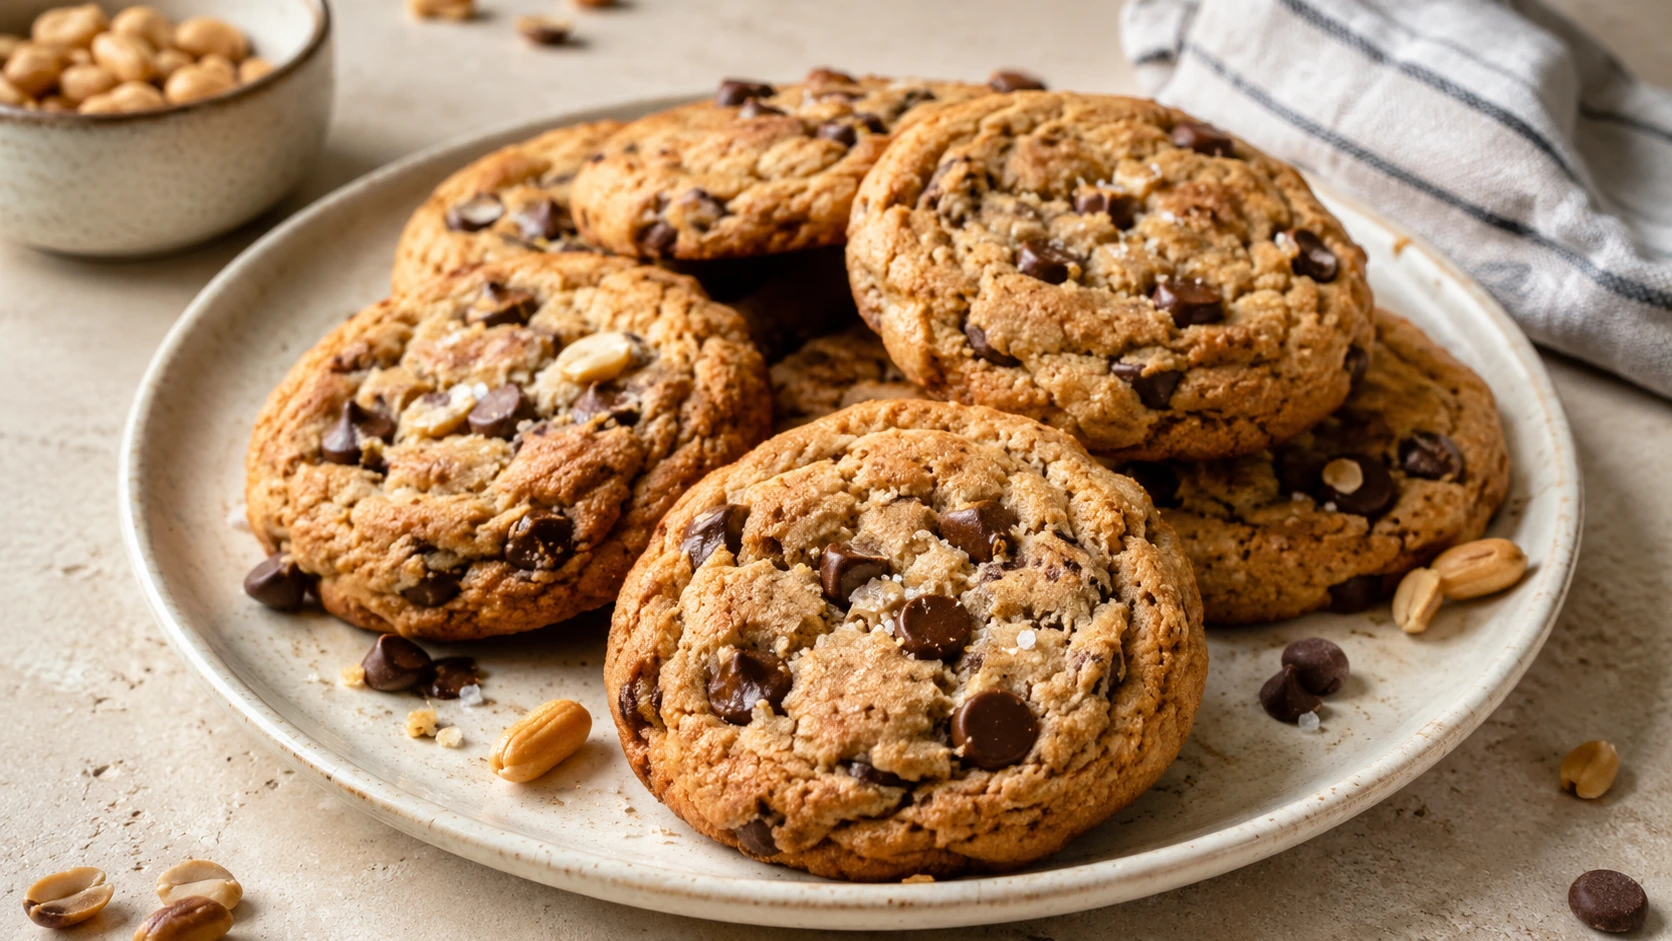
Chocolate Chip Peanut Butter Cookie Recipe With Thick, Chewy Centers

Most people think the secret to great peanut butter cookies is adding more peanut butter. I believed that too until I tested batch after batch at home. The real difference comes from using the right peanut butter, chilling the dough, and baking just until the centers look slightly underdone.
This Chocolate Chip Peanut Butter Cookie Recipe makes cookies that are thick, soft, and loaded with gooey chocolate chips. The edges stay lightly crisp while the centers stay tender for days. You get a rich peanut butter flavor in every bite without ending up with dry or crumbly cookies.
I have baked these for birthdays, bake sales, weekend treats, and late-night cravings. Along the way, I learned a few small tricks that make a big difference. I’ll walk you through every step so your first batch turns out just as good as your tenth.
What Is Chocolate Chip Peanut Butter Cookie Recipe?
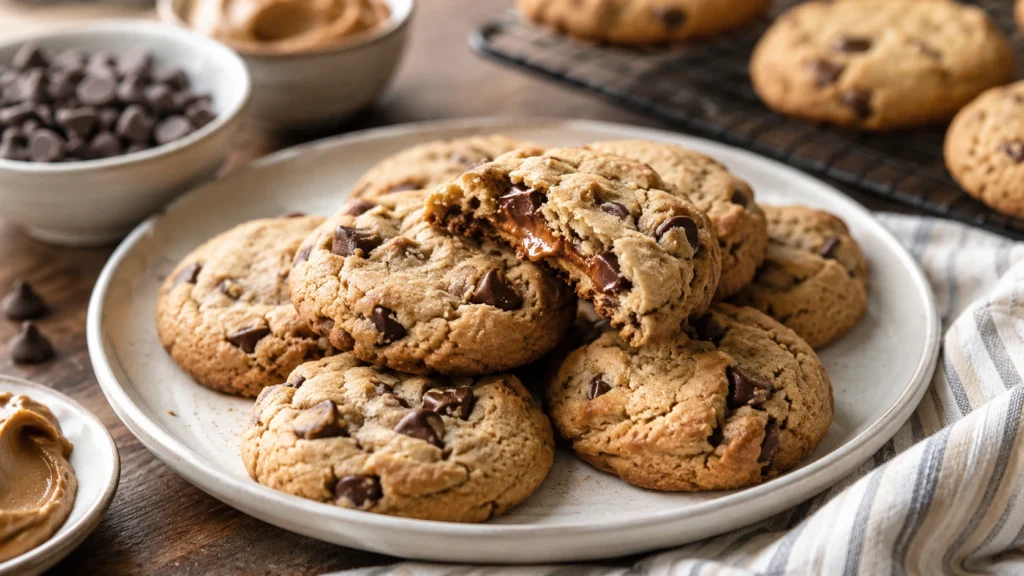
Chocolate Chip Peanut Butter Cookie Recipe is a homemade cookie made with peanut butter, butter, brown sugar, flour, eggs, and chocolate chips. It bakes in about 25 minutes plus chilling time and creates thick, soft cookies with chewy edges and rich peanut butter flavor. They’re popular because they’re easy to make and always disappear fast.
These cookies combine two classic favorites: peanut butter cookies and chocolate chip cookies. The peanut butter brings a deep, nutty flavor while the chocolate melts into little pockets throughout the dough. The result is richer than a standard chocolate chip cookie but not overly sweet.
You’ll often see Bakery-Style Peanut Butter Chocolate Chip Cookies sold in coffee shops because their thick texture holds up well and stays soft for days. The homemade version tastes even better since you can control the ingredients and bake them exactly the way you like.
Fresh from the oven, they smell like warm roasted peanuts, brown sugar, vanilla, and melted chocolate. Pair one with a glass of cold milk or a hot cup of coffee, and it’s hard to stop at just one.
Why This Chocolate Chip Peanut Butter Cookie Recipe Works Better
Many recipes promise the BEST EVER Peanut Butter Chocolate Chip Cookies, but they rarely explain why they work. Once I understood the science behind the ingredients, my cookies became much more consistent.
Peanut butter already contains oil, protein, and natural sugars. When it joins butter, flour, and eggs, it changes how the dough spreads in the oven. That’s why simply adding peanut butter to a regular chocolate chip cookie recipe often creates flat or crumbly cookies.
This recipe balances those ingredients so each one has a job.
- Brown sugar keeps the cookies moist and chewy.
- Butter creates rich flavor and tender texture.
- Flour gives the cookies structure.
- Peanut butter adds bold flavor and richness.
- Chocolate chips melt into gooey pockets without making the dough too sweet.
One step matters more than almost anything else: chilling the dough. Cold dough spreads more slowly, allowing the cookies to stay thick instead of turning into thin discs. During the chill time, the flour also absorbs moisture, creating a stronger cookie structure and a deeper caramel-like flavor after baking.
Another reason this recipe works is that the cookies are intentionally removed from the oven while the centers still look slightly underdone. They finish cooking on the hot baking sheet, giving you soft centers instead of dry ones.
Recipe Overview
If you enjoy cookies that are thick, chewy, and packed with chocolate, this recipe checks every box. The peanut butter flavor is noticeable without overpowering the chocolate, and the cookies stay soft for several days when stored correctly.
These cookies are perfect for holiday cookie trays, school bake sales, family gatherings, or freezing ahead for busy weeks. The dough also freezes beautifully, so you can bake just a few whenever a craving hits.
| Detail | Information |
|---|---|
| Prep Time | 15 minutes |
| Chill Time | 1 hour |
| Cook Time | 10–12 minutes |
| Total Time | About 1 hour 25 minutes |
| Yield | 24 large cookies |
| Difficulty | Easy |
| Cuisine | American |
| Calories | About 210–240 per cookie |
| Estimated Cost | About $8–10 per batch (roughly $0.35–0.45 per cookie, depending on chocolate used) |
Budget Tip: Homemade cookies usually cost much less than bakery cookies. Even with good-quality chocolate chips, a batch often costs less than buying four bakery-style cookies.
Ingredients and What Each One Does
The ingredient list is simple, but every item has a purpose. Small changes, especially with the peanut butter, can affect the final texture more than you might expect.
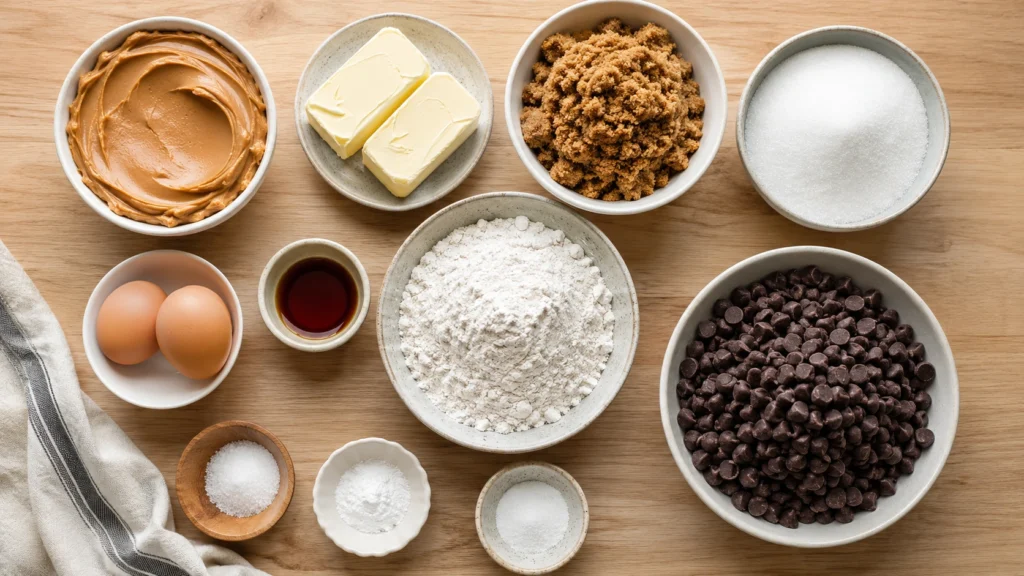
Ingredients
- 1 cup creamy peanut butter
- ½ cup unsalted butter, softened
- 1 cup packed brown sugar
- ½ cup granulated sugar
- 2 large eggs
- 2 teaspoons vanilla extract
- 2¼ cups all-purpose flour
- 1 teaspoon baking soda
- ½ teaspoon baking powder
- ½ teaspoon fine sea salt
- 2 cups semisweet chocolate chips or chopped chocolate
Why These Ingredients Matter
Peanut Butter
This is the star of the recipe. A processed creamy peanut butter such as Jif or Skippy creates the most reliable results because it contains stabilizers that help the cookies hold their shape.
Natural peanut butter can separate during baking, making cookies flatter and sometimes oily. If natural peanut butter is your only option, stir it extremely well before measuring and chill the dough for at least two hours.
Brown Sugar
Brown sugar adds moisture and helps create that soft, chewy center everyone loves. It also gives the cookies a mild caramel flavor that pairs perfectly with peanut butter.
Butter
Butter adds richness and improves the overall texture. Softened butter creams together with the sugars, trapping tiny air bubbles that help the cookies bake evenly.
Chocolate
Semisweet chocolate chips give the best balance between sweetness and chocolate flavor. Chopped chocolate creates larger melted pockets, while dark chocolate adds a richer finish if you prefer less sweetness.
Best Peanut Butter to Use (Comparison Table)
One thing many recipes skip is explaining how different peanut butters behave. Here’s what I’ve found after testing several kinds.
| Peanut Butter Type | Texture | Spread | Flavor | Recommended? |
|---|---|---|---|---|
| Processed Creamy (Jif, Skippy) | Thick and chewy | Low | Balanced | ⭐ Best Choice |
| Creamy Honey Roasted | Soft and rich | Low | Slightly sweeter | ✔ Great |
| Crunchy Peanut Butter | Slight crunch | Medium | Nutty | ✔ Good |
| Natural Peanut Butter | Softer, sometimes crumbly | High | Strong peanut flavor | ✔ Works with extra chilling |
| Reduced-Fat Peanut Butter | Dry | Low | Less rich | ❌ Not Recommended |
| Powdered Peanut Butter | Dry and crumbly | Low | Mild | ❌ Not Recommended |
If using natural peanut butter: chill the dough longer, scoop slightly larger cookies, and avoid overbaking. Those small adjustments help reduce spreading and keep the centers soft.
Easy Ingredient Substitutions
Not every kitchen is stocked the same way. Here are a few swaps that still work well.
| Ingredient | Substitute | Result |
|---|---|---|
| Unsalted butter | Dairy-free baking butter | Slightly softer texture |
| Semisweet chocolate | Dark or milk chocolate | Richer or sweeter flavor |
| All-purpose flour | 1:1 gluten-free baking flour | Slightly more delicate cookies |
| Eggs | Two flax eggs | Softer cookies with a mild nutty taste |
| Brown sugar | Light or dark brown sugar | Dark brown gives deeper caramel notes |
Avoid replacing all of the peanut butter with another nut butter unless you’ve tested it before. Almond or cashew butter contains different amounts of fat and can change how the cookies bake.
Why Chilling the Dough Makes Such a Big Difference
If you skip the chill time because you’re in a hurry, you’ll probably notice thinner cookies with flatter tops.
When the dough rests in the refrigerator, three helpful things happen:
- The butter firms up, so the cookies spread less.
- The flour absorbs moisture, creating a stronger structure.
- The flavors blend together, making the peanut butter taste richer after baking.
Think of chilling as a short waiting period that pays off with thicker cookies and better flavor. It takes a little patience, but it’s one of the easiest ways to improve homemade cookies.
How to Make Chocolate Chip Peanut Butter Cookie Recipe Step by Step
Making these cookies is simple, but a few small details make all the difference. Take your time while mixing, chill the dough, and don’t overbake. Those three steps are what turn good cookies into bakery-style cookies.
1. Mix the Butter, Peanut Butter, and Sugars
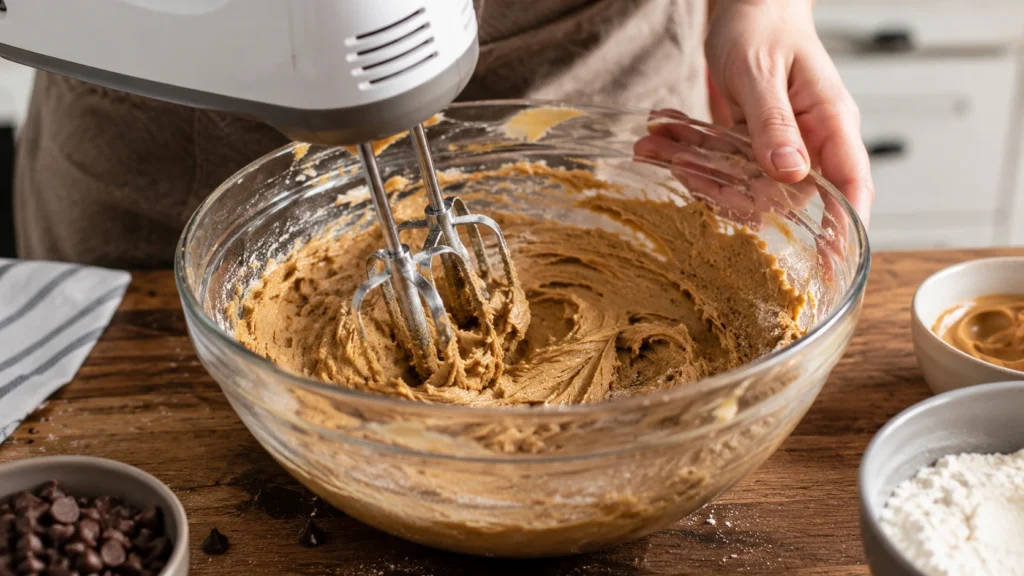
In a large mixing bowl, beat the softened butter, creamy peanut butter, brown sugar, and granulated sugar until smooth and fluffy. This usually takes about 2 to 3 minutes with a hand mixer or stand mixer.
Visual cue: The mixture should look lighter in color and feel creamy instead of grainy.
Why it matters: Creaming traps tiny air bubbles that help the cookies bake up thick instead of dense.
2. Add the Eggs and Vanilla
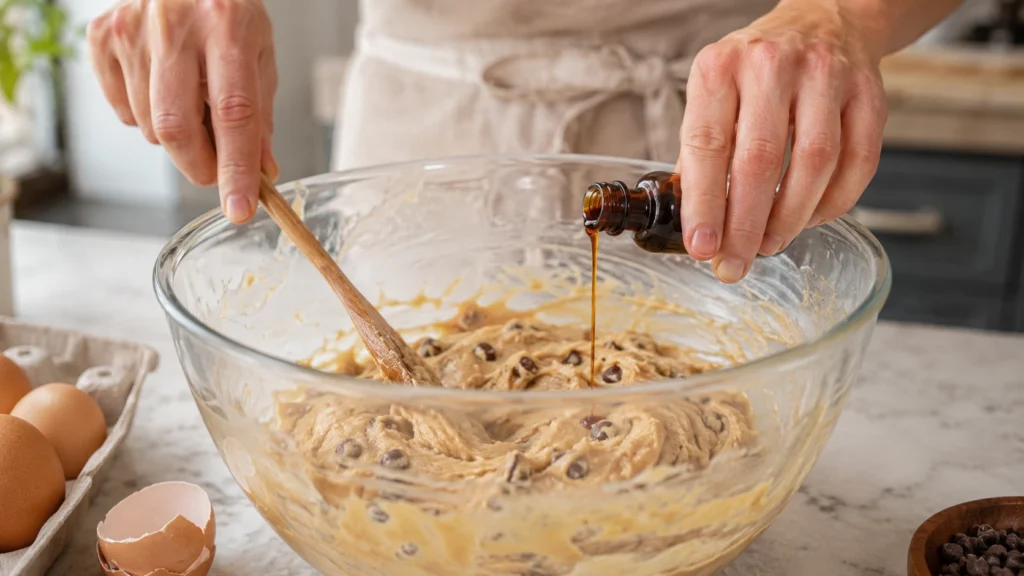
Mix in the eggs one at a time, then stir in the vanilla extract until everything is fully combined.
Visual cue: The batter should look silky and smooth with no streaks of egg.
Why it matters: Mixing one egg at a time creates a smoother dough and helps everything blend evenly.
3. Combine the Dry Ingredients
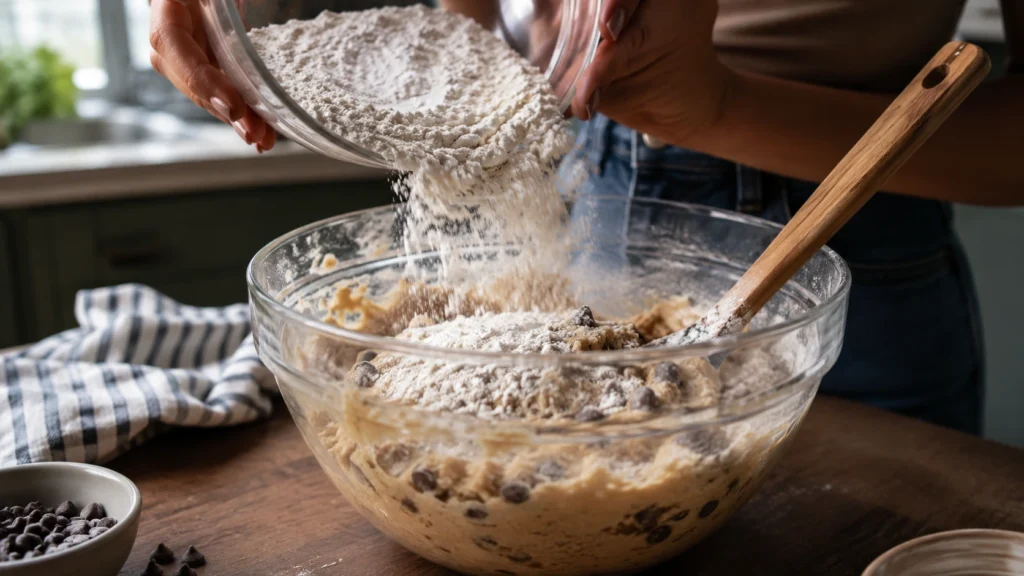
In another bowl, whisk together the flour, baking soda, baking powder, and salt.
Slowly add the dry ingredients to the wet mixture. Mix only until no dry flour remains.
Visual cue: The dough should be thick and soft, but not sticky enough to run off the spoon.
Why it matters: Overmixing develops gluten, which can make cookies tougher instead of tender.
4. Fold in the Chocolate
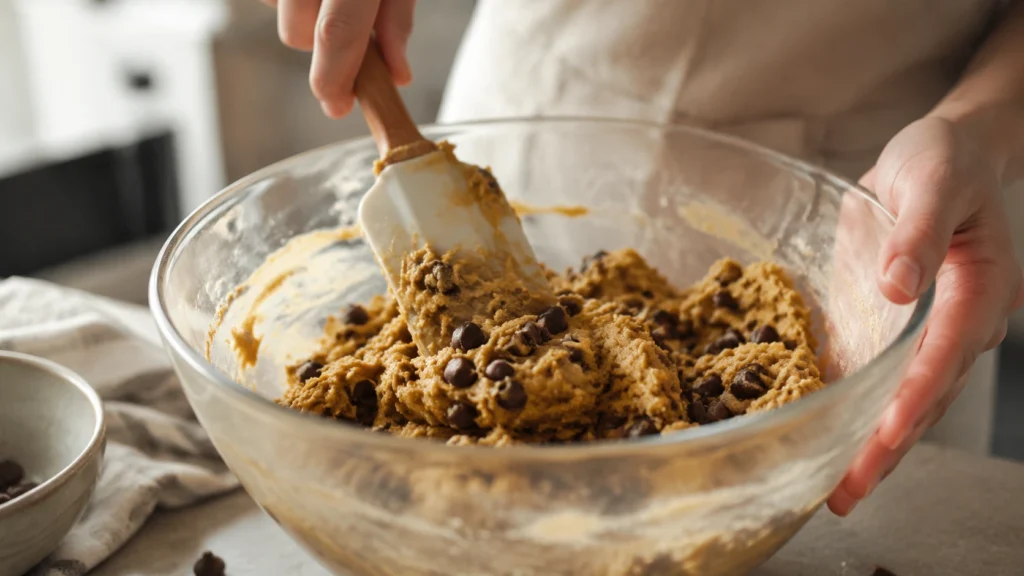
Gently fold the chocolate chips or chopped chocolate into the dough using a spatula.
Visual cue: Every scoop of dough should have plenty of chocolate.
Why it matters: Folding instead of mixing keeps the chocolate pieces whole and evenly spread.
5. Chill the Dough
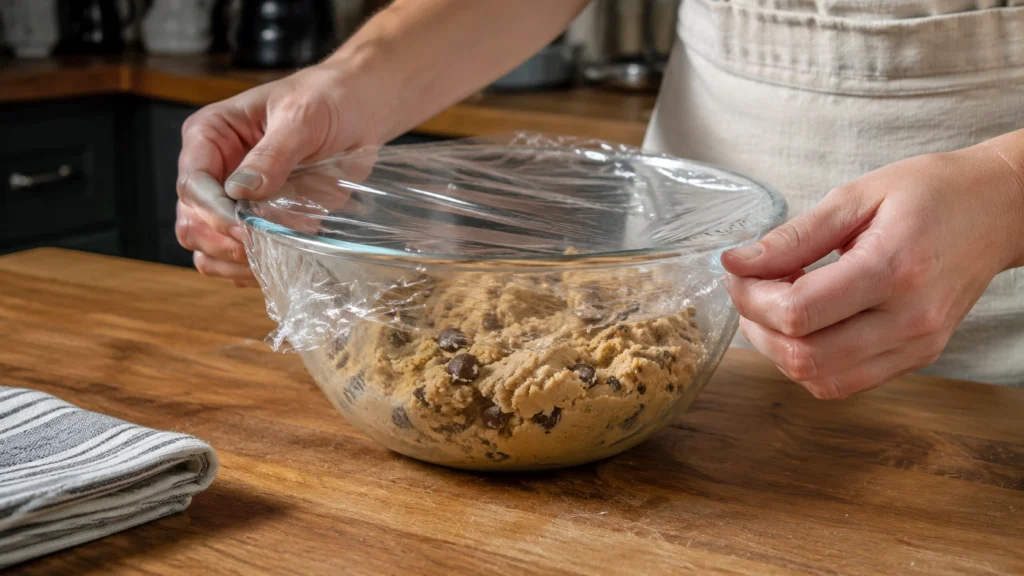
Cover the bowl with plastic wrap and refrigerate for at least one hour. Two hours is even better if you have time.
Visual cue: The dough should feel firm enough to scoop without sticking heavily to your hands.
Why it matters: Cold dough spreads more slowly, giving you thicker cookies with better flavor.
6. Scoop the Dough
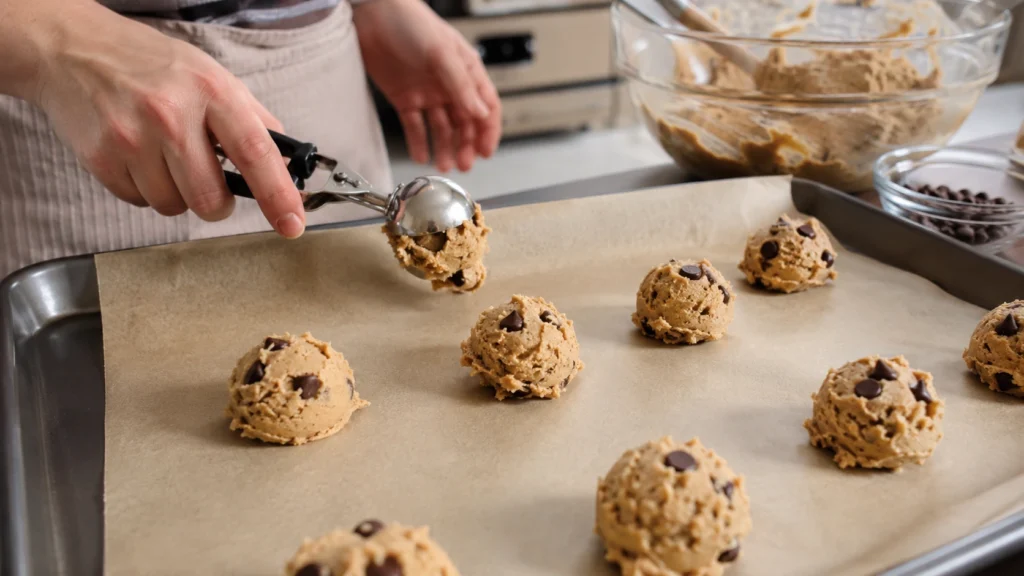
Preheat the oven to 350°F (177°C).
Use a medium cookie scoop to make balls about two tablespoons each. Place them on parchment-lined baking sheets about two inches apart.
If you want extra bakery-style cookies, gently press a few extra chocolate chips onto the tops.
Visual cue: The dough balls should be round but not perfectly smooth.
Why it matters: Extra chocolate on top makes every cookie look homemade and picture-perfect.
7. Flatten Slightly
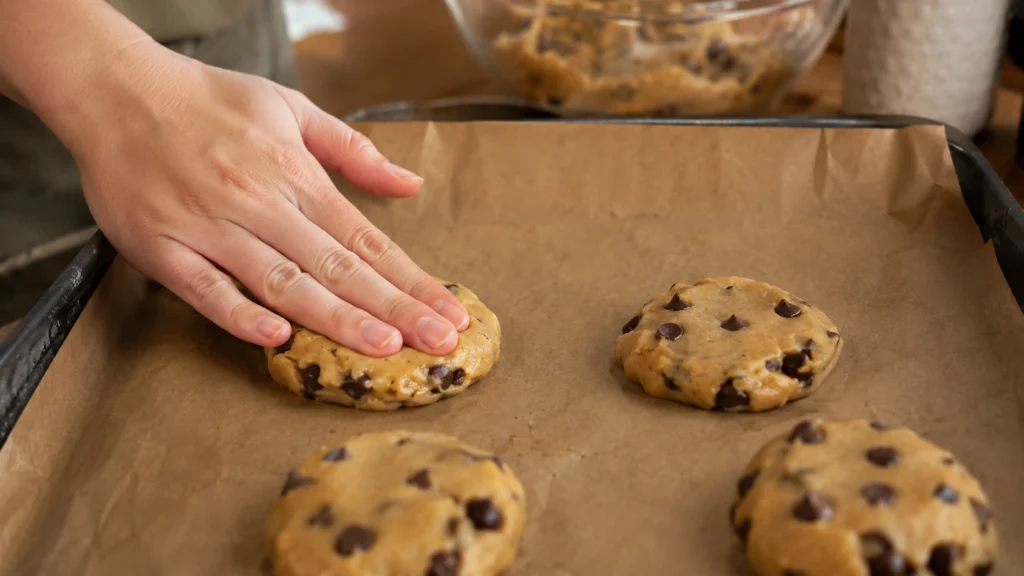
Press each dough ball just a little with the palm of your hand or the back of a spoon.
Don’t flatten them too much.
Visual cue: They should still look thick with rounded edges.
Why it matters: Slight flattening helps the cookies spread evenly without becoming thin.
8. Bake
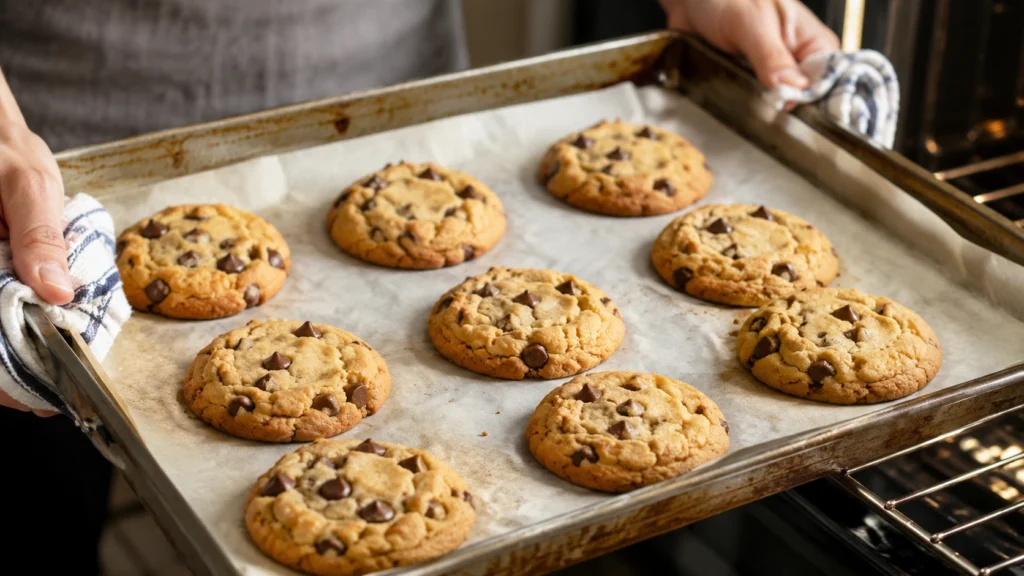
Bake for 10 to 12 minutes.
Rotate the baking sheet halfway through if your oven has hot spots.
Visual cue: The edges should be lightly golden while the centers still look a little soft.
You’ll smell warm peanut butter and melted chocolate before they’re done.
Why it matters: The cookies continue cooking on the hot baking sheet after leaving the oven.
9. Cool
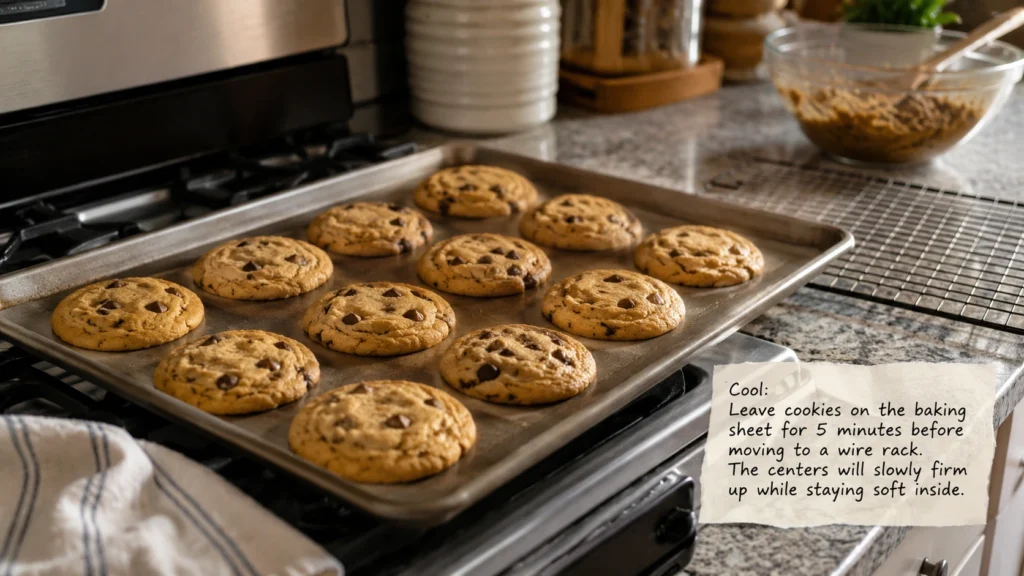
Leave the cookies on the baking sheet for 5 minutes before moving them to a wire rack.
Visual cue: The centers will slowly firm up while staying soft inside.
Why it matters: Moving them too soon can cause them to break apart.
The Biggest Mistake That Ruins Chocolate Chip Peanut Butter Cookies
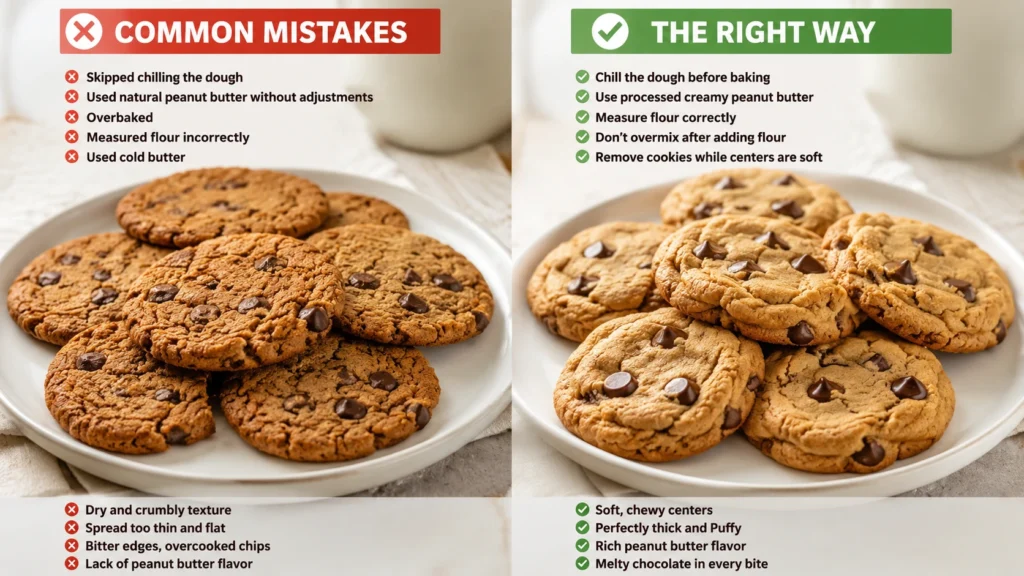
Most cookie failures happen long before the cookies go into the oven.
Here are the mistakes I see most often.
Skipping the Chill Time
Warm dough spreads quickly.
Instead of thick bakery-style cookies, you’ll get wide, thin cookies with crispy edges.
If you’re short on time, chill the scooped dough for at least 30 minutes instead of skipping the step completely.
Using Natural Peanut Butter Without Adjustments
Natural peanut butter separates because the oil rises to the top.
That extra oil changes the dough and often creates flatter cookies.
If it’s your only option, stir it extremely well and chill the dough longer before baking.
Overbaking
This is probably the most common mistake.
The cookies should still look slightly underdone in the center when you remove them.
If you wait until they’re completely firm in the oven, they’ll become dry after cooling.
Measuring Flour Incorrectly
Scooping flour directly with the measuring cup packs in too much flour.
Too much flour creates dry, crumbly cookies.
Instead, spoon the flour into the measuring cup and level it with a knife.
A kitchen scale gives the most accurate results.
Using Cold Butter
Cold butter doesn’t cream properly.
Instead of trapping air, it leaves the dough dense.
Let butter sit at room temperature for about 30 to 45 minutes before mixing.
Quick Success Tips
- Always chill the dough before baking.
- Use processed creamy peanut butter for the easiest results.
- Measure flour carefully.
- Don’t overmix after adding flour.
- Remove cookies while the centers still look soft.
Common Problems and Easy Fixes
| Problem | Likely Cause | Easy Fix |
|---|---|---|
| Cookies spread too much | Dough too warm | Chill longer before baking |
| Cookies stay thick and raw | Oven too cool | Check oven temperature with an oven thermometer |
| Dry cookies | Too much flour or overbaked | Measure flour correctly and bake less |
| Crumbly cookies | Natural peanut butter or too much flour | Use creamy peanut butter or add one tablespoon milk |
| Chocolate chips sink | Dough too warm | Chill before scooping |
| Cookies don’t spread | Too much flour or dough too cold | Let dough rest 10 minutes before baking |
| Greasy cookies | Oily peanut butter | Stir peanut butter well before measuring |
| Pale cookies | Underbaked | Bake another minute or two until edges brown |
Pro Tip: The One Small Step Most Recipes Skip
After scooping the dough, press three or four extra chocolate chips onto the top of every cookie before baking.
It sounds simple, but it makes a huge difference.
As the cookies bake, those chips melt on the surface instead of staying hidden inside. The cookies look just like the ones from a bakery, and every bite starts with melted chocolate.
Another trick I love is sprinkling a tiny pinch of flaky sea salt on the cookies right after they come out of the oven. The salt balances the sweetness and makes the peanut butter flavor stand out even more.
Equipment Tips That Really Matter
The tools you use can change the final texture more than most people realize.
| Equipment | Best Choice | Why |
|---|---|---|
| Baking Sheet | Light-colored aluminum | Bakes evenly without burning the bottoms |
| Baking Surface | Parchment paper | Easy cleanup and even browning |
| Silicone Mats | Good for softer bottoms | Cookies spread slightly more |
| Cookie Scoop | Medium (2 tablespoons) | Makes evenly sized cookies |
| Cooling Rack | Wire rack | Prevents soggy bottoms |
Parchment Paper vs. Silicone Mats
I usually reach for parchment paper because it gives the cookies slightly crispier bottoms.
Silicone baking mats work well too, but cookies often spread just a little more.
Both are much better than placing dough directly on the baking sheet.
Easy Variations You Can Try at Home
Once you’ve mastered the basic recipe, it’s easy to change the flavor.
- Add chopped roasted peanuts for extra crunch.
- Mix in peanut butter chips along with the chocolate chips for even more peanut butter flavor.
- Use dark chocolate chunks if you like less sweetness.
- Stir in toffee bits for a rich caramel flavor.
- Replace the butter with dairy-free baking butter for a dairy-free version.
- Use a 1:1 gluten-free flour blend to make gluten-free cookies.
- Add mini chocolate chips for more chocolate in every bite.
- Sprinkle flaky sea salt over warm cookies for a sweet-and-salty finish.
Love homemade sweets like this? Explore our Dessert Recipes collection for more easy cookies, cakes, bars, and family-friendly treats you’ll want to bake again and again.
What to Serve With Chocolate Chip Peanut Butter Cookies
These cookies are rich on their own, but the right pairing makes them even better.
- Cold milk keeps the rich peanut butter flavor balanced.
- Fresh coffee brings out the roasted peanut and chocolate notes.
- Vanilla ice cream turns two cookies into an easy ice cream sandwich.
- Hot chocolate makes a fun dessert for cold evenings.
- Fresh strawberries add a bright, fresh contrast to the rich cookies.
If you enjoy making homemade treats, don’t miss our Blackberry Jelly Recipe: 5 Mistakes That Ruin Easy Jelly. It’s a simple way to stock your kitchen with fresh, flavorful jelly that’s perfect for toast, biscuits, and other homemade favorites.
My Honest Experience Making This Chocolate Chip Peanut Butter Cookie Recipe
The first time I made these cookies, I skipped the chill time because I didn’t want to wait. Big mistake. The dough spread across the baking sheet, and I ended up with thin cookies that tasted good but looked nothing like the thick bakery-style cookies I wanted.
The next batch was completely different. I chilled the dough for two hours, measured the flour with a kitchen scale, and pulled the cookies out while the centers still looked slightly soft. They finished baking on the hot pan, and the texture was exactly what I had been chasing—chewy edges, soft centers, and plenty of melted chocolate.
One surprise was how much the type of peanut butter mattered. A regular creamy peanut butter gave me consistent results every time, while natural peanut butter made the cookies spread more unless I chilled the dough longer.
Those small changes are now part of my routine, and they have never let me down.
How to Store, Freeze, and Reheat Chocolate Chip Peanut Butter Cookies
These cookies stay fresh surprisingly well because the peanut butter helps keep them moist. Proper storage makes a big difference, especially if you’re baking ahead for holidays or parties.
| Storage Method | How Long | Texture | Best Tip |
|---|---|---|---|
| Room Temperature | Up to 1 week | Soft and chewy | Store in an airtight container with a slice of bread to help keep cookies soft. |
| Refrigerator | Up to 10 days | Slightly firmer | Let cookies sit at room temperature for 15 minutes before serving. |
| Freezer (Baked Cookies) | Up to 3 months | Excellent after reheating | Freeze in a freezer-safe bag with parchment between layers. |
| Freezer (Cookie Dough) | Up to 4 months | Freshly baked anytime | Freeze dough balls on a tray first, then transfer to a freezer bag. |
Reheating Tips
If you’re reheating frozen baked cookies, microwave one cookie for 10–15 seconds. The chocolate becomes melty again, and the center tastes freshly baked.
For frozen cookie dough, bake straight from the freezer. Just add 1–2 extra minutes to the baking time. There’s no need to thaw the dough first.
Budget Cost Breakdown
One thing I rarely see in cookie recipes is the actual cost. If you’re baking for a family or a bake sale, it helps to know what to expect.
| Ingredient | Estimated Cost (USD) |
|---|---|
| Peanut Butter | $2.20 |
| Butter | $1.30 |
| Flour | $0.60 |
| Brown & White Sugar | $0.80 |
| Eggs | $0.70 |
| Vanilla | $0.60 |
| Baking Ingredients | $0.20 |
| Chocolate Chips | $2.20 |
Estimated Total: $8.60–9.50
That works out to roughly $0.36–0.40 per large cookie, which is much cheaper than buying bakery-style cookies.
Estimated Nutrition (Per Cookie)
These values are estimates and will vary depending on the chocolate and peanut butter you use.
| Nutrient | Approximate Amount |
|---|---|
| Calories | 220 |
| Carbohydrates | 23 g |
| Protein | 5 g |
| Fat | 13 g |
| Saturated Fat | 5 g |
| Fiber | 2 g |
| Sugar | 16 g |
| Sodium | 160 mg |
This recipe isn’t meant to be a health food, but each cookie also provides a little extra protein thanks to the peanut butter.
Frequently Asked Questions About Chocolate Chip Peanut Butter Cookie Recipe
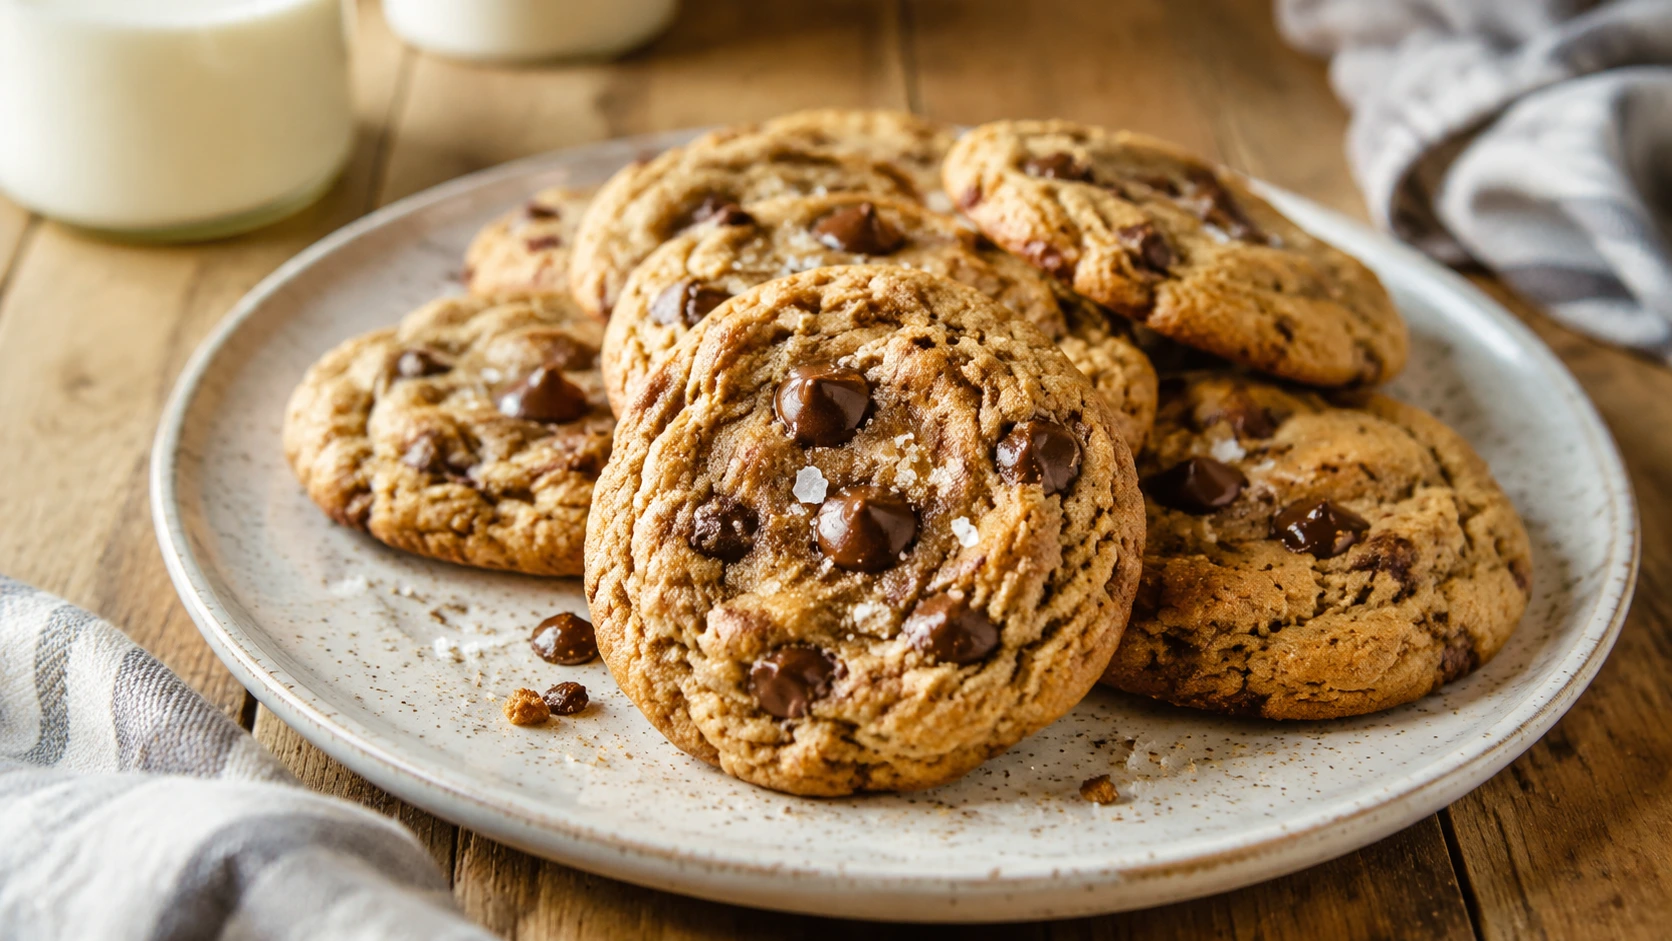
Chocolate Chip Peanut Butter Cookie Recipe
Ingredients
Equipment
Method
- In a large bowl, beat the butter, peanut butter, brown sugar, and granulated sugar until light and fluffy, about 2–3 minutes. The mixture should look pale and creamy.
- Add the eggs one at a time, then mix in the vanilla until fully combined. Scrape down the sides of the bowl if needed.
- In a separate bowl, whisk together the flour, baking soda, baking powder, and salt. Gradually mix the dry ingredients into the wet ingredients until no dry flour remains.
- Fold in the chocolate chips using a rubber spatula. The dough should be thick and evenly filled with chocolate.
- Cover the bowl and refrigerate the dough for at least 1 hour. Chilled dough helps the cookies stay thick and bake evenly.
- Preheat the oven to 350°F (177°C) and line baking sheets with parchment paper. Scoop about 2 tablespoons of dough for each cookie and place them 2 inches apart.
- Gently flatten each dough ball slightly with your hand or the back of a spoon. Add a few extra chocolate chips on top if desired.
- Bake for 10–12 minutes, until the edges are lightly golden and the centers still look slightly soft. The cookies will continue setting as they cool.
- Let the cookies rest on the baking sheet for 5 minutes before transferring them to a cooling rack to cool completely.
Notes
- Chill the dough before baking to keep the cookies thick and chewy.
- Use processed creamy peanut butter for the most consistent texture and less spreading.
- Remove the cookies when the centers still look slightly soft—they’ll finish baking on the hot pan and stay moist.
Final Thoughts on Chocolate Chip Peanut Butter Cookie Recipe
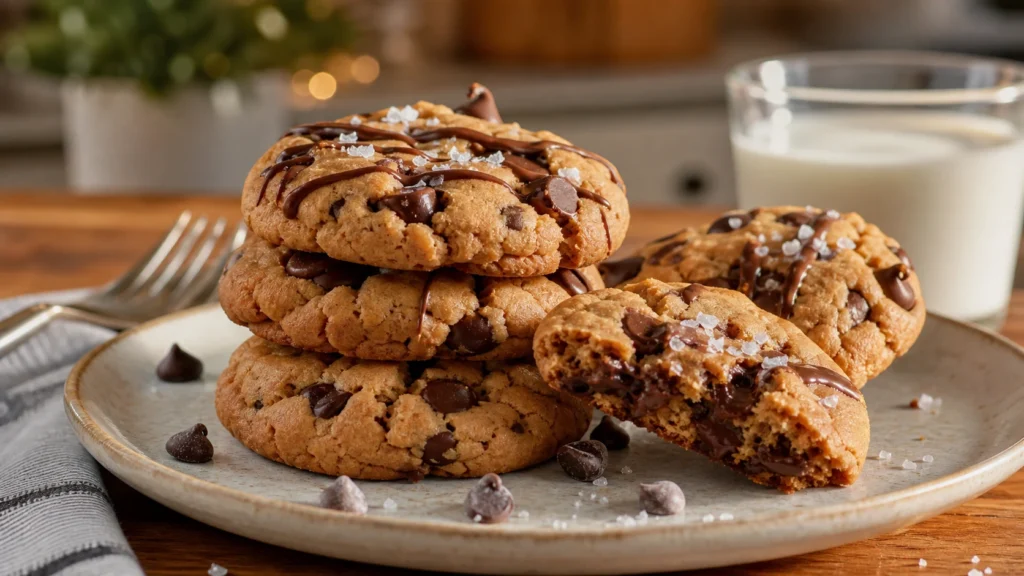
This Chocolate Chip Peanut Butter Cookie Recipe has become one of my favorite homemade desserts because it delivers everything I want in a cookie. The peanut butter flavor is rich without overpowering the chocolate, the centers stay soft, and the edges have just enough chew to keep every bite interesting.
The biggest lesson I learned is that great cookies don’t come from fancy ingredients. They come from a few simple techniques: measuring carefully, chilling the dough, and resisting the urge to overbake. Those three habits make a huge difference.
Still in the mood to make something from scratch? Our Diablo Sauce Recipe: Easy Homemade Spicy Sauce in 10 Minutes shows how a few simple ingredients can create bold flavor, making it another fun homemade recipe to add to your cooking list.