Khinkali Recipe: 7 No-Fail Secrets for Juicy Dumplings

Most people rush dumpling dough and wonder why it tears later. I did the same thing the first time I tried khinkali. The filling leaked everywhere, and I nearly gave up.
This khinkali recipe fixes that problem with one simple idea: patience in the dough. Once you get that right, everything else becomes much easier. The result is juicy Georgian dumplings with a rich broth inside and soft, chewy dough outside.
Khinkali are a staple of Georgian cuisine and are often shared at big family meals. They’re fun to make, even if your first few look a little uneven. Let’s break it down step by step so you get them right the first time.
What Are Khinkali and Why Do People Love These Georgian Dumplings?
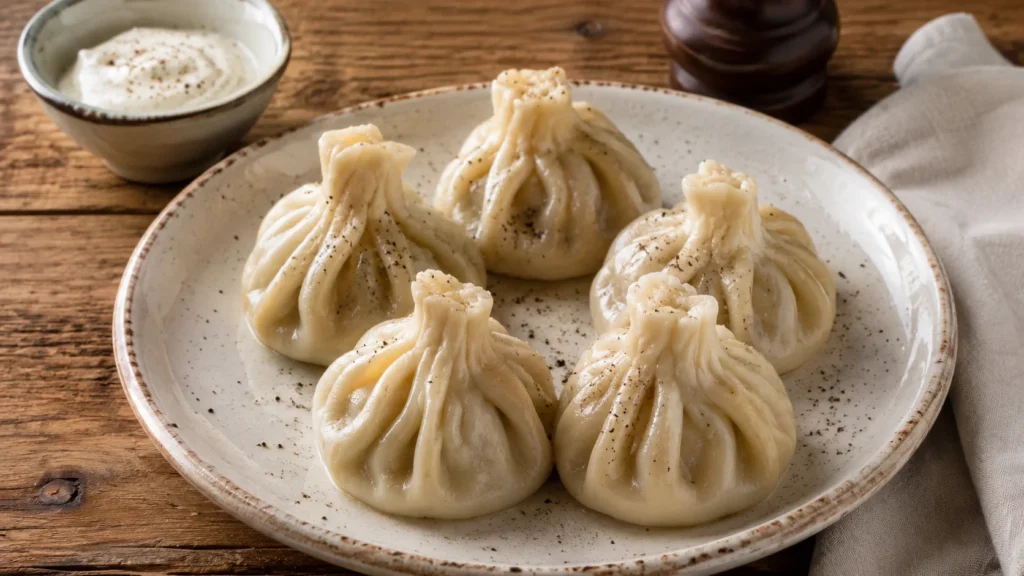
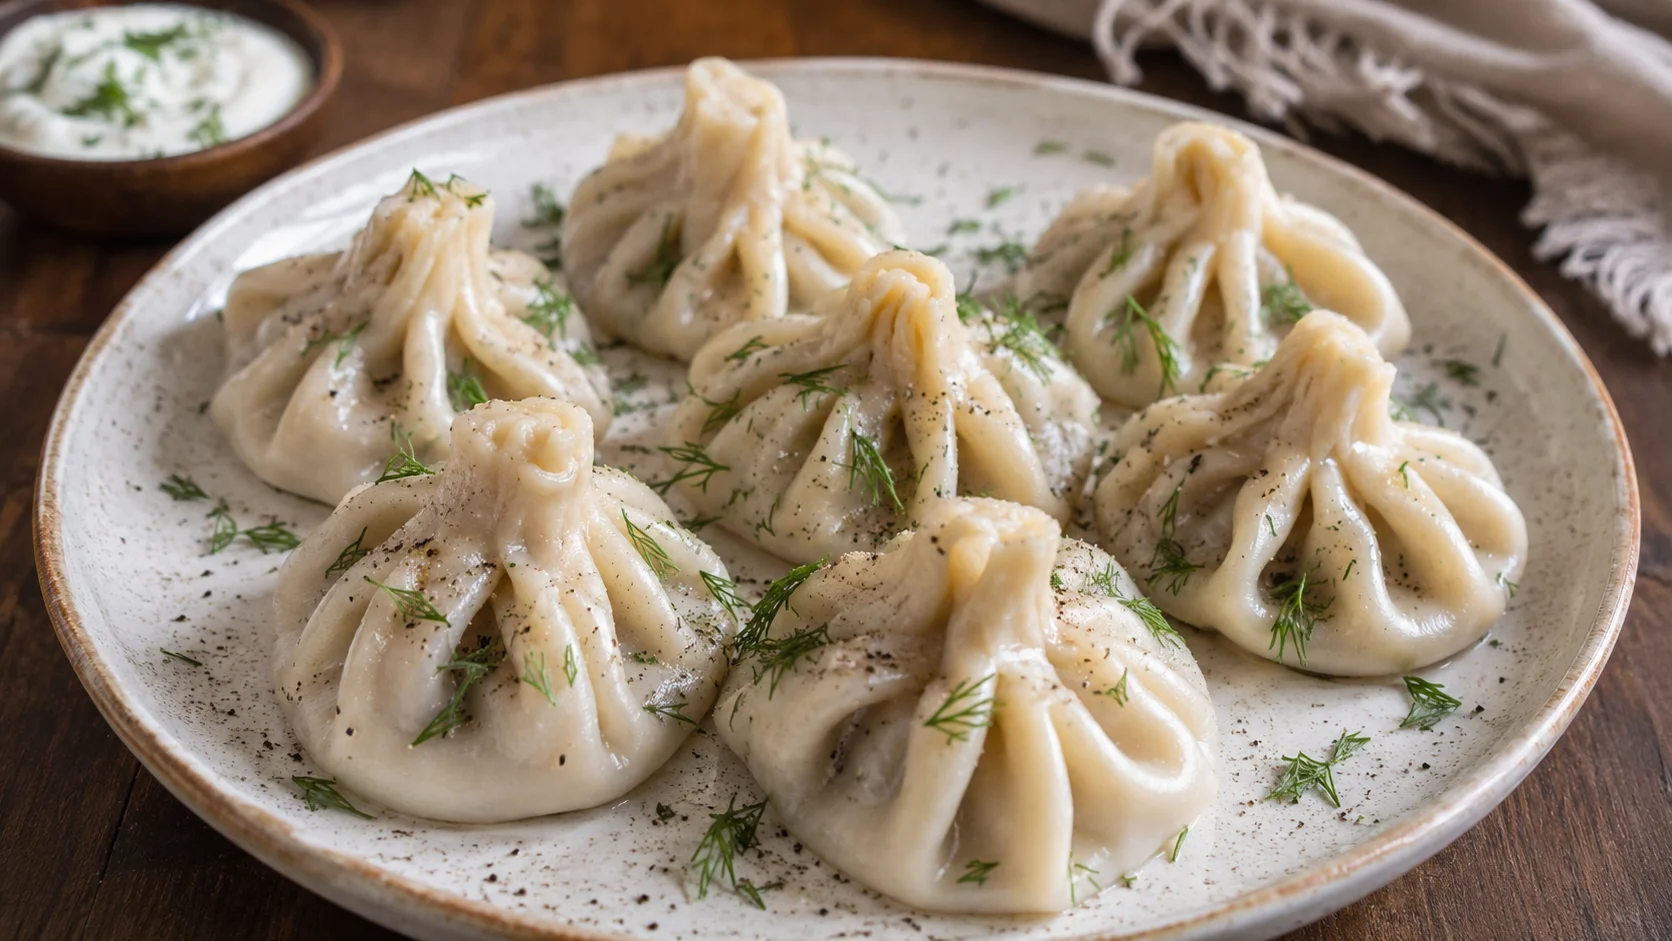
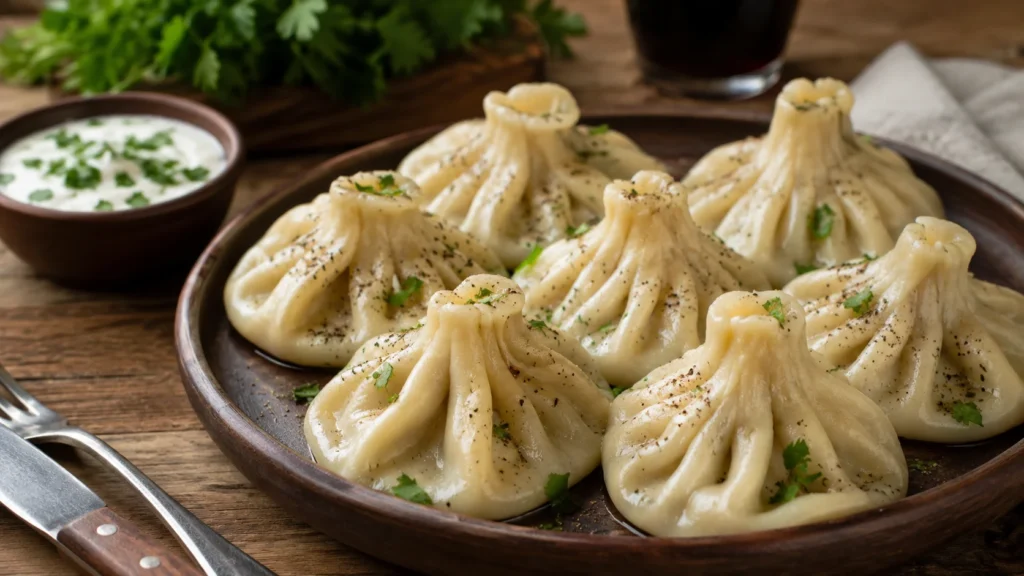
Khinkali are Georgian dumplings made with flour dough, spiced meat filling, and a juicy broth inside. They are hand-folded into pleated pouches and boiled until tender. The dumplings are soft, chewy, and filled with hot savory liquid.
Khinkali are popular in Georgian cuisine and often served at family gatherings or feasts. They are eaten by hand, not with utensils. Most people love them because of the burst of broth when you take the first bite.
These dumplings are similar to soup dumplings like xiao long bao, but the dough is thicker and heartier. They are also related to manti and pelmeni in style.
Recipe Overview: How This Khinkali Recipe Comes Together
These dumplings are rich, juicy, and deeply comforting. The dough is soft but strong enough to hold broth. The filling is seasoned and packed with flavor from onion, garlic, and spices.
They work great for weekends or meal prep since they freeze well.
| Detail | Info |
|---|---|
| Prep Time | 60 minutes |
| Cook Time | 10–12 minutes |
| Total Time | 1 hour 15 minutes |
| Servings | 4–5 people (30 dumplings) |
| Difficulty | Medium |
| Cuisine | Georgian |
| Calories | ~100 per dumpling |
| Cost | ~$10–$14 per batch |
Ingredients and What Each One Does in Khinkali Dough and Filling
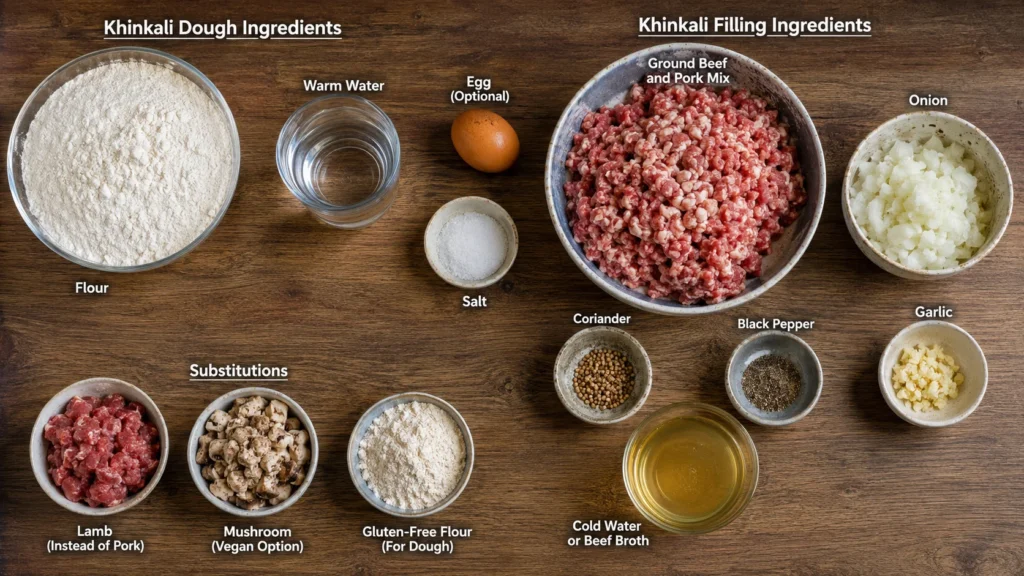
The dough is simple, but the texture matters more than anything. You need flour, water, salt, and sometimes egg for strength.
Dough basics
- Flour gives structure and chew
- Warm water helps form a smooth dough
- Egg (optional) makes the dough stronger and less likely to tear
- Salt adds basic flavor
Filling basics
- Ground beef and pork mix gives fat and flavor
- Onion adds sweetness and moisture
- Garlic gives depth
- Coriander and black pepper add warmth and spice
- Cold water or beef broth creates the juicy center
If you skip the water in the filling, you lose the signature soupy bite. That is the heart of khinkali.
Substitutions:
- You can use lamb khinkali recipe style filling instead of pork
- Mushroom filling works for a vegan option
- Gluten-free flour works, but dough will be softer and harder to shape
How to Make Khinkali Step by Step Without Breaking the Dough
The process has three parts: dough, filling, and folding. Take your time. Rushing is what causes leaks.
Step 1: Make and rest the dough
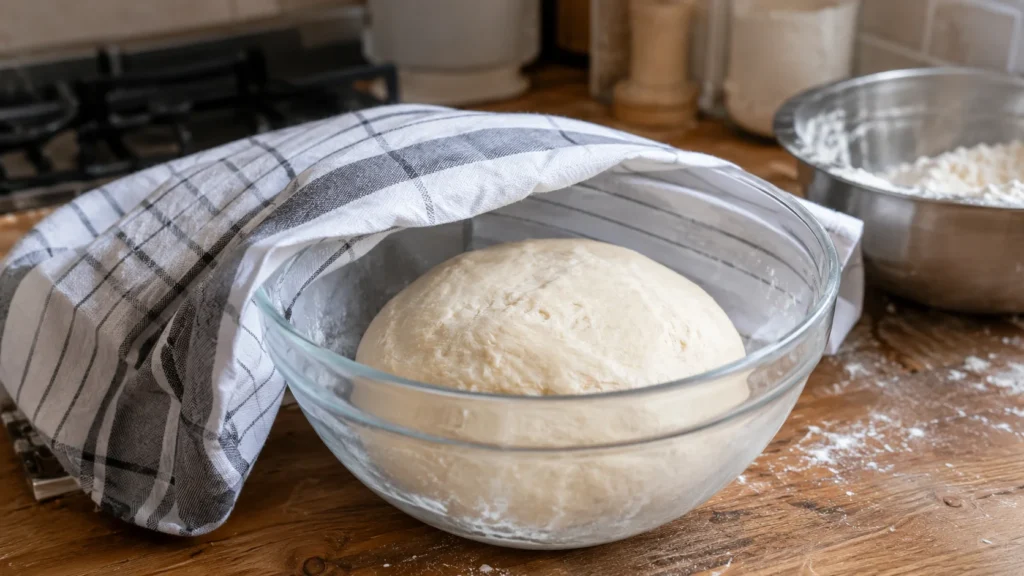
Mix 3 ½ cups flour, 1 teaspoon salt, 1 cup warm water, and 1 egg in a large bowl.
Knead for 10–15 minutes until smooth and elastic. It should feel soft but not sticky. Cover with a tea towel and rest for 30 minutes.
This rest helps the gluten relax so the dough rolls easily later.
Step 2: Prepare the juicy filling
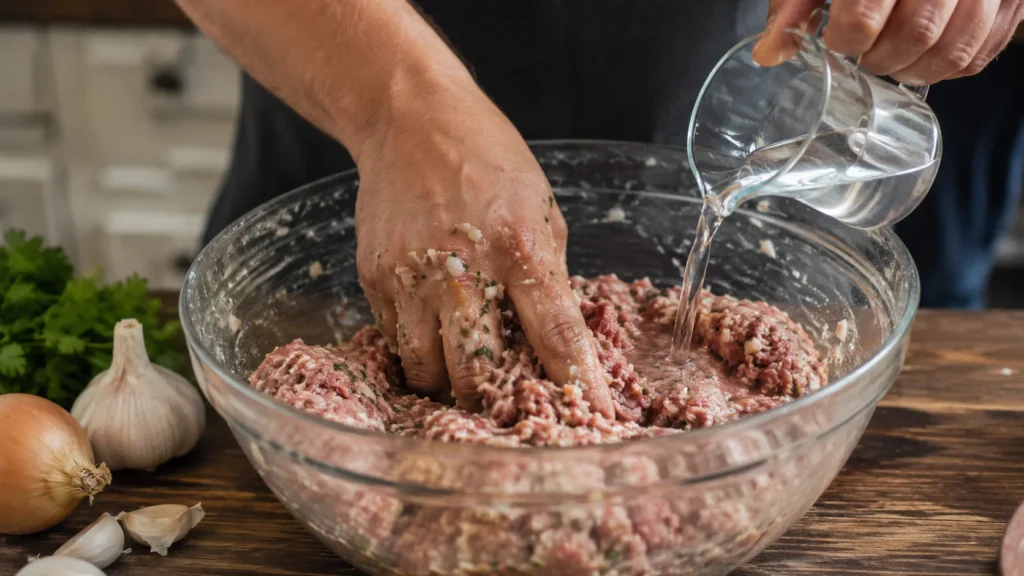
In a mixing bowl, combine ground beef, pork, onion, garlic, salt, pepper, and coriander.
Slowly add cold water or beef broth while mixing. The filling should look loose, not dry. It will tighten slightly during cooking, so don’t overpack it.
It should smell like fresh spices and onion, not dense meat.
Step 3: Roll and shape the dumplings
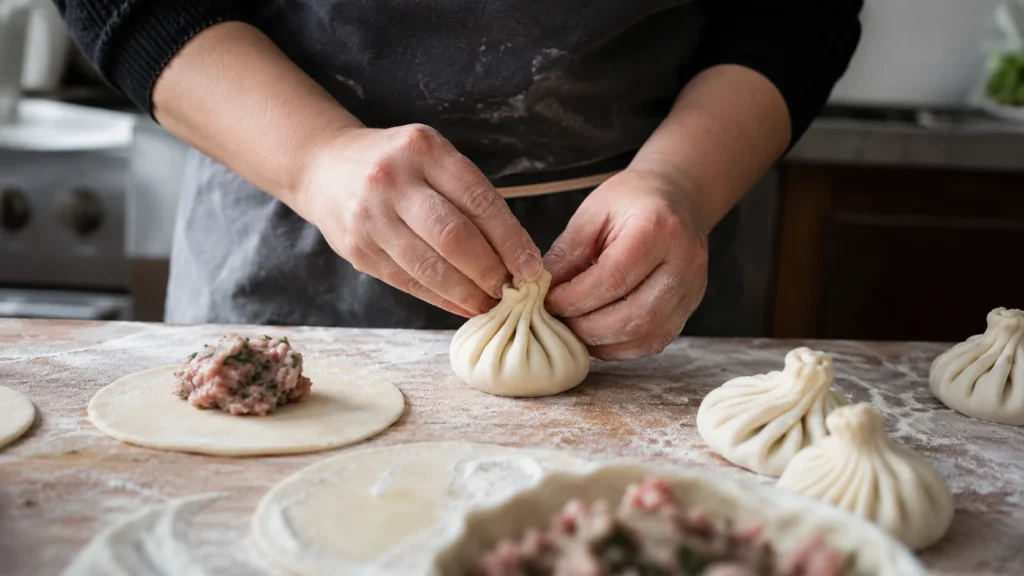
Roll dough to about 4-inch circles on a floured surface.
Add one spoonful of filling in the center. Start pleating the edges slowly, working around the circle.
Pinch the top and twist to seal. This creates the dumpling handle, called the kudi.
Aim for 12–20 pleats. Beginners should stay around 12–15 for strength.
Step 4: Boil until perfectly cooked
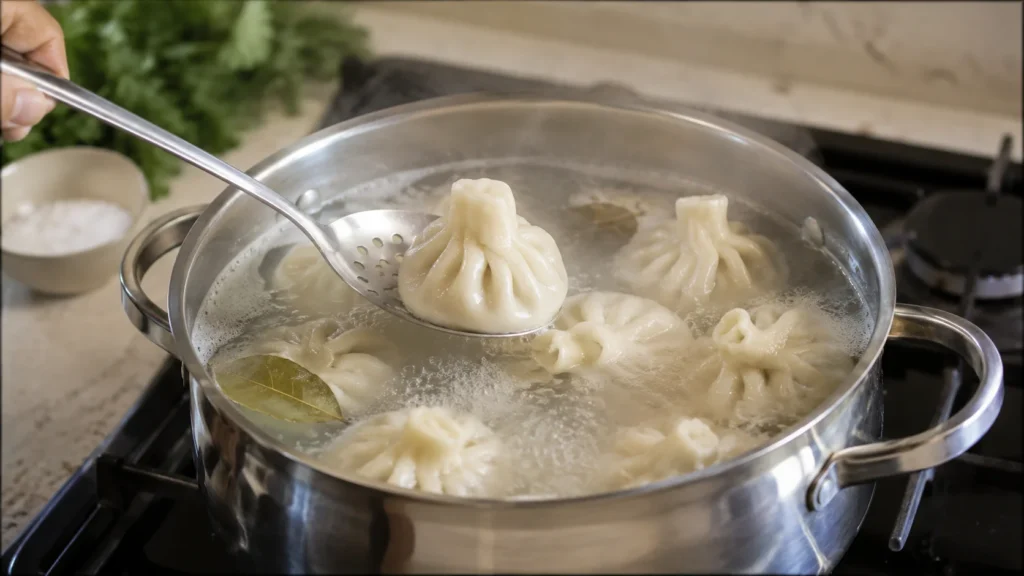
Bring a large pot of salted water to a gentle boil. Add bay leaves if you want extra aroma.
Drop dumplings in carefully and stir gently so they don’t stick.
They will float when ready. Let them cook 7–8 minutes more after floating.
The dough should look slightly translucent and firm when done.
The One Mistake That Ruins Most Khinkali Recipes
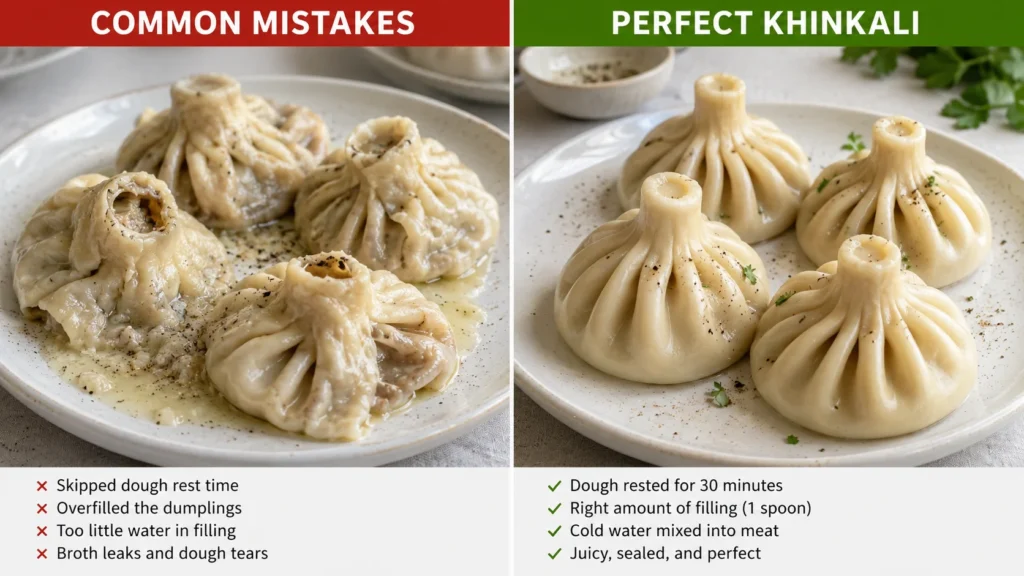
The biggest mistake is skipping dough rest time. People get impatient and roll it too early.
Why this ruins it:
- Dough becomes tight and tears easily
- Pleats break during sealing
- Broth leaks into the pot
Another mistake:
Overfilling the dumplings. This stretches the dough too thin and causes leaks.
And one more:
Adding too little water to the filling. This removes the juicy center completely.
Quick tips:
- Always rest dough 30 minutes
- Use 1 spoon filling, not more
- Mix cold water into meat slowly
- Keep dough covered while working
Pro Tip for Juicier Khinkali Every Time
The key upgrade is cold water in the filling.
Cold water mixes with fat and meat during cooking. As it heats, it turns into steam and broth inside the dumpling. That is what creates the signature “soup pocket.”
If you skip this, you get dry dumplings instead of khinkali.
This step is simple but changes everything.
Easy Variations You Can Try at Home
- Mushroom filling for a vegan khinkali recipe
- Lamb khinkali for stronger flavor
- Cheese filling using soft salty cheese
- Potato filling for a budget-friendly version
- Pan-fried khinkali for crispy bottoms
- Extra spicy version with red pepper flakes
What to Serve With Khinkali for a Full Georgian Meal
Khinkali are usually the main dish, but sides make them even better.
- Fresh herbs like cilantro and parsley for brightness
- Cracked black pepper for classic seasoning
- Yogurt or sour cream for dipping richness
- Light salad to balance the heavy dumplings
- Georgian cheese bread like khachapuri for a full feast
You can also pair them with soups like pelmeni-style broth soup for a warming meal.
My Honest Experience Making This Khinkali Recipe
The first time I made khinkali, I rushed the dough and paid for it. Half of them burst in the pot. The kitchen looked like a mess.
What fixed it was simple: I slowed down and let the dough rest fully. The next batch held together perfectly.
What surprised me most was how forgiving the process becomes once you understand the texture. It’s not hard it just needs patience.
How to Store, Freeze, and Reheat Khinkali
Khinkali store very well, especially when frozen raw.
- Room temp: 2 hours max
- Fridge: 2–3 days in airtight container
- Freezer: up to 3 months (raw preferred)
To freeze, place them on a floured tray first so they don’t stick. Once firm, move to a freezer bag.
Reheat by boiling straight from frozen. Add 1–2 extra minutes of cooking time.
Frequently Asked Questions About Khinkali Recipe
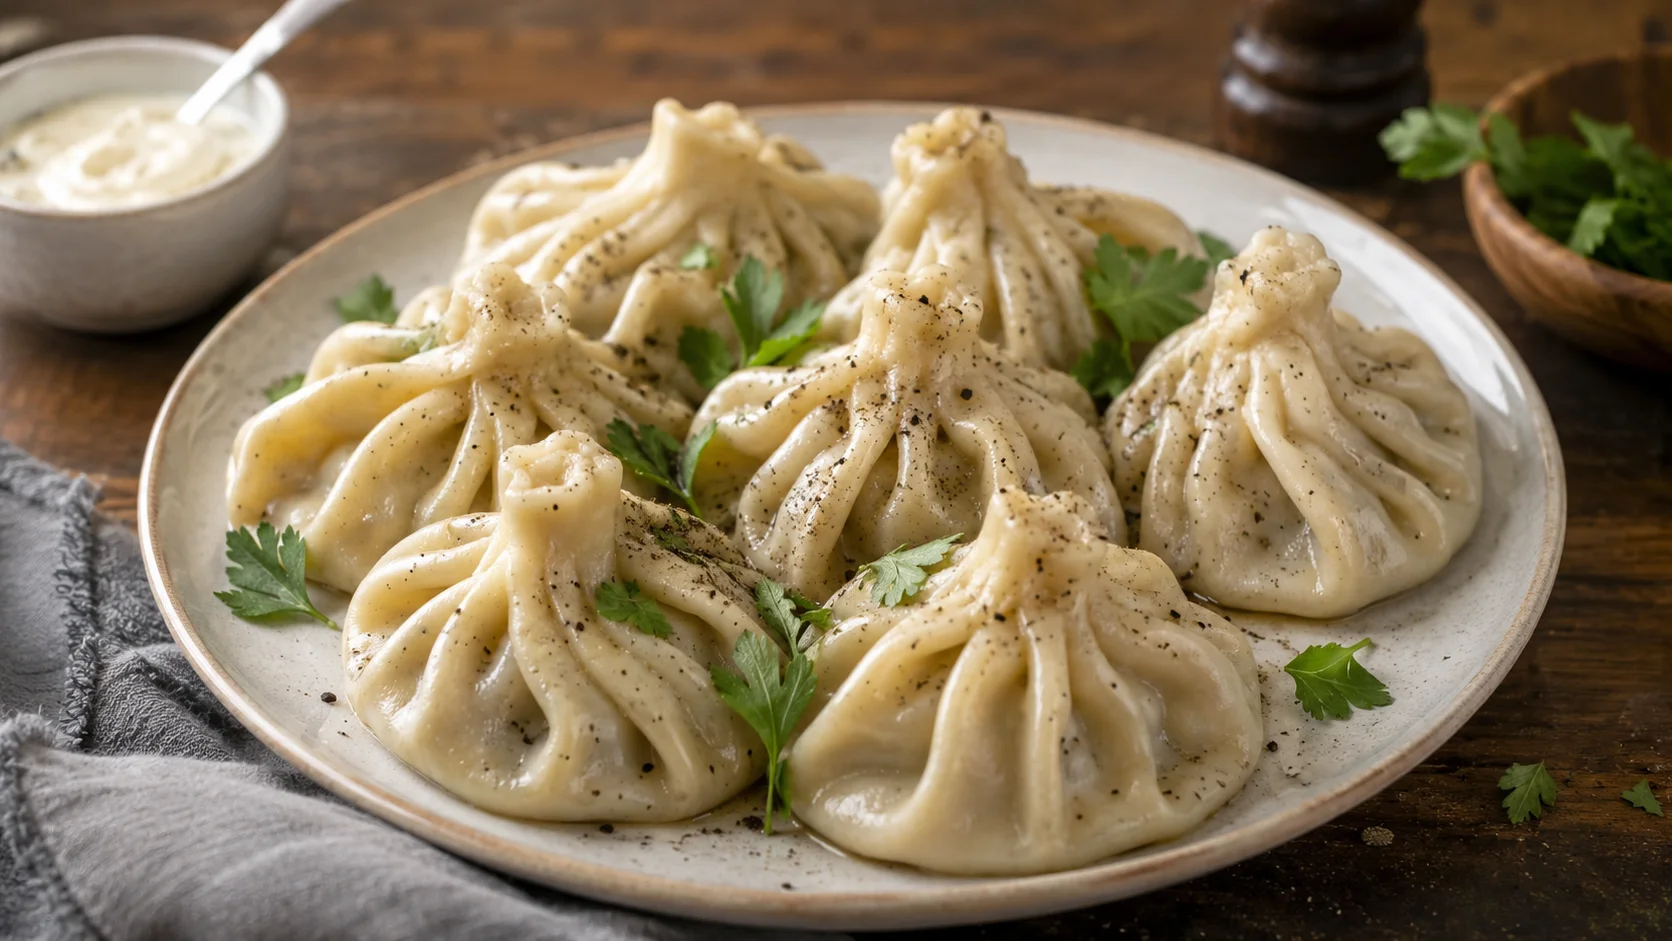
Khinkali Recipe
Ingredients
Equipment
Method
- Add the flour and salt to a large mixing bowl. Mix in the egg and warm water until a rough dough forms.
- Knead the dough for 10–15 minutes until smooth and elastic. Cover with a towel and let it rest for 30 minutes.
- In another bowl, combine ground beef, ground pork, onion, garlic, coriander, salt, and black pepper. Slowly mix in cold water or broth until the filling looks juicy but not watery.
- Roll the dough on a lightly floured surface until thin. Cut into 4-inch circles using a glass or cutter.
- Place one spoonful of filling in the center of each dough circle. Gather the edges into pleats and pinch the top tightly to seal the dumpling.
- Bring a large pot of salted water to a gentle boil. Add bay leaves if using for extra aroma.
- Carefully place the khinkali into the boiling water in batches. Stir gently once so they do not stick to the bottom.
- Cook until the dumplings float, then simmer for another 7–8 minutes. The dough should look slightly translucent and firm.
- Remove with a spider skimmer or slotted spoon. Serve hot with black pepper sprinkled on top.
Notes
Final Thoughts on This Khinkali Recipe
Khinkali are simple once you understand the dough and filling balance. The key is patience, not complexity.
Once you make them properly, you start to understand why they are such a big part of Georgian cuisine and family meals. They bring people together in a very real way.
If you try this khinkali recipe, take your time and enjoy the process. I would love to hear how yours turn out especially your first batch.