Matbucha Recipe: 7 easy secrets for perfect thick smoky dip that never turns watery
I used to buy matbucha from kosher markets every Friday. The tubs were tiny, expensive, and honestly not that exciting. Then I learned how simple this dish really is to make at home.
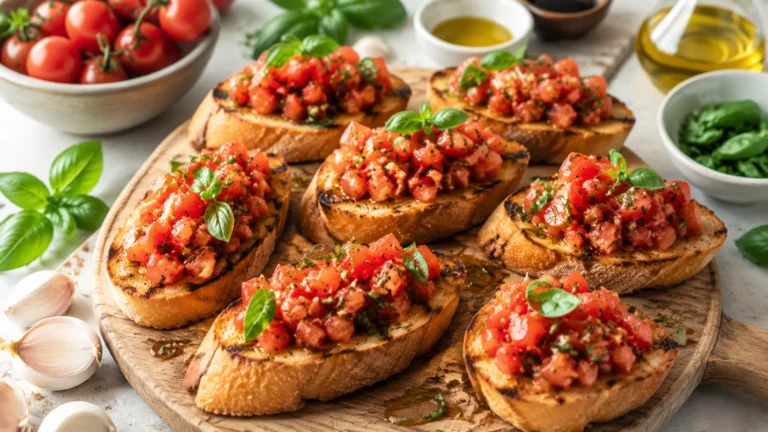
This matbucha recipe became one of my favorite make-ahead dips because it works for almost everything. I spread it on challah bread, spoon it over eggs, and even use it as a quick pasta sauce when the fridge looks empty. The flavor gets deeper as it cooks, and the smell of tomatoes, garlic, and paprika filling the kitchen is hard to beat.
What makes this version different is that I tested both stovetop and oven methods many times. I also compared fresh tomatoes against canned ones, tried different pans, and froze small batches to see what actually works best for real home cooks.
What Is Matbucha and Why Do People Love It?
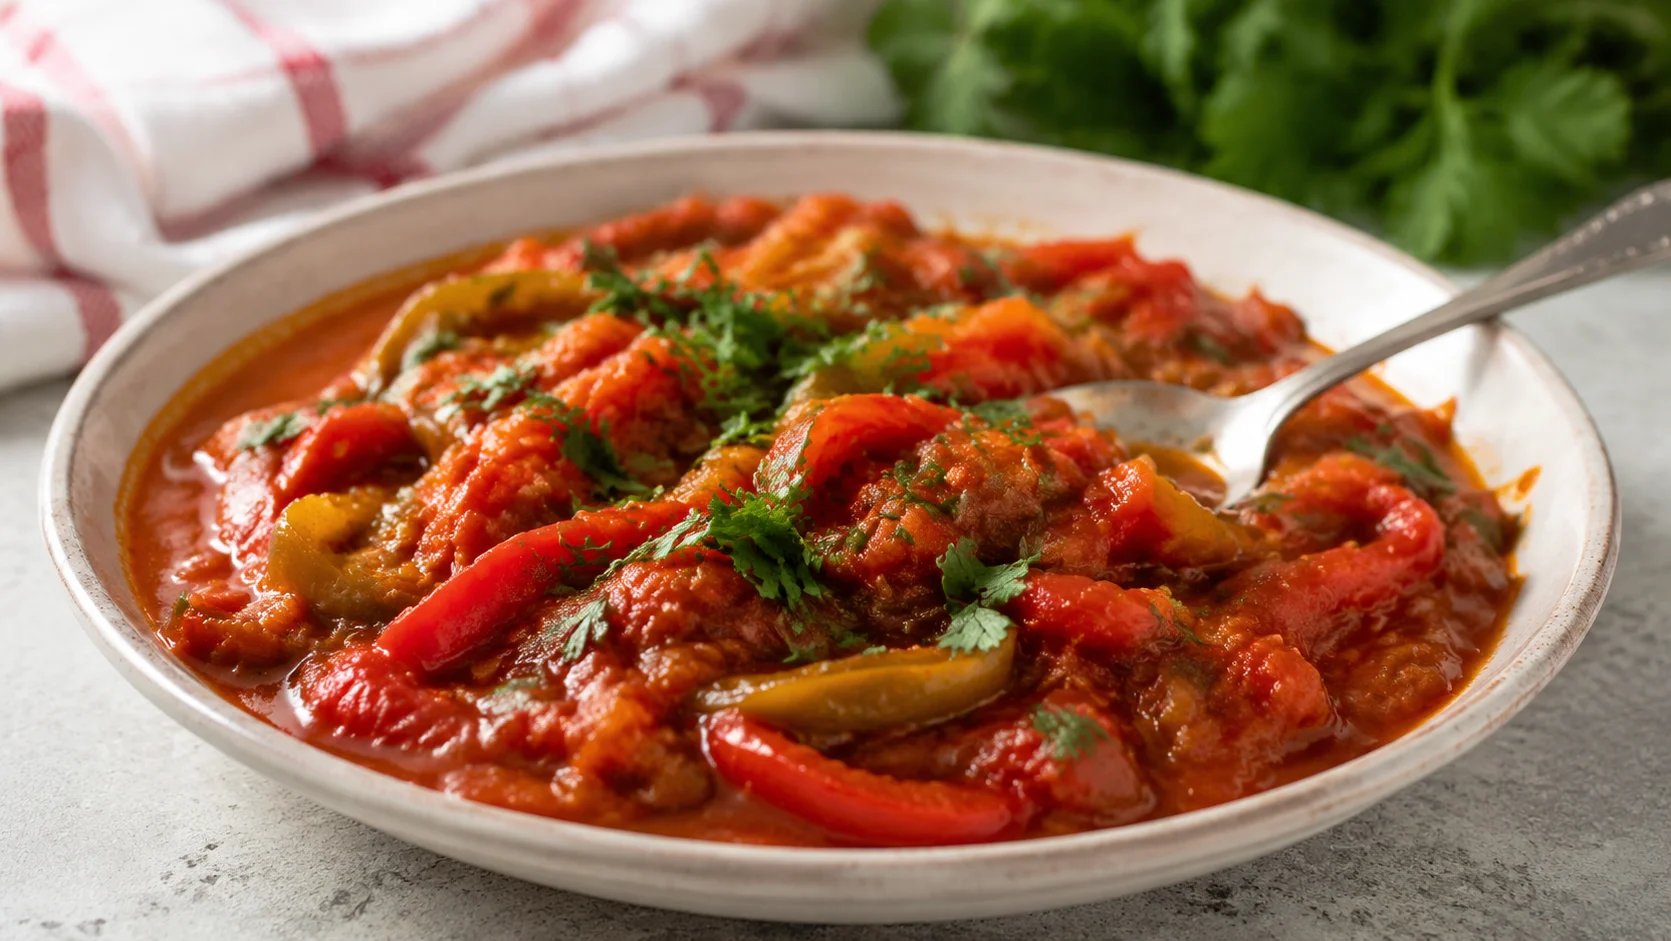
Matbucha is a Moroccan tomato salad and dip made with tomatoes, peppers, garlic, olive oil, and paprika. It is thick, silky, slightly smoky, and usually spicy. Most people serve it cold or at room temperature with bread or vegetables. It is popular because it tastes rich while using very simple ingredients.
You will find matbucha across the Middle East and North Africa. Moroccan families often serve it as part of a mezze spread with hummus, olives, challah, or warm pita. In Israel, it is also a common Shabbat side dish.
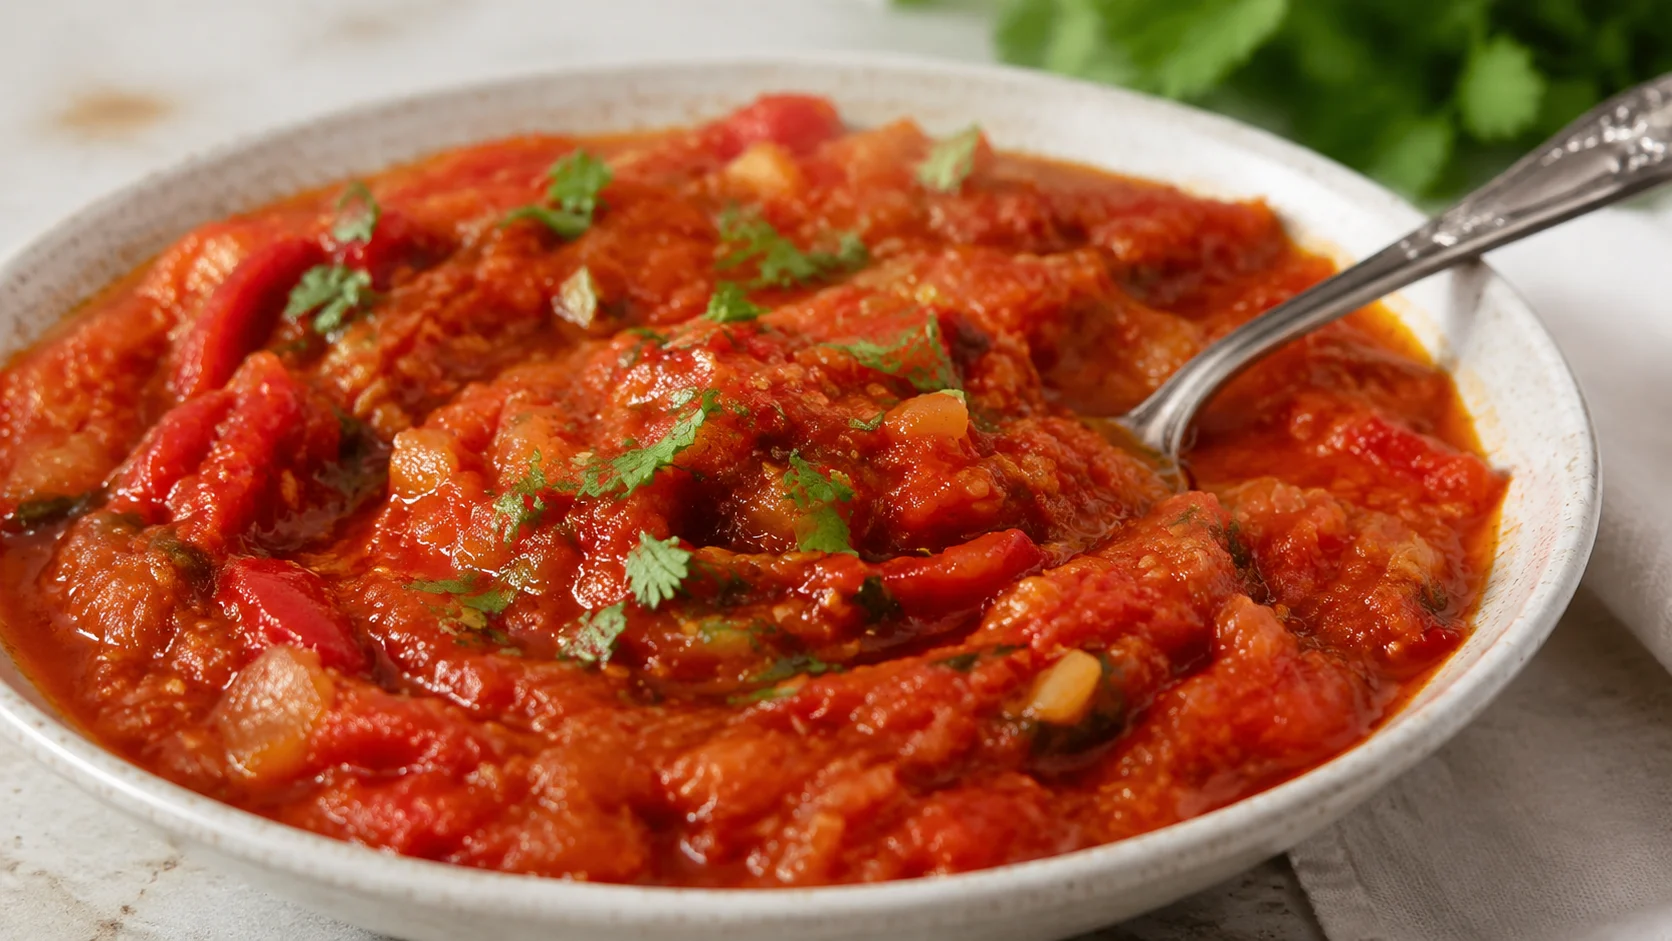
The texture should feel soft and jammy, not watery like salsa. A good batch smells sweet from cooked tomatoes with a warm paprika aroma underneath. The longer it cooks, the deeper the flavor becomes.
What Makes Moroccan, Israeli, and Tunisian Styles Different?
| Style | Main Ingredients | Texture | Heat Level | Main Difference |
| Moroccan matbucha | Tomatoes, roasted peppers, garlic, paprika | Thick and smooth | Mild to medium | Slow cooked with deep tomato flavor |
| Israeli matbucha | Tomatoes, peppers, olive oil | Chunky and spreadable | Medium | Often served as a mezze dip |
| Tunisian-style versions | Tomatoes, hot peppers, garlic | Looser texture | Hot | Uses more spice and chili heat |
| Eggplant matbucha | Tomatoes, peppers, roasted eggplant | Thick and smoky | Medium | Richer texture from eggplant |
Why This Matbucha Recipe Works Better for Busy Home Cooks
This recipe gives you the rich flavor of traditional matbucha without needing to stand over the stove all day. You can use the stovetop for the deepest flavor or roast everything in the oven for an easier shortcut.
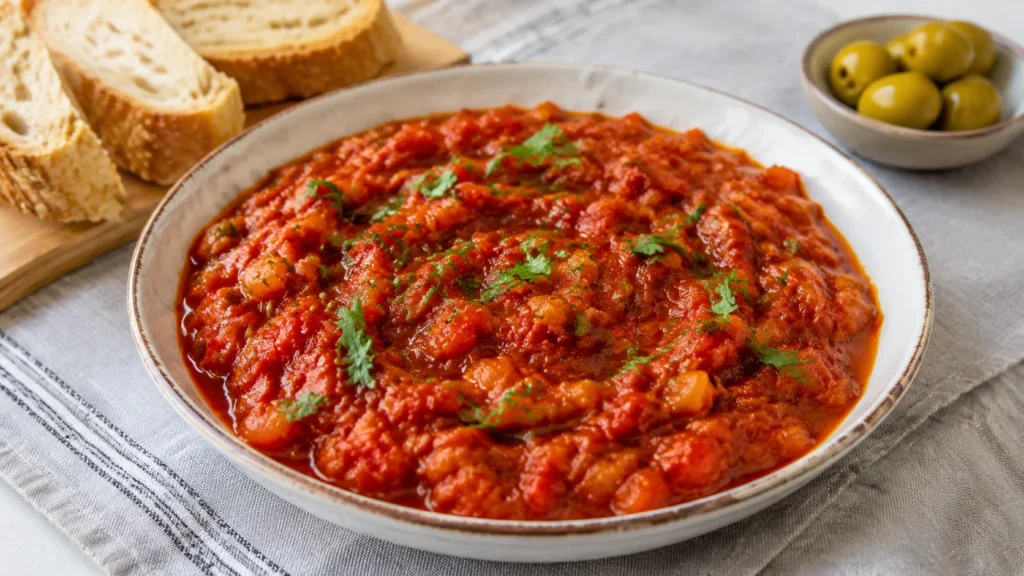
The finished dip is sweet, smoky, spicy, and thick enough to spread on bread without dripping everywhere. It also freezes well, which makes it great for meal prep or Shabbat cooking.
| Detail | Info |
| Prep Time | 25 minutes |
| Cook Time | 75–105 minutes |
| Total Time | About 2 hours |
| Servings | 6–8 servings |
| Difficulty | Easy |
| Cuisine | Moroccan / Middle Eastern |
| Calories | ~117–183 per serving |
| Cost | About $5–$8 total |
Traditional vs Shortcut Cooking Times
| Method | Active Time | Total Time | Flavor | Approximate Yield |
| Traditional stovetop | 25 minutes | 2–3 hours | Deep and rich | 3 cups |
| Oven-roasted shortcut | 15 minutes | 1½ hours | Smoky and lighter | 3 cups |
| Canned tomato shortcut | 10 minutes | 60–90 minutes | Less sweet | 3 cups |
Is Homemade Matbucha Worth It?
Store-bought matbucha can cost around $3–$4 for a small container. Homemade matbucha usually makes three times more for about the same price. That is one reason I keep making it myself.
Ingredients and What Each One Does in This Recipe
The ingredient list is simple, but every part matters. Tomatoes build the base, peppers add sweetness, and olive oil helps create that silky texture matbucha is known for.
- Tomatoes
- Red bell peppers
- Jalapeños
- Garlic
- Paprika
- Olive oil
- Salt
- Chili flakes
- Sugar
Fresh tomatoes give the best flavor during summer months. They taste sweeter and less acidic. The downside is the extra work. You need to blanch and peel them first.
Canned tomatoes save time and cost less. They work well in winter, but they release more liquid. That means you may need an extra 15–20 minutes of simmer time.
Fresh vs Canned Tomatoes — Honest Comparison
| Type | Flavor | Effort | Cook Time | Cost | Best Season |
| Fresh tomatoes | Sweet and bright | More work | Longer | Moderate | Summer |
| Canned diced tomatoes | Consistent but flatter | Easy | Medium | Cheap | Year-round |
| Crushed tomatoes | Smooth but mushier | Very easy | Shorter | Cheap | Year-round |
Jarred roasted peppers also work in a pinch. They save time, but they add a slight vinegar taste that fresh roasted peppers do not have.
Green bell peppers can make the dip slightly bitter. Red peppers are sweeter and work much better here.
How to Make Matbucha Recipe Step by Step
This cooking process is simple, but patience matters. The tomatoes need enough time to lose moisture and become thick. Do not rush the simmering stage.
1. Roast or Cook the Peppers
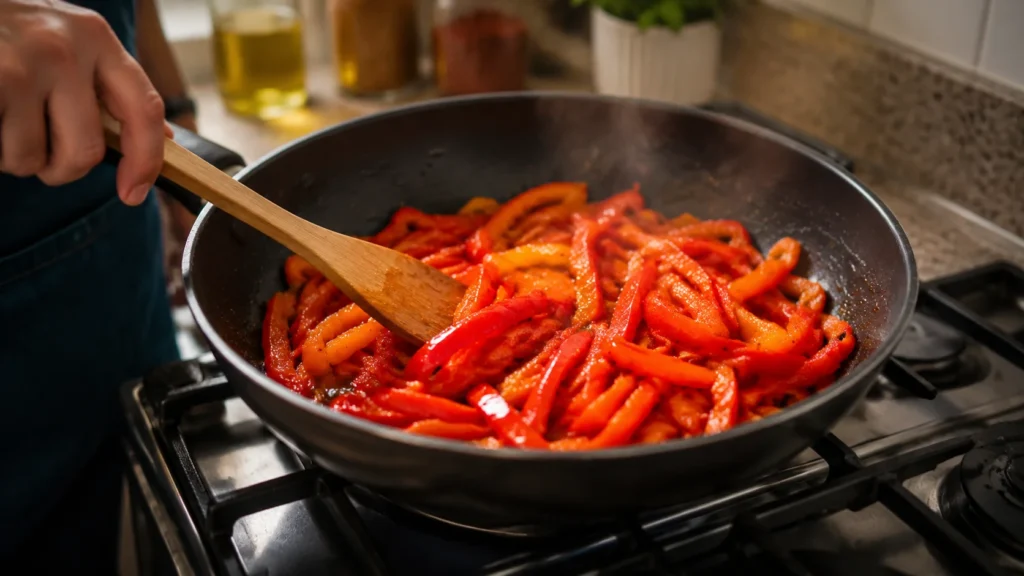
Place the peppers on a baking sheet or cookie sheet. Roast at 400°F until the skins darken and smell smoky. If using the stovetop, sauté the peppers in olive oil until soft.
This step adds sweetness and removes the raw pepper taste.
2. Peel and Prep the Tomatoes
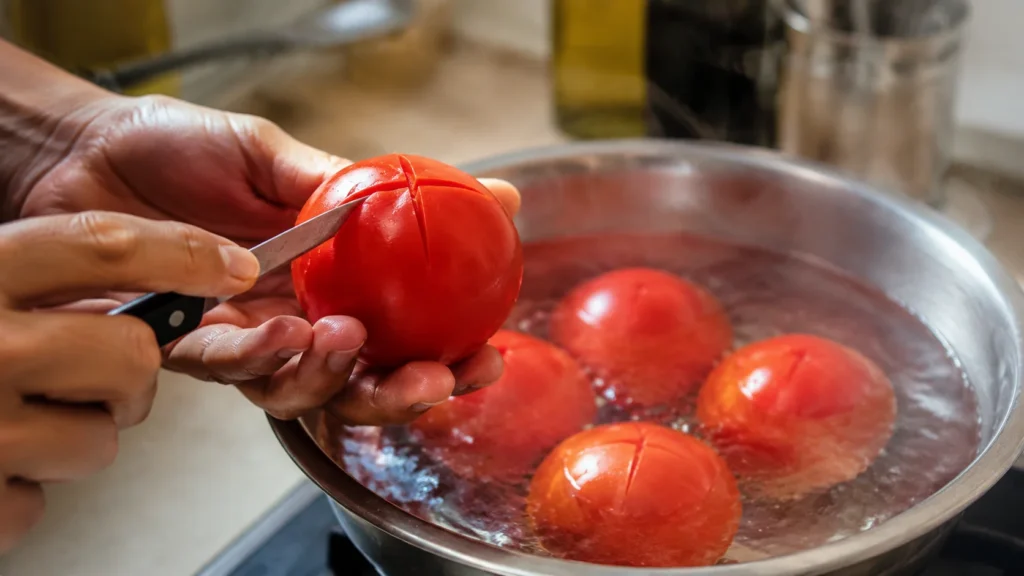
Score each tomato with a sharp paring knife. Place them in a bowl of boiling water for 10–15 minutes until the skins loosen.
Peeling matters because tomato skins stay chewy even after long cooking.
3. Cook the Garlic and Jalapeños
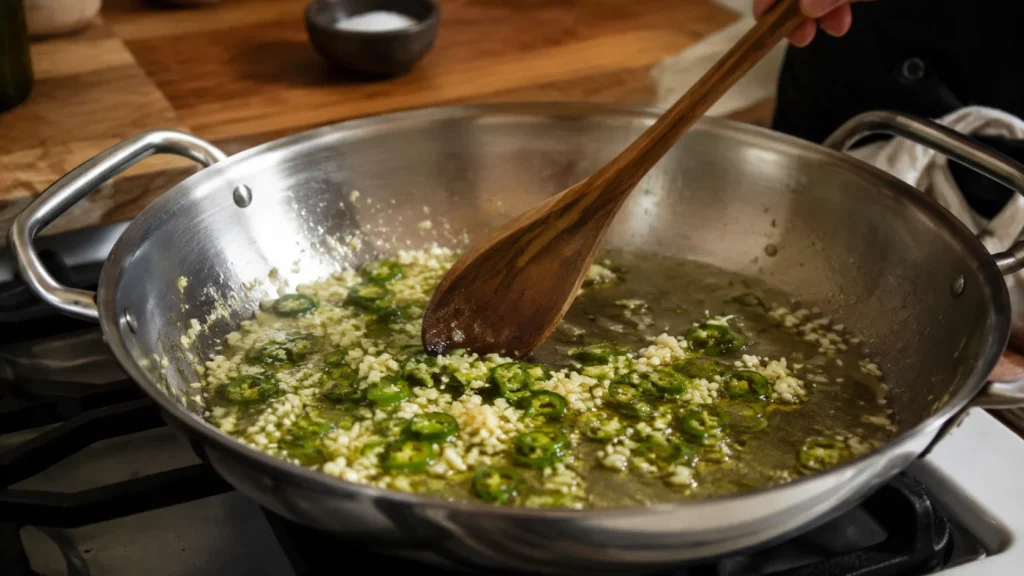
Add olive oil to a medium saucepan or deep skillet over medium heat. Cook the garlic and jalapeños until fragrant.
Do not brown the garlic too much. Burned garlic turns bitter fast.
4. Add the Tomatoes and Simmer
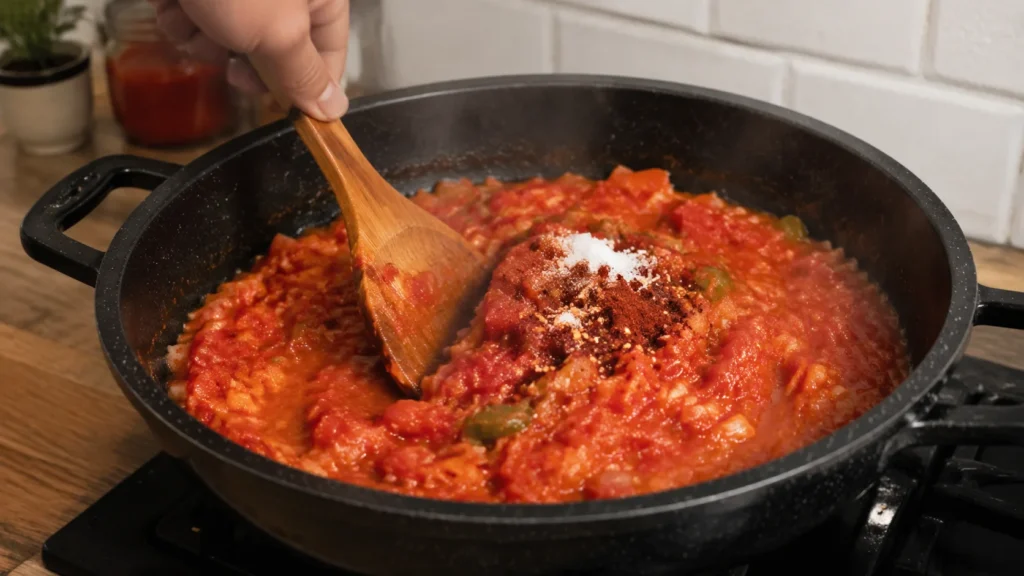
Add chopped tomatoes, peppers, salt, paprika, chili flakes, and sugar. Bring everything to a boil over medium heat.
Lower the heat to medium-low and cook uncovered for 65–75 minutes. Stir every 10 minutes so the bottom does not burn.
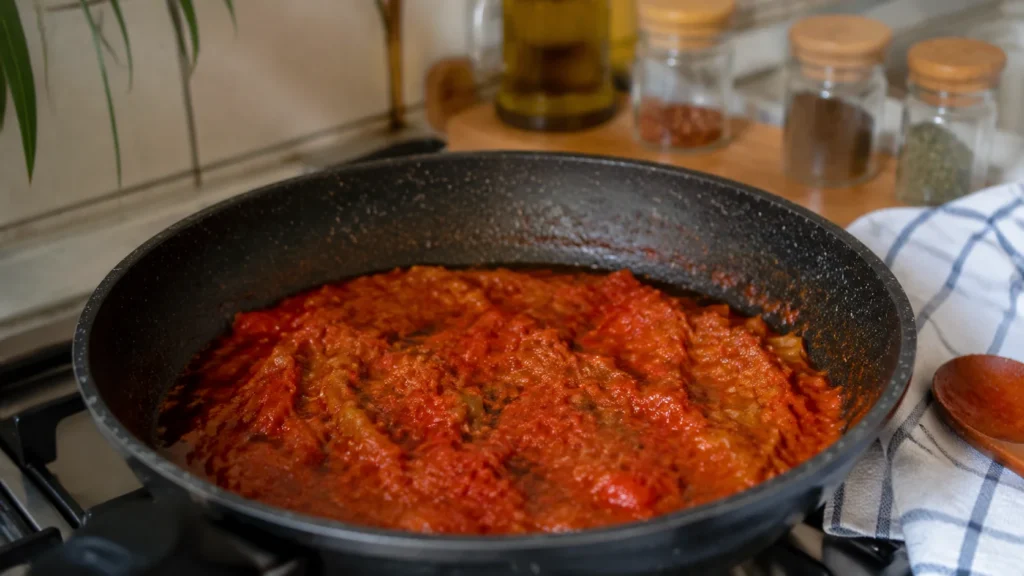
5. Watch for the Right Texture
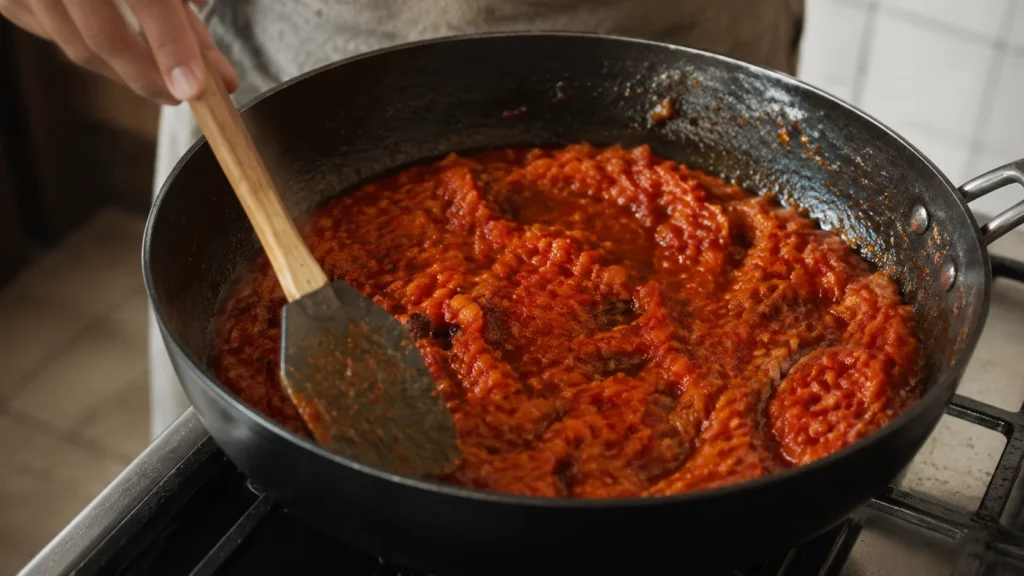
The mixture should slowly turn darker, thicker, and glossy. You should see very little liquid left in the pan.
This is the biggest visual cue. If it still looks watery, keep cooking.
6. Add the Seasoned Oil

Whisk olive oil and paprika together in a small bowl. Pour it into the matbucha and cook another 30 minutes.
The oil helps carry flavor through the whole dip and gives the final texture a smoother finish.
7. Cool Before Serving
Let the matbucha cool completely before serving. The flavor becomes better after resting.
Serve it chilled, warm, or at room temperature.
The Common Mistake That Ruins Most Matbucha Recipes
The biggest mistake is stopping too early. Many people see soft tomatoes and think the dip is finished. It is not.
Matbucha should be thick and jammy. If too much liquid remains, the flavor tastes weak and watery. Keep simmering until the spoon leaves a clear trail through the pan.
Another common problem is using the wrong pan. Narrow pots trap steam, which slows evaporation. A wide saucepan or skillet works much better because moisture escapes faster.
I also do not recommend cast iron here. Tomatoes are acidic and can react with the metal. That sometimes creates a metallic taste.
Quick Fixes for Common Problems
- Too watery → simmer uncovered 10–15 more minutes
- Too sweet → add a pinch of salt or little lemon juice
- Burning on the bottom → add 2 tablespoons water and lower heat
- Too spicy → stir in extra tomatoes or roasted peppers
- Too bland → add more paprika and salt
The Secret Pan Choice That Makes Matbucha Thicker Faster
A wide pan changes everything.
When tomatoes spread across more surface area, steam escapes quicker. That means the mixture thickens faster and develops a deeper flavor. A narrow stockpot can trap moisture for hours.
I usually use a heavy stainless steel skillet or a large deep pan. It heats evenly and helps prevent scorching during long simmering.
Easy Variations You Can Try at Home
Once you learn the base recipe, you can adjust it many ways.
- Add roasted eggplant for a smokier and richer texture
- Use habanero instead of jalapeños if you love extra heat
- Make it mild by skipping chili flakes completely
- Blend it smooth in a food processor for a creamy dip
- Add zucchini during summer when you have extra produce
- Use canned tomatoes for a faster weeknight version
What to Serve With Matbucha for the Best Meal
Matbucha works as a dip, sauce, spread, and side dish all at once. That is why I keep it in the fridge almost every week.
- Serve with warm challah bread for a classic Friday night spread
- Spoon over scrambled eggs or shakshuka for breakfast
- Add to grilled chicken or fish as a smoky topping sauce
- Spread inside wraps or sandwiches instead of mayo
- Serve with hummus, olives, pickles, and pita for a mezze platter
If you like Mediterranean dips, our roasted eggplant dip and healthy spinach artichoke dip pair really well with this recipe.
My Honest Experience Making This Recipe at Home
The first batch I made burned badly on the bottom because I used high heat. I thought faster cooking would save time. It did not.
Once I switched to medium-low heat and used a wider pan, the texture changed completely. The tomatoes cooked down slowly and turned silky instead of watery.
I also learned that matbucha tastes even better the next day. The garlic, paprika, and peppers settle together overnight and the flavor gets deeper.
How to Store, Freeze, and Reheat Matbucha the Right Way
Matbucha stores very well because olive oil helps protect the surface from air exposure. That slows oxidation and keeps the dip tasting fresh longer.
| Storage Method | Container | Time | Notes |
| Room temperature | Covered bowl | 2 hours | Best for serving only |
| Fridge | Airtight glass container | 7–10 days | Add thin olive oil layer on top |
| Freezer | Airtight container with headspace | Up to 12 months | Freeze small batches |
Signs Your Matbucha Has Gone Bad
- Sour or sharp smell
- Mold spots
- Fizzy bubbles
- Gray color changes
Best Way to Reheat
Thaw frozen matbucha overnight in the fridge. Warm gently in a saucepan over medium-low heat. Add a spoon of olive oil if it looks dry after reheating.
What Are the Best Ways to Use Matbucha Beyond Bread?
Matbucha is much more than a dip. I probably use leftovers in five different meals every week.
- Use it as a shakshuka base and crack eggs directly into the sauce
- Toss it with pasta and pasta water for a smoky tomato sauce
- Spread it inside grilled cheese sandwiches
- Add it to grain bowls with rice or quinoa
- Spoon it over roasted vegetables or chicken
- Use it inside stuffed peppers
- Mix into lentil soup for deeper flavor
- Spread it on flatbread before baking pizza
Frequently Asked Questions About Matbucha Recipe
Matbucha Recipe
Ingredients
Equipment
Method
- Score the tomato skins with a sharp paring knife and place them in a bowl of boiling water for 10–15 minutes. Peel away the skins once they loosen easily.
- Heat 1 tablespoon olive oil in a large deep pan over medium heat. Add the diced bell peppers and cook for 8–10 minutes until softened and lightly golden.
- Stir in the minced garlic and jalapeños. Cook for 1 minute until fragrant but not browned.
- Add the peeled tomatoes, grape tomatoes, chili flakes, sugar, and salt. Stir well and bring the mixture to a gentle boil over medium heat.
- Reduce the heat to medium-low and simmer uncovered for 65–75 minutes. Stir every 10 minutes until the tomatoes break down and the mixture becomes thick and jammy.
- In a small bowl, whisk together the extra virgin olive oil and paprika. Pour the paprika oil into the pan and stir well.
- Continue cooking for 30 more minutes, stirring every 5 minutes so the bottom does not burn. The matbucha should look glossy, thick, and deeply red.
- Taste and adjust seasoning if needed. Let the matbucha cool slightly before serving warm, chilled, or at room temperature.
Notes
Final Thoughts on This Matbucha Recipe
This matbucha recipe works because it focuses on flavor, texture, and realistic cooking methods. You can make it the traditional slow way or use the oven shortcut when life gets busy. Both versions still give you that rich tomato flavor and smoky finish that makes matbucha so addictive.
I also love how flexible it is. You can make it mild, extra spicy, chunky, smooth, fresh, or pantry-friendly depending on what you have at home. If you make this, I would love to know how it turned out. Drop a comment on the Cookkiva recipe and tell me how you served it.