Kolsch Recipe: Brew a Crisp German Classic at Home

I used to think a Kolsch recipe was just another light beer recipe. Then my first batch taught me otherwise. It looked pale and beautiful, but I rushed the fermentation and ended up with a fruity beer that tasted nothing like the clean, crisp Kölsch I wanted.
That one mistake sent me down a rabbit hole of brewing books, old American Homebrewers Association (AHA) recipes, notes from Jamil Zainasheff, and discussions from experienced homebrewers. After brewing this style several times, I realized that Kölsch isn’t difficult because of fancy ingredients. It’s difficult because every little detail shows in the finished glass.
If you enjoy bright, refreshing beers with a gentle malt flavor and a smooth finish, this recipe is worth your time. I’ll show you not only how to brew it, but also why each step matters, common mistakes to avoid, realistic ingredient swaps, estimated cost, and the small tricks that helped me brew a much better batch.
What Is a Kolsch Recipe?
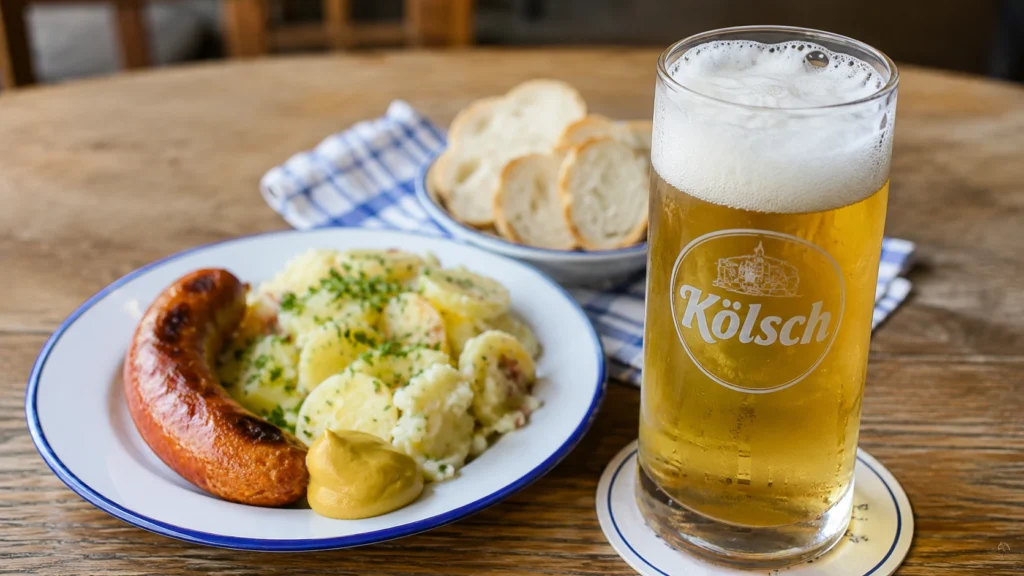
A Kolsch recipe is a German ale brewed mainly with German Pilsner malt, noble hops, and a clean ale yeast. It is warm fermented, then cold conditioned like a lager, creating a light, crisp beer that usually takes about six to eight weeks from brew day to its best flavor. People often serve it in a tall narrow Stange glass because it stays fresh and cold.
Kölsch comes from Cologne (Köln), Germany, where it is protected under the Kölsch Konvention. Authentic Kölsch can only be brewed in the Cologne metropolitan area, so homebrewers outside Germany technically brew a Kölsch-style beer rather than the protected original.
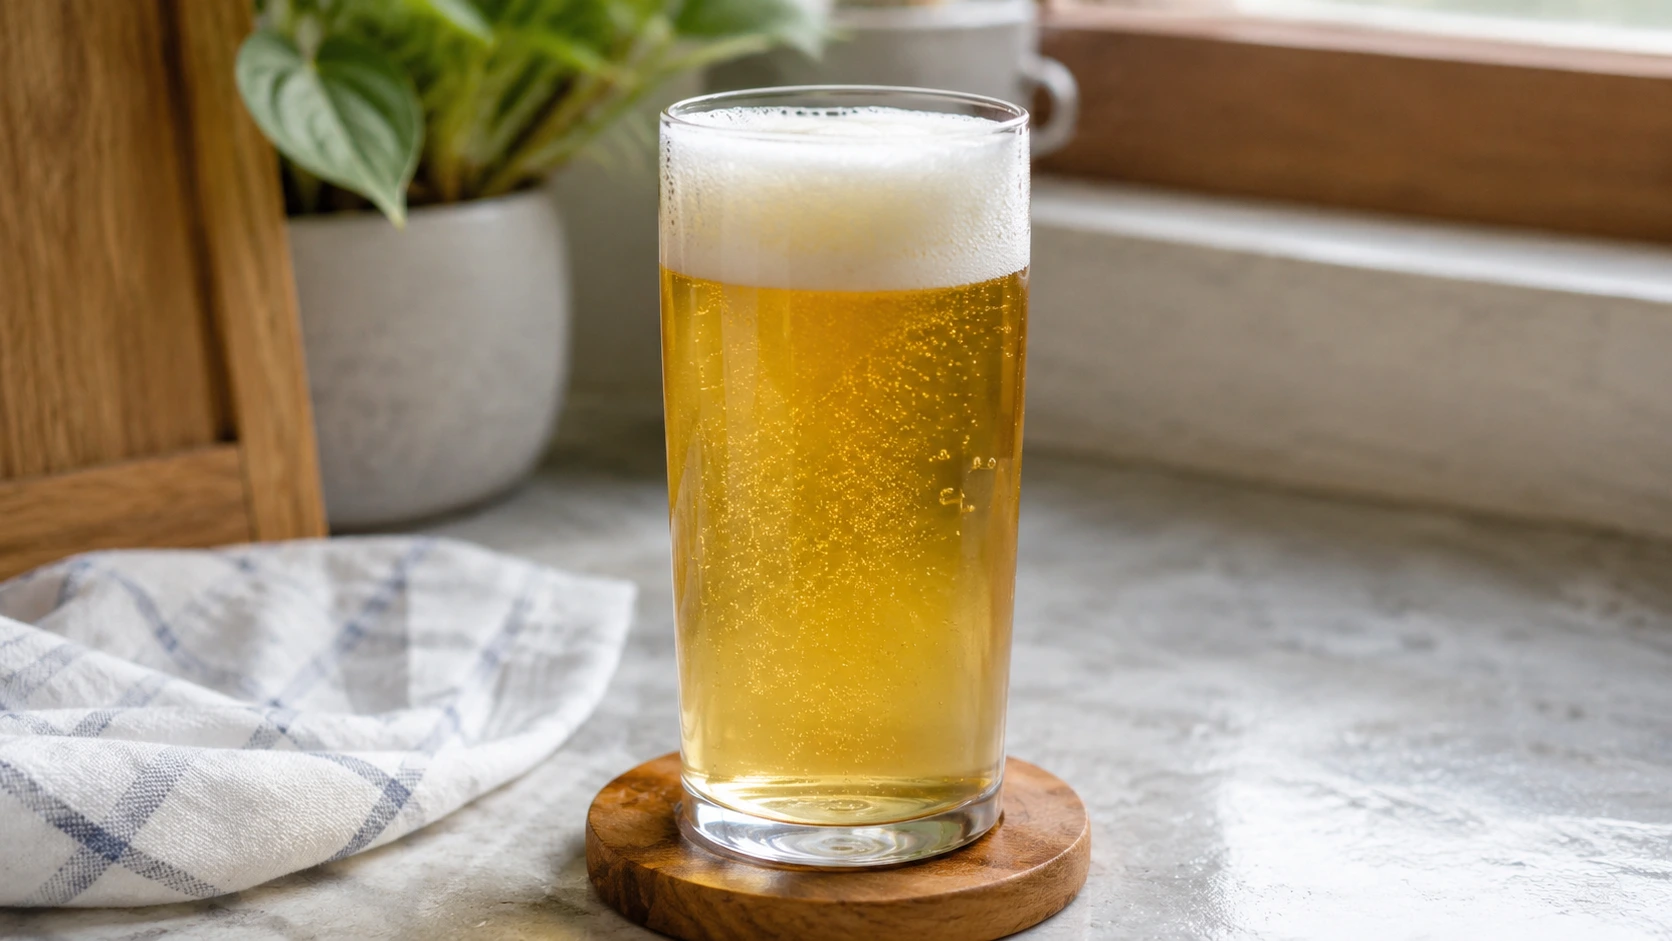
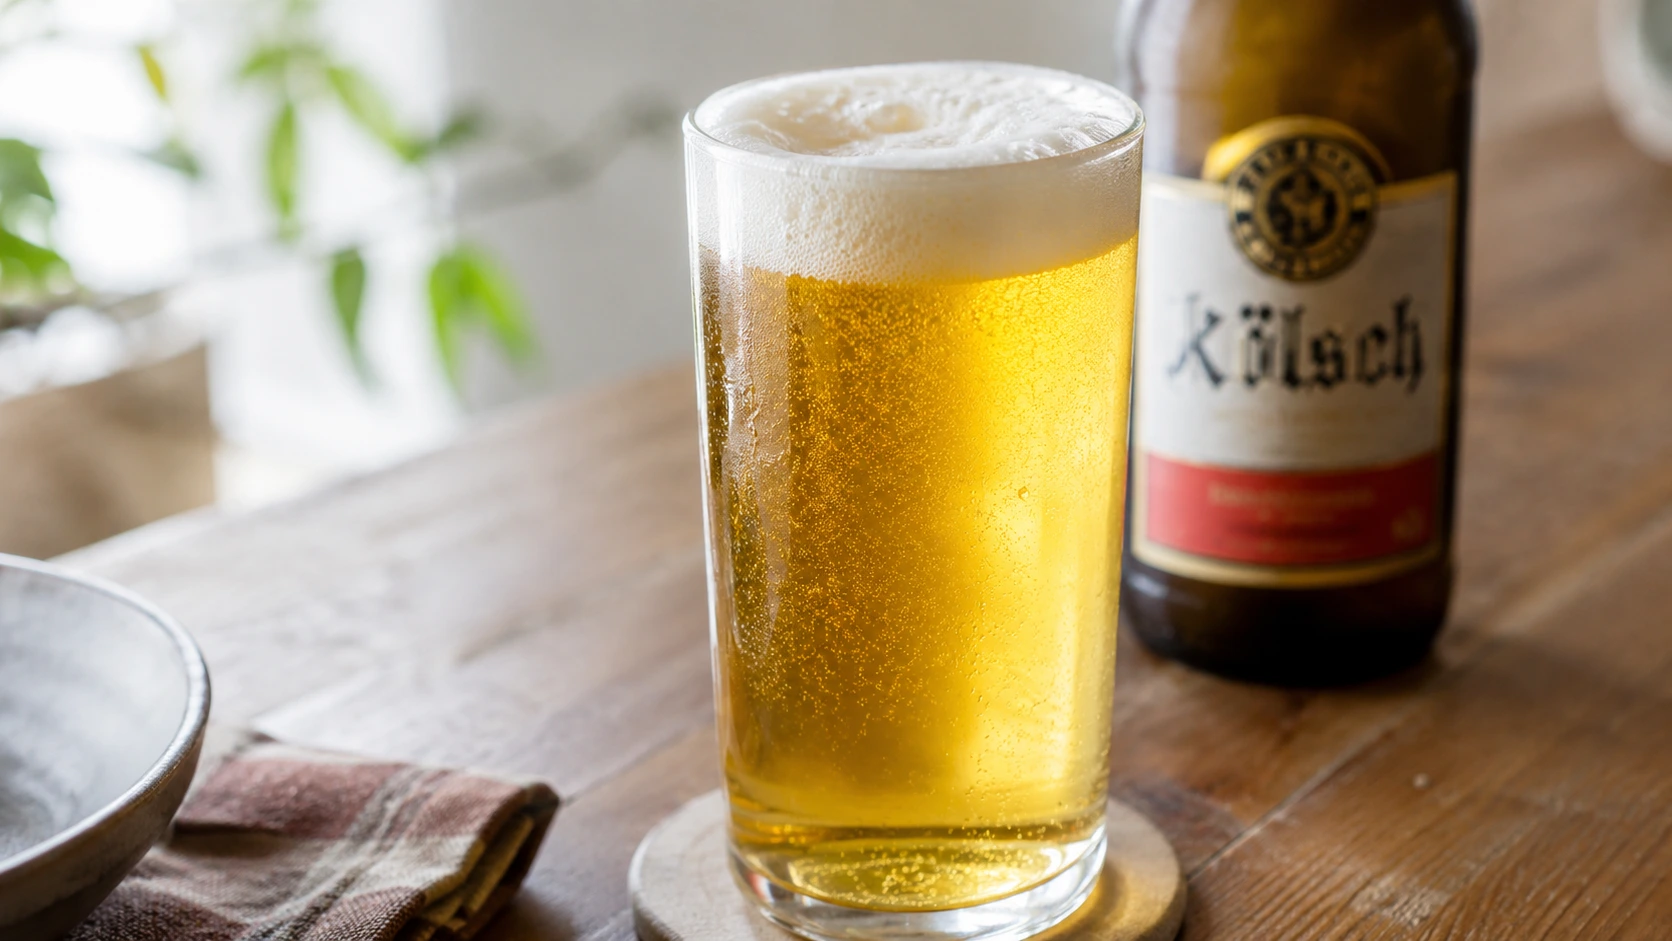
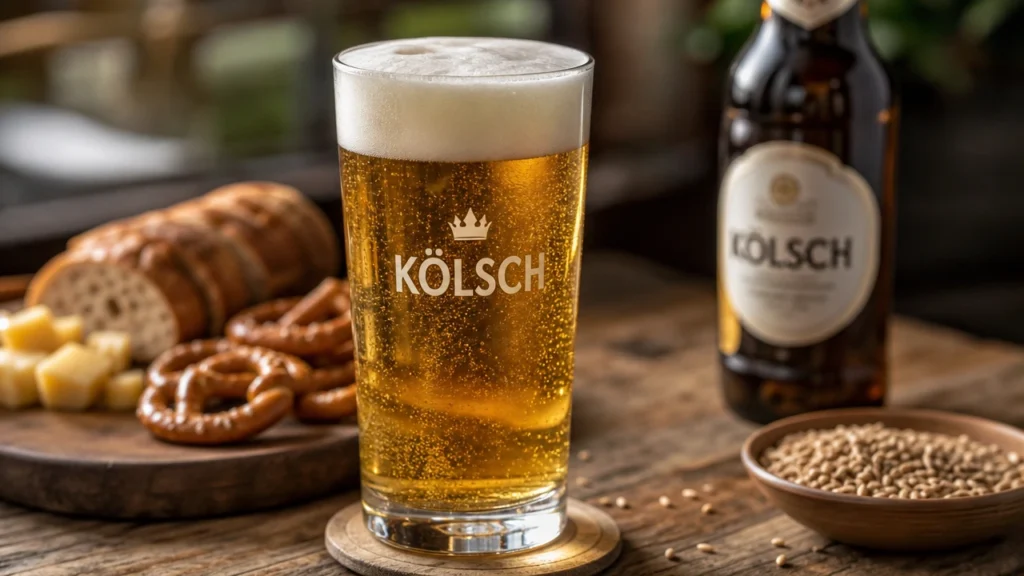
The beer pours a brilliant pale gold with a fluffy white head. The aroma is soft and delicate, showing light grain, gentle floral hops, and only a hint of fruit from the yeast. It should never smell like tropical fruit or candy.
The flavor is balanced from beginning to end. You taste clean malt first, followed by mild hop bitterness and a dry finish that keeps each sip refreshing. Unlike many modern craft beers, Kölsch is not about huge hop aroma or heavy malt sweetness. Its charm comes from balance.
One reason this style has stayed popular for generations is its versatility. It works equally well on a hot summer afternoon, alongside dinner, or while relaxing with friends. That clean finish makes you want another glass without overwhelming your palate.
Why This Kolsch Recipe Works Better Than Many Others
Many online recipes simply list ingredients and temperatures. They assume you already understand why those numbers matter. This guide takes a different approach.
The biggest secret behind a great Kölsch is that nothing hides mistakes. Dark beers can cover slight fermentation flaws with roasted malt. IPAs often mask imperfections with heavy hop aroma. Kölsch does neither.
Because the malt bill is simple and the hop character stays restrained, even small brewing mistakes become easy to notice. Ferment just a few degrees too warm and fruity esters become obvious. Skip proper lagering and the beer stays cloudy. Oxidize the beer during packaging and the fresh grain flavor quickly turns dull.
That sounds intimidating, but it also means every improvement makes a noticeable difference.
This recipe follows the traditional style while remaining practical for homebrewers who may not have professional equipment.
Recipe Overview
This version produces a clean, refreshing German-style Kölsch with a light malt backbone, moderate bitterness, and excellent drinkability. It follows the classic style instead of chasing trendy hop-forward variations.
| Detail | Information |
|---|---|
| Prep Time | 2 hours |
| Brew Day | About 5 hours |
| Fermentation | 14 days |
| Lagering | 4–8 weeks |
| Total Time | 6–10 weeks |
| Yield | 5 gallons (19 L) |
| Difficulty | Medium |
| Beer Style | German Kölsch |
| ABV | About 5.1% |
| IBU | Around 25 |
| SRM | 3–4 |
| Original Gravity | 1.048 |
| Final Gravity | 1.009 |
| Estimated Calories | About 150 per 12 oz serving |
| Estimated Cost | $32–$48 per 5-gallon batch depending on ingredients |
Is Brewing Kölsch Cheaper Than Buying It?
Most commercial German Kölsch beers sell for $12–20 per six-pack, depending on where you live.
A full 5-gallon batch gives roughly 50 standard bottles. Even if you spend around $40 on quality ingredients, each bottle costs less than one dollar before equipment costs.
That makes Kölsch one of the better value styles for homebrewers, especially if you already own basic brewing equipment.
Ingredients and Why Each One Matters
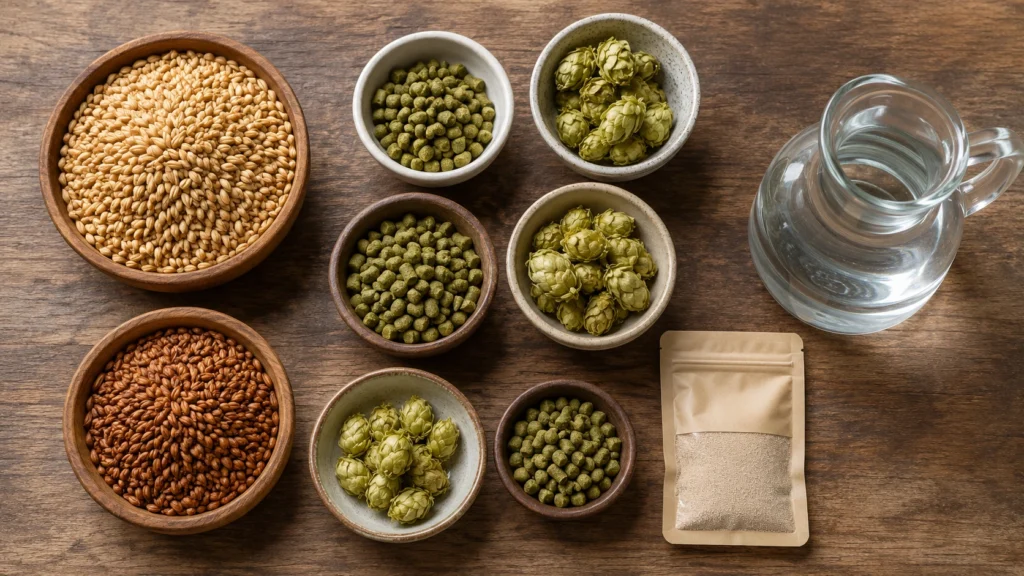
One thing I appreciate about Kölsch is its simplicity. You don’t need a long ingredient list. Every ingredient has an important job, so quality matters much more than quantity.
Grain Bill
- 95% German Pilsner malt
- 5% Vienna malt
The German Pilsner malt provides nearly all the clean grain flavor you expect from the style. It gives the beer its pale golden color and crisp finish.
Adding about 5% Vienna malt brings a gentle bread-like character without making the beer taste sweet. It adds just enough depth while keeping the beer traditional.
If you cannot find Vienna malt, a small amount of light Munich malt works well. Keep it under 5% or the malt flavor starts taking over.
Hops
- Hallertau
- Tettnang
- Spalt
- Hersbrucker
- Saaz
- Mt. Hood (acceptable substitute)
Traditional German noble hops provide soft floral, herbal, and lightly spicy notes. They support the malt rather than dominate it.
Avoid strongly citrusy American hops. They quickly push the beer away from classic Kölsch territory.
Yeast
Good yeast selection is one of the biggest factors in success.
Popular choices include:
- White Labs WLP029 German Ale/Kölsch
- Wyeast 2565 German Kölsch
- Omega Kölsch II (OYL-044)
- East Coast Yeast Kölschbier (ECY21)
These strains produce the restrained fruitiness that defines the style while finishing nice and dry.
Water
Soft brewing water works best for Kölsch.
If your tap water contains high mineral levels, many experienced homebrewers start with reverse osmosis water and add small amounts of calcium chloride to balance the profile.
Soft water allows the delicate malt flavor to shine without creating a harsh finish.
Optional Extract Version
If you don’t brew all grain, you can make an excellent batch using:
- Briess Pilsner liquid malt extract
- Small amount of Munich or wheat malt extract
Finding Vienna malt extract is difficult, so Munich extract is usually the closest substitute.
Ingredient Swaps That Actually Work
Some substitutions produce nearly identical results, while others change the beer much more than people expect.
- Vienna malt → Light Munich malt (best substitute)
- Hallertau → Tettnang or Spalt
- WLP029 → Wyeast 2565
- German Pilsner malt → High-quality domestic Pilsner malt if necessary
I would avoid replacing noble hops with modern citrus-heavy hops. The beer may still taste good, but it won’t taste like a classic Kölsch.
How to Make Kolsch Recipe Step by Step
Brewing Kölsch isn’t complicated, but it rewards patience. The grain bill is simple, the hop schedule is straightforward, and the yeast does most of the work. Your biggest job is controlling fermentation temperature and giving the beer enough time to clear.
The recipe below follows a classic all-grain process, but the same ideas apply if you’re brewing an extract version.
1. Heat Your Brewing Water
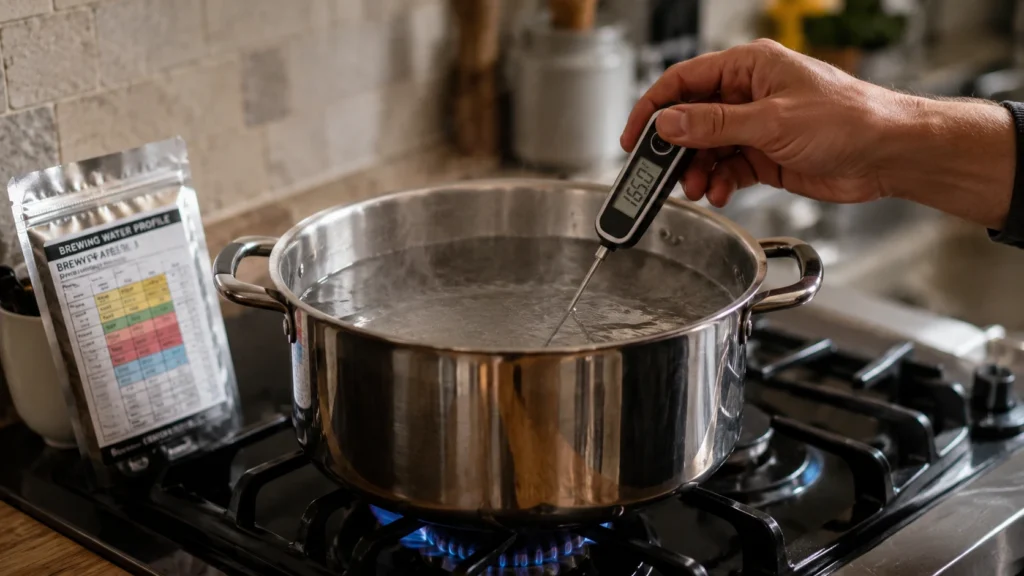
Heat enough water for your mash and check your water profile before you begin.
If your water is naturally hard, using reverse osmosis water with small mineral additions often produces a cleaner, more authentic Kölsch. Soft water lets the delicate malt flavor stand out instead of tasting harsh.
2. Mash the Grain
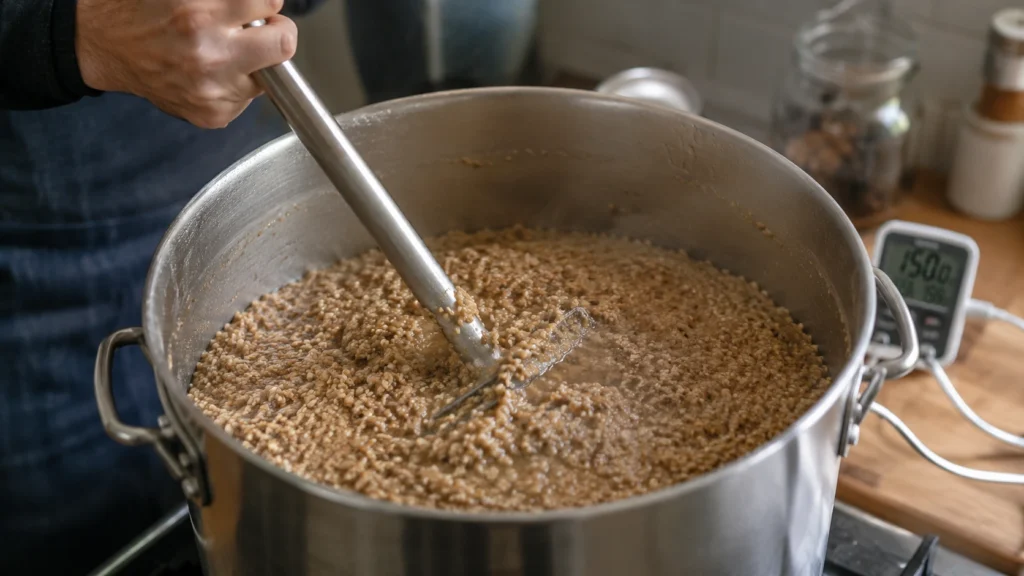
Mash the crushed grains at 149–150°F (65°C) for about 60 minutes.
This slightly lower mash temperature creates more fermentable sugars. That helps the yeast produce the crisp, dry finish that makes Kölsch so refreshing.
When the mash is ready, the wort should smell lightly sweet with fresh bread and grain aromas.
3. Mash Out and Sparge
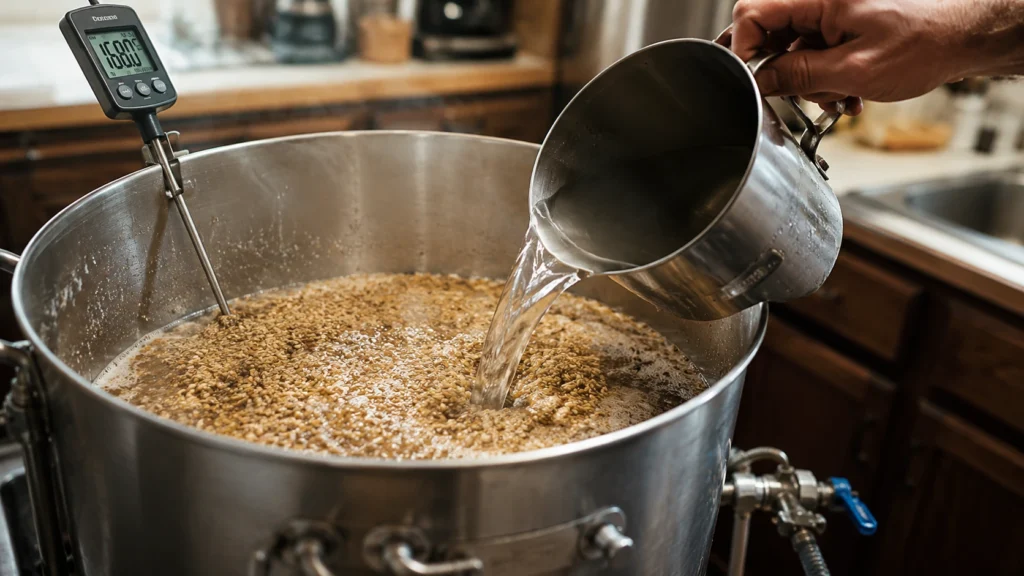
Raise the mash to 168°F (76°C) before sparging with water around 170°F (77°C).
Mash out helps stop enzyme activity and improves sugar extraction. Sparge slowly instead of rushing the process. Fast sparging can reduce efficiency and sometimes pull unwanted flavors from the grain.
4. Boil for 90 Minutes
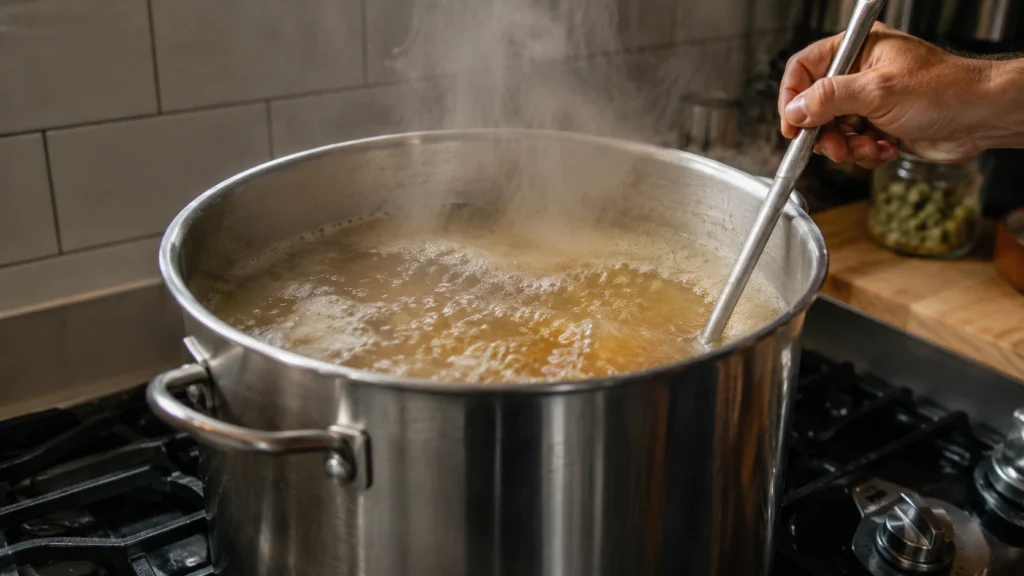
Bring the wort to a steady rolling boil for 90 minutes.
Many beginning brewers wonder why Kölsch requires a longer boil than some ales.
The answer is simple. Pilsner malt contains compounds that can create cooked corn flavors, known as DMS. A longer boil removes those compounds before fermentation begins.
Your wort should gradually darken from cloudy yellow to a bright golden color.
5. Add the Hops
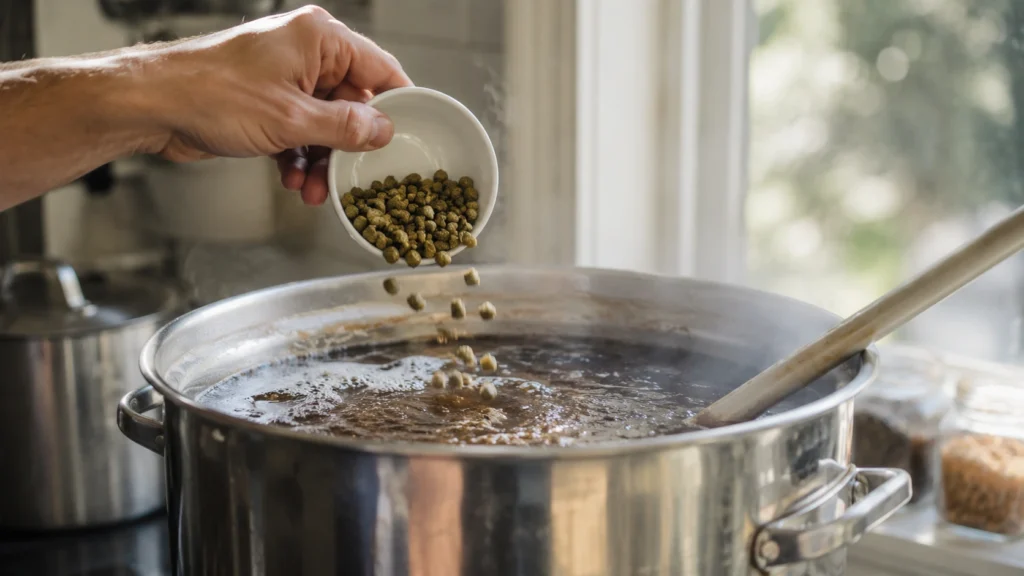
A traditional schedule looks like this:
- Add the bittering hops at 60 minutes.
- Add kettle finings, such as Irish moss, with 15 minutes remaining.
- If using a late hop addition, add it during the last 15–20 minutes.
The aroma should stay soft and herbal, never overpowering. If your brew smells like a modern IPA, you’ve probably added too many hops.
6. Chill the Wort Quickly
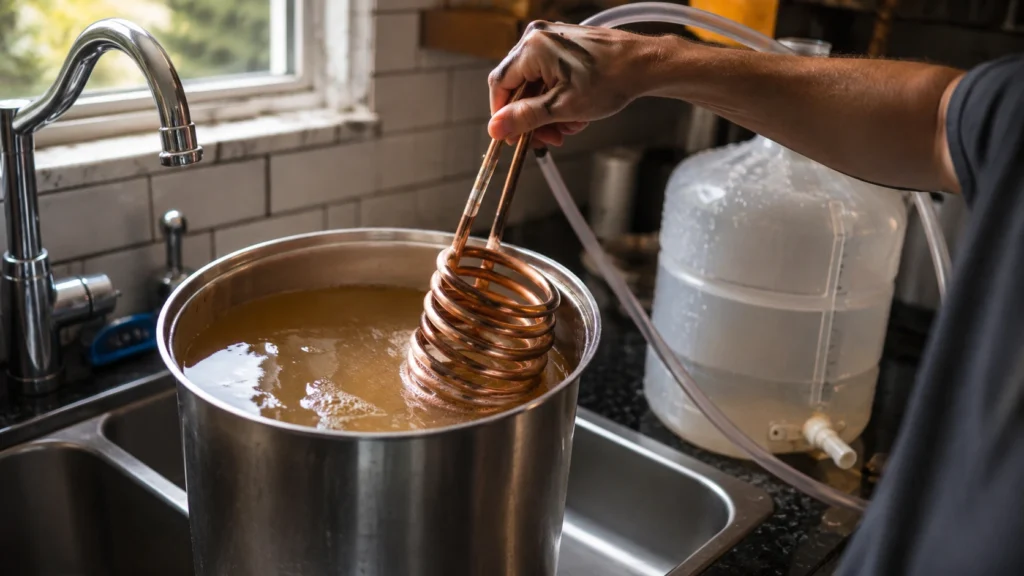
Cool the wort to about 58–60°F (14–16°C) as quickly as possible.
Rapid chilling reduces the chance of contamination and helps create clearer beer. Once cooled, let the sediment settle before transferring the wort into a sanitized fermenter.
The wort should already look noticeably brighter than it did during the boil.
7. Aerate Before Pitching Yeast
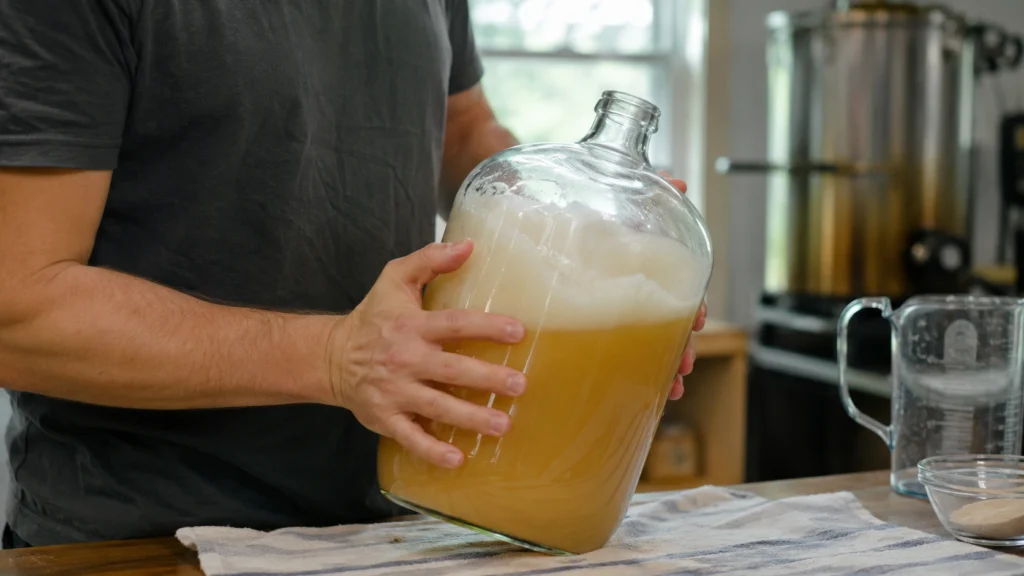
Shake the fermenter well or use an aeration system before adding yeast.
Healthy yeast needs oxygen during the first stage of fermentation. Good aeration helps the yeast multiply, finish cleanly, and reduce unwanted off-flavors.
8. Pitch a Healthy Yeast Starter
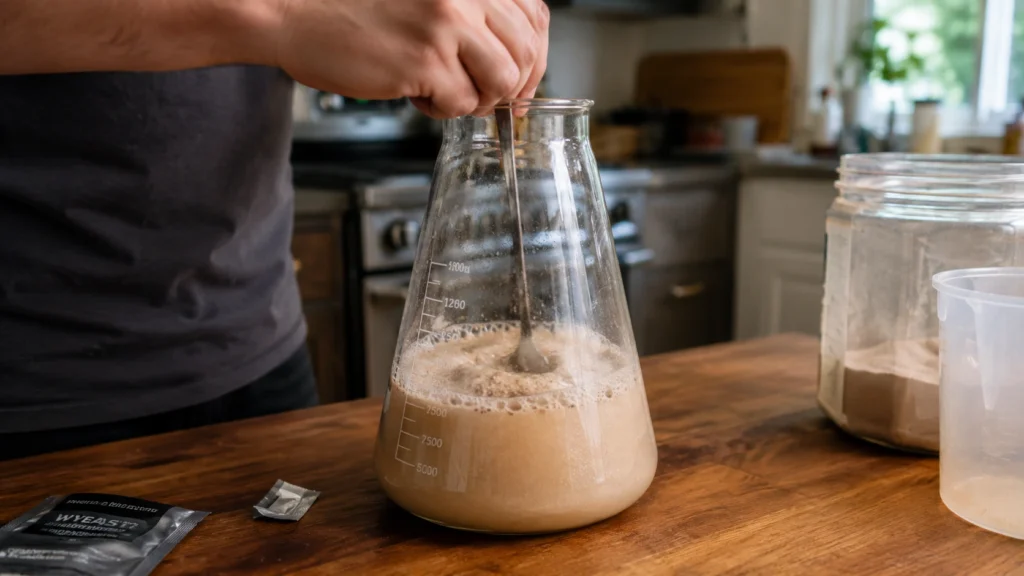
Use an active yeast starter whenever possible.
Kölsch yeast performs much better when pitched in the proper amount. Under-pitching often creates excessive fruitiness and sluggish fermentation.
This is one reason experienced homebrewers recommend making a starter instead of relying on a single liquid yeast pack.
9. Ferment Cool
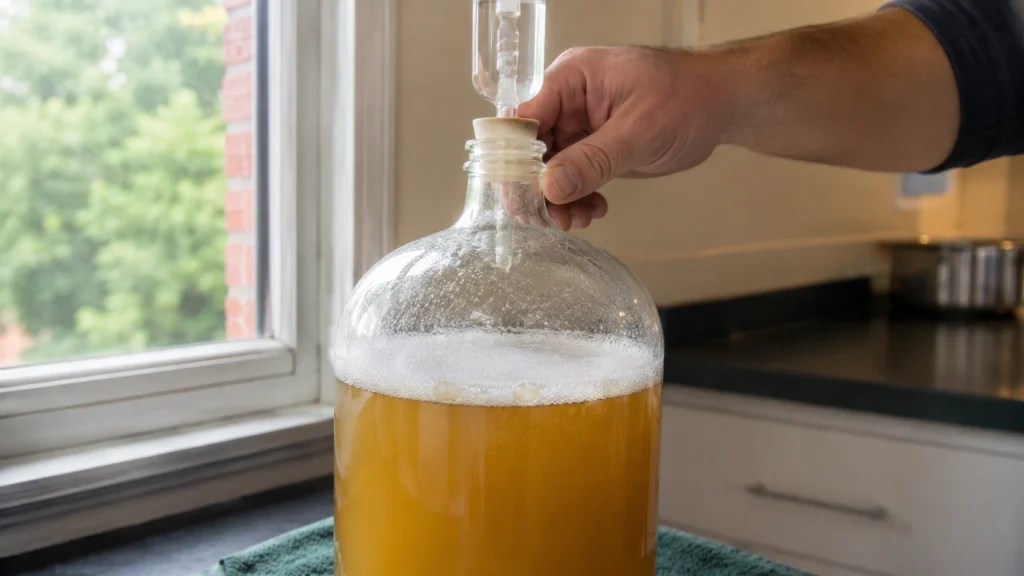
Keep fermentation between 58°F and 62°F (14–17°C).
This step is where many batches succeed—or fail.
During active fermentation you should notice a steady airlock, a creamy foam layer, and a clean aroma with only light fruit notes. Strong banana or bubblegum smells usually mean the temperature became too warm.
Primary fermentation generally finishes in about two weeks.
10. Lager for Several Weeks
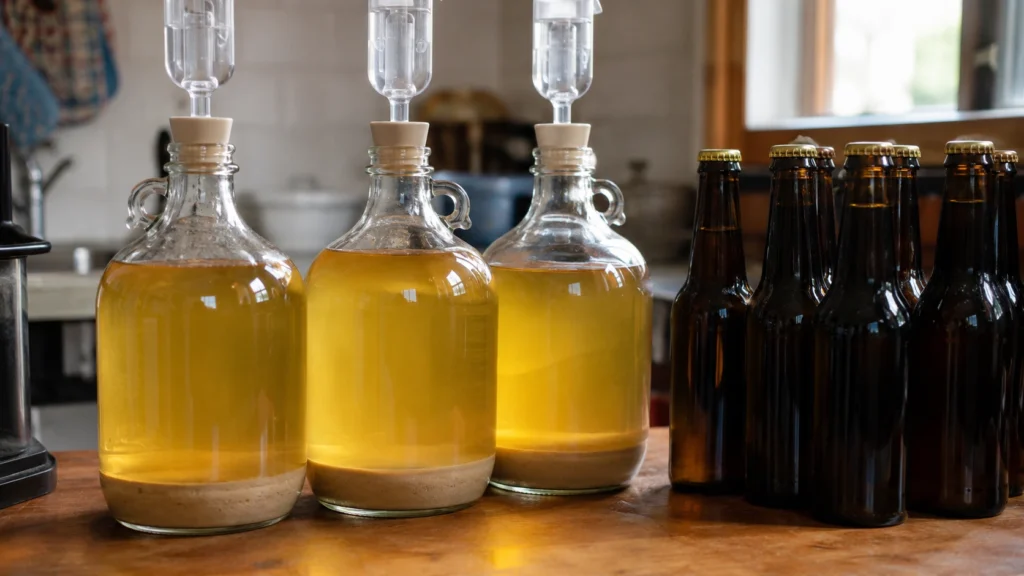
After fermentation finishes, lower the temperature gradually and lager the beer near 40°F (4°C) for at least four weeks.
Longer conditioning gives yeast and proteins time to settle naturally.
When the beer is ready, it should look brilliantly clear. You should almost be able to read through the glass.
This patience is one reason authentic Kölsch has such a polished appearance.
11. Carbonate and Serve
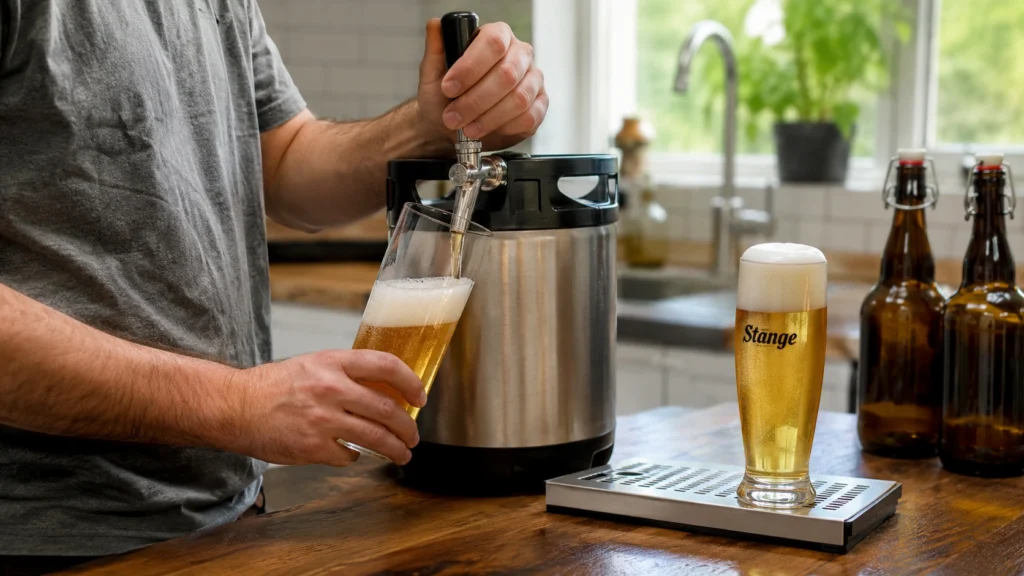
Bottle or keg the finished beer and carbonate to approximately 2.5 volumes of CO₂.
Serve around 50°F (10°C) in a traditional Stange glass if possible.
The finished beer should pour pale gold with a bright white head, delicate floral aroma, soft grain flavor, and a crisp finish that disappears cleanly without lingering sweetness.
The Common Mistakes That Ruin Most Kolsch Recipes
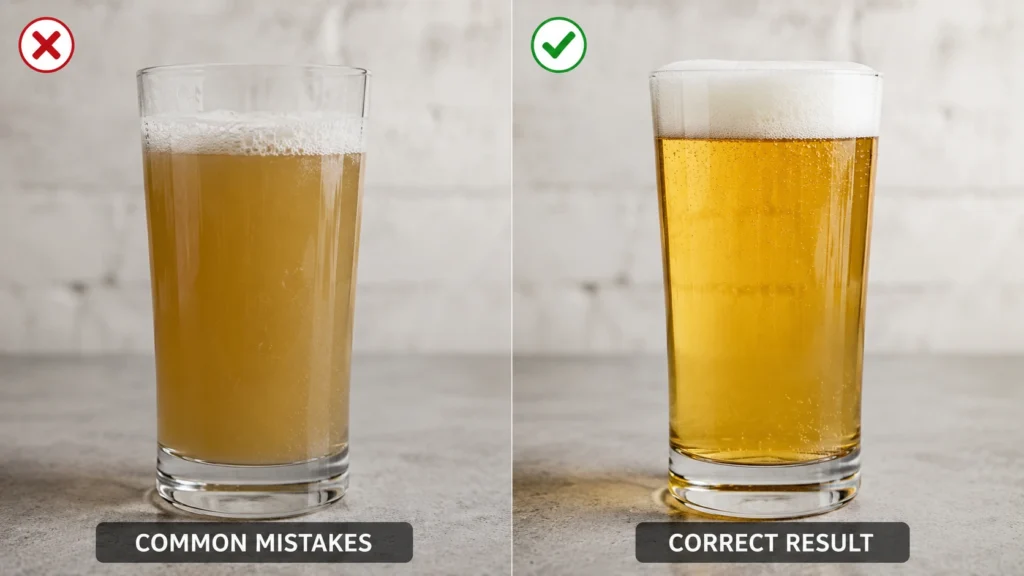
Kölsch looks like an easy beer because the ingredient list is short. In reality, it is one of the easiest styles to expose brewing mistakes.
These are the problems I see most often.
Fermenting Too Warm
This is the biggest mistake beginners make.
Many people treat Kölsch like any other ale and ferment around 68–70°F. That creates noticeable fruity esters that overpower the clean German profile.
Instead, keep fermentation close to 60°F whenever possible. The cooler temperature helps the yeast stay clean while still finishing completely.
Skipping the Lagering Phase
After fermentation finishes, some brewers bottle immediately because the beer already tastes good.
It will improve dramatically with patience.
Cold conditioning removes haze, smooths rough edges, and creates the brilliant clarity expected in this style.
Four weeks is good.
Six to eight weeks is even better.
Using Too Many Specialty Malts
It’s tempting to add Munich, Caramel, Biscuit, Melanoidin, or several other specialty grains.
Resist the temptation.
Kölsch depends on restraint. Every extra specialty malt pushes the beer farther from its classic clean profile.
Over-Hopping the Beer
Modern craft brewing often encourages bigger hop aroma.
Kölsch is different.
The hops should support the malt, not compete with it. If citrus dominates the aroma, the beer starts tasting closer to a pale ale than a German Kölsch.
Poor Oxygen Control After Fermentation
Oxidation is especially noticeable in pale beers.
Splashing the beer while transferring or bottling can quickly replace fresh grain flavors with dull, stale notes.
Move finished beer gently and avoid unnecessary exposure to air.
Quick Tips for Better Results
- Keep fermentation cool from start to finish.
- Use fresh yeast and pitch enough of it.
- Give the beer at least four weeks of lagering.
- Choose quality German ingredients whenever possible.
- Handle finished beer gently to avoid oxidation.
The Secret That Makes a Huge Difference
If I could only give one piece of advice, it would be this:
Don’t judge your Kölsch until it has fully cleared. The first time I brewed this style, I sampled it after two weeks and thought it tasted rough and unfinished. Four weeks later, after cold conditioning, it had transformed completely. The bitterness became smoother, the grain flavor became cleaner, and the subtle fruit character finally balanced with the malt.
That extra month feels long, but it produces one of the biggest improvements you’ll ever see in homebrewing.
Easy Kolsch Variations You Can Try at Home
Once you’ve brewed the traditional version, it’s fun to experiment while still respecting the style.
- Coffee Kölsch – Add a small amount of cold-steeped coffee concentrate after fermentation for a gentle roasted note without overpowering the beer.
- Wheat Kölsch – Replace about 5% of the grain bill with wheat malt for slightly better head retention and a soft bread-like flavor.
- Extract Version – Use high-quality Pilsner malt extract with a little Munich extract for a beginner-friendly batch.
- BIAB Kölsch – Brew the entire batch using the Brew in a Bag method if you want to simplify your brew day.
- Slightly Hoppier Version – Add a small late addition of Hallertau or Tettnang for a little more floral aroma while keeping the beer balanced.
- Gluten-Reduced Option – Brewers who use gluten-reducing enzymes during fermentation may lower gluten levels, though the beer is not considered gluten-free.
If you enjoyed this Kolsch Recipe, be sure to explore our Drink Recipes collection for more refreshing homemade beverages, seasonal favorites, and classic recipes to try next.
What to Serve With Kolsch
One reason I keep coming back to Kölsch is how easy it is to pair with food. Its clean, crisp finish refreshes your palate instead of overpowering your meal.
Here are some of my favorite pairings:
- Bratwurst and German sausages – The light bitterness cuts through the richness without hiding the smoky flavors.
- Pretzels with beer cheese – A classic combination that lets the grainy malt shine.
- Grilled chicken – Simple seasonings pair beautifully with Kölsch’s delicate profile.
- Fish tacos or grilled shrimp – The crisp finish balances seafood without competing with it.
- Thin-crust pizza – Kölsch works especially well with cheese, mushrooms, and mild sausage toppings.
Looking for a comforting side to serve with this Kolsch Recipe? Try our Mamaliga Recipe. Its creamy, mild cornmeal texture balances Kölsch’s crisp, refreshing finish and pairs especially well with grilled sausages, roasted meats, or rich stews.
My Honest Experience Brewing This Recipe
The first Kölsch I brewed looked perfect but tasted far fruitier than I expected. I later realized my fermentation temperature had climbed to almost 68°F during the first two days.
On my next batch, I kept the fermenter close to 60°F using a temperature-controlled fridge. That single change transformed the beer. The fruity notes became subtle, the finish turned crisp, and the balance felt much closer to the German examples I had enjoyed.
The biggest surprise wasn’t the flavor—it was how much the beer improved after a month of cold conditioning. I almost bottled it early, and I’m glad I didn’t.
How to Store, Age, and Serve Kolsch the Right Way
Kölsch is at its best while it’s fresh. Unlike hop-heavy IPAs that rely on bold aromas or dark beers that improve with long aging, this style is all about delicate balance.
Fresh malt, soft floral hops, and a clean finish slowly fade over time. That’s why many brewers recommend drinking it within a few months after conditioning.
| Storage Method | Best Time |
|---|---|
| Fermenter | About 2 weeks |
| Cold Lagering | 4–8 weeks |
| Bottled or Kegged (Refrigerated) | Best within 2–3 months |
| Maximum Quality | Around 4 months |
| Freezing | Not recommended |
Serving Tip
Serve Kölsch around 50°F (10°C) instead of ice cold.
Very cold temperatures hide the gentle malt and floral hop aroma. Slightly warmer serving temperatures allow the beer’s balance to come through.
If you have one, use a traditional Stange glass. The tall, narrow shape helps maintain carbonation while keeping the beer cool.
Frequently Asked Questions About Kolsch Recipe
Kolsch Recipe
Ingredients
Equipment
Method
- Heat your brewing water and mash the crushed grains at 149–150°F (65°C) for 60 minutes. The mash should smell fresh and slightly bready.
- Raise the mash to 168°F (76°C) for mash out, then sparge with 170°F (77°C) water until you’ve collected about 6.5 gallons of wort.
- Bring the wort to a rolling boil for 90 minutes. Add Hallertau hops at the start of the boil and Irish moss with 15 minutes remaining.
- Add the Tettnang hops during the final 15 minutes. The wort should develop a light herbal aroma without becoming overly hoppy.
- Chill the wort quickly to 58–60°F (14–16°C) and transfer it into a sanitized fermenter. Aerate well before pitching the yeast.
- Ferment between 58–62°F (14–17°C) for about 14 days. A steady airlock and clean aroma indicate healthy fermentation.
- Once fermentation is complete, gradually lower the temperature to around 40°F (4°C) and lager for 4–8 weeks. The beer will become brilliantly clear.
- Bottle or keg the finished beer and carbonate to about 2.5 volumes of CO₂. Serve around 50°F (10°C) in a tall Kölsch glass for the best flavor.
Notes
- Keep fermentation cool to prevent fruity off-flavors.
- Cold conditioning for at least four weeks greatly improves clarity and smoothness.
- Avoid excessive oxygen exposure after fermentation to keep the beer tasting fresh.
Final Thoughts on This Kolsch Recipe
A great Kolsch recipe isn’t built around expensive ingredients or complicated techniques. It’s built around patience, temperature control, and restraint. Those three things make the difference between an average homebrew and a beer that reminds you why this style has remained popular for generations.
If this is your first attempt, don’t worry about making it perfect. Brew it, take notes, and learn from each batch. Even small improvements become easy to notice because Kölsch is such a clean style.
If you’re serving this Kolsch Recipe with grilled steak, chicken, bratwurst, or roasted vegetables, don’t miss our Chimichurri Recipe. This fresh Argentine herb sauce adds bright garlic and herb flavors that pair beautifully with Kölsch’s clean, crisp finish, making it an easy way to elevate your next cookout or weeknight meal.