There’s something undeniably satisfying about stepping out of the shower and running your fingers over perfectly smooth skin. I remember the first time I tried a DIY sugar wax recipe it felt intimidating at first, but within minutes, I realized that smooth, soft, and hair-free skin doesn’t always need a pricey salon visit. Sugar wax recipe is a natural, budget-friendly alternative to conventional waxes, and the beauty is in its simplicity: sugar, water, and a touch of lemon can transform your routine.
People keep coming back to sugar wax recipes because it’s gentle on the skin, easy to customize, and leaves minimal mess compared to commercial products. The warm, honey-like consistency spreads beautifully, gripping even short, stubborn hairs, while the sweet aroma is a treat in itself. Whether you’re prepping for a special event, maintaining weekly routines, or experimenting with at-home beauty hacks, sugar wax is a versatile, satisfying option that rewards patience with results that last for weeks.
Beyond the immediate smoothness, there’s a deeper reason many DIY enthusiasts swear by sugar waxing: it’s safe, edible, and eco-conscious. Unlike some harsh chemical-based waxes, sugar wax uses ingredients you already trust in your kitchen, making it a reliable choice for sensitive skin and those prioritizing clean beauty. And if you’ve ever cringed at the cost of salon treatments, you’ll appreciate just how cost-effective this method can be.
Visit our more recipe Buffalo Cauliflower Recipe
What Is Sugar Wax Recipe and Why It’s Popular

Sugar wax, also known as sugaring, is a traditional hair removal method dating back centuries. Its origins trace to Middle Eastern and Egyptian beauty rituals, where sugar, water, and natural acids like lemon juice were combined to remove hair gently. Unlike commercial waxes, sugar wax adheres only to the hair and dead skin cells, not live skin, making it less painful and suitable for sensitive areas.
Today, sugar waxing has surged in popularity among DIY enthusiasts and budget-conscious beauty lovers. People love it because it’s completely natural, inexpensive, and versatile. It works on legs, arms, underarms, and even delicate facial areas. The process is straightforward: sugar, water, and lemon are cooked into a pliable paste, cooled to the right temperature, and then applied to the skin either by hand or with strips. The result is silky, smooth skin that can last anywhere from one to three weeks depending on hair type and growth cycle.
Why Sugar Wax Recipe Deserves a Spot in Your Beauty Arsenal
Sugar wax isn’t just another beauty trend, it’s a practical, cost-saving, and eco-friendly solution. Here’s why it’s so beloved:
- Gentle on Skin: Less irritation and fewer ingrown hairs than traditional waxes.
- Affordable: Ingredients cost pennies compared to salon treatments.
- Reusable: Leftover wax can be stored and reheated for multiple applications.
- Chemical-Free: No artificial fragrances or preservatives, only natural kitchen staples.
- Versatile: Works for various hair lengths and body areas.
Cost Comparison: How Sugar Wax Recipe Saves You Money
Many DIY guides mention “savings,” but rarely do they break it down. Here’s a realistic picture of what sugar waxing can save you:
| Item | Salon/Store-Bought Cost | DIY Sugar Wax Cost | Notes |
| Monthly Leg Wax (Salon) | $60–$100 | $2–$3 per batch | 1 batch covers multiple sessions |
| Monthly Underarm Wax | $30–$50 | Included in batch | Reusable wax saves money |
| Annual Cost | $756 average | <$10–$15 per year | Savings: ~$746/year |
| Tools (spatula, jar, pan) | One-time $10–$30 | One-time $10–$15 | Reusable for years |
💡 Pro Tip: Investing in a silicone spatula and a candy thermometer ensures professional-quality results without recurring costs.
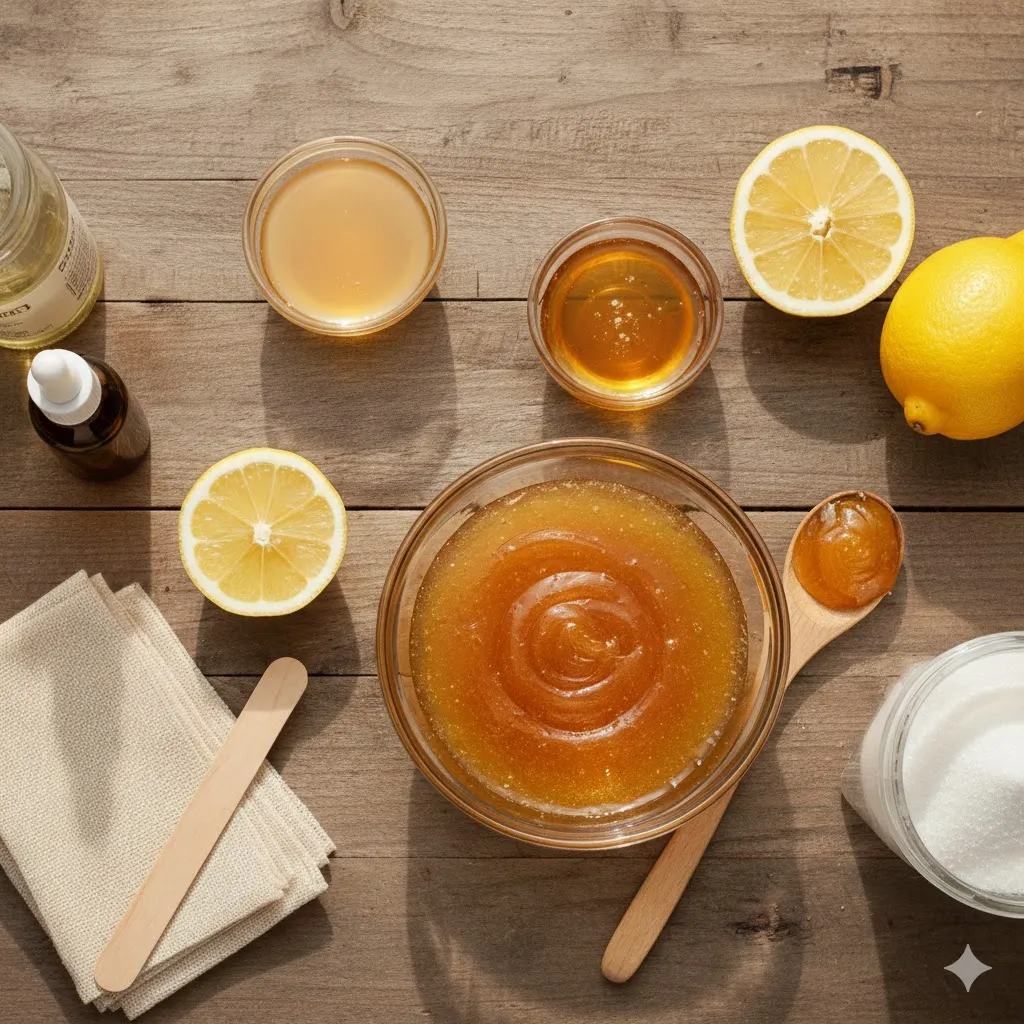
Sugar Wax Recipe Ingredients and Why Each One Matters
The beauty of sugar wax is in its simplicity. Each ingredient plays a critical role:
- 2 cups granulated sugar: The main body; white sugar yields a clear, golden wax while brown sugar can add moisture.
- 1/4 cup lemon juice: Provides acidity to prevent crystallization and helps create a sticky, hair-gripping paste.
- 1/4 cup water: Balances consistency and prevents burning.
- Optional: 1–2 tsp honey for extra pliability, or a few drops of essential oils (tea tree or lavender) for soothing effects.
Substitutions & Variations:
- Lemon juice → Apple cider vinegar or lime juice (similar acidic effect)
- White sugar → Brown sugar (slightly softer wax, darker color)
- Honey → Maple syrup or agave (adjusts stickiness slightly)
💡 Pro Tip: Use freshly squeezed lemon juice for consistent acidity. Bottled lemon juice often contains preservatives that can alter the sugar’s texture.
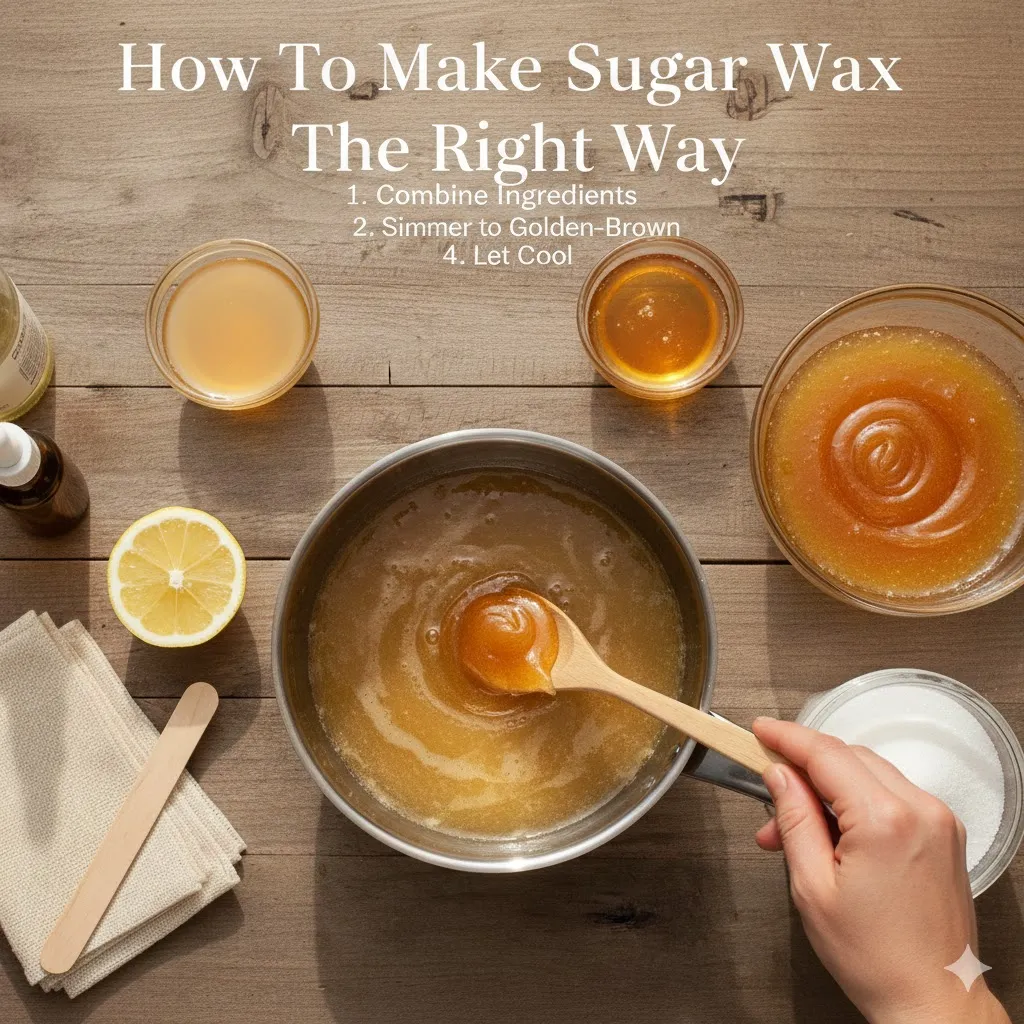
How to Make Sugar Wax Recipe the Right Way
Making sugar wax is a gentle balance of heat, timing, and observation. The process may seem intimidating at first, but with patience, you’ll create a salon-grade paste right in your kitchen.
Step by Step Instructions:
- Combine sugar, lemon juice, and water in a heavy-bottomed saucepan. Stir constantly to dissolve sugar.
- Place over medium heat, bringing the mixture to a boil. Reduce to low-to-medium heat and continue stirring. Watch for a golden amber color, like honey meets taffy.
- Use a candy thermometer to confirm the soft ball stage (240–250°F). If it’s slightly below, it may be too sticky; slightly above, too hard.
- Remove from heat and let cool until warm but pliable. You should be able to knead it into a small ball without burning your fingers.
- Test a small wax ball on your skin. If it stretches and grips hair without breaking, you’re ready to wax.
💡 Troubleshooting Tips:
- Crystallized wax → Reheat gently with a tablespoon of water.
- Too sticky → Cook a minute longer or knead in a pinch of sugar.
- Burnt smell → Reduce heat and stir constantly next time.
Application Techniques: Making Your Sugar Wax Recipe Work for You
- Hand method: Roll a walnut-sized piece, flatten, press onto skin opposite hair growth, and flick off in the hair growth direction.
- Strip method: Spread a thin layer, place a muslin/cloth strip, press, and pull gently in the hair growth direction.
- Ideal hair length: 1/8–1/4 inch for best results.
- Post-wax: Soothe skin with aloe vera, avoid tight clothing for a few hours.
💡 Pro Tip: Sprinkle cornstarch lightly on skin to reduce stickiness and improve grip for tricky areas.
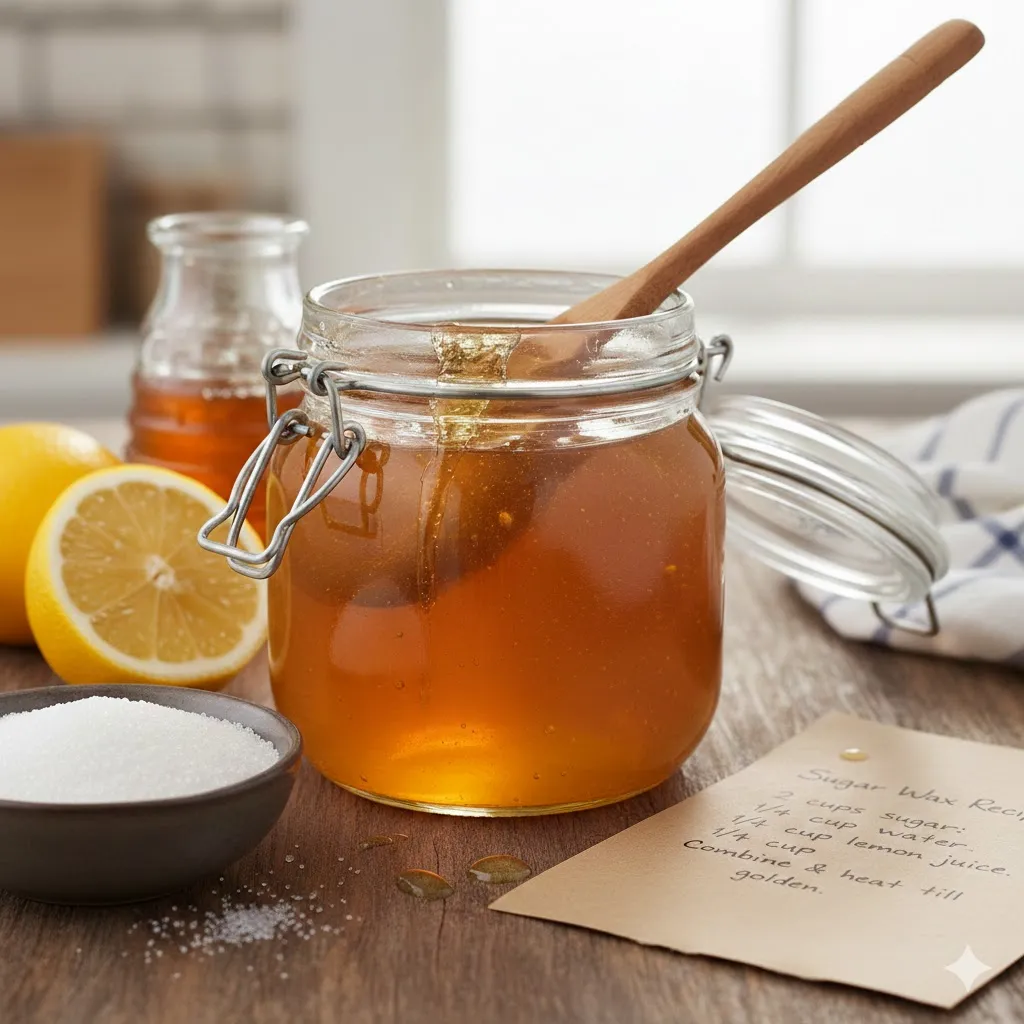
Storage, Shelf-Life, and Reuse Guidelines
- Store leftover wax in an airtight glass jar at room temperature (up to 2 weeks) or in the fridge (2–4 weeks).
- Reheat gently in the microwave (5–10 second bursts) or in a warm water bath before each use.
- Wash tools with warm water and a little oil to remove residue easily.
Common Mistakes and Why They Ruin Your Sugar Wax Recipe
Even experienced DIYers slip up sometimes. Common pitfalls include:
- Cooking too fast: Burns sugar and creates bitter, unusable wax.
- Skipping constant stirring: Leads to uneven caramelization.
- Wax too hot: Can burn skin; too cool, won’t grip hair.
- Applying on unprepared skin: Exfoliate 24–48 hours before waxing for smooth results.
Key Takeaways:
- Stir constantly, monitor temperature, test a small amount.
- Prep skin with gentle exfoliation and dry thoroughly.
- Use the right hair length for effective removal.
My Experience Making This Sugar Wax Recipe at Home
I’ll admit, my first batch crystallized halfway through cooling. I panicked but reheated gently with water, and it became perfect. One trick I’ve learned: always make small test balls before committing to large areas. It saves frustration and ensures perfect consistency. Over time, I’ve discovered that rolling smaller balls and slightly warming them in my hands before each application improves smoothness and reduces tugging.
The Sweet Science of DIY Sugar Waxing: How It Works
Chemistry plays a subtle but essential role. The citric acid in lemon juice breaks down sucrose molecules in sugar, preventing crystal formation and creating a smooth, sticky gel. As the mixture caramelizes, it develops elasticity that grips hair effectively while being gentle on skin. The simple act of kneading and rolling the cooled paste ensures even texture and ideal hair removal.
Why Sugar Wax Recipe Wins Over Other Hair Removal Methods
| Method | Pain Level | Lasts | Cost per Month |
| Shaving | Low | 1–2 days | $3 |
| Salon Wax | High | 3–4 weeks | $60–$100 |
| DIY Sugaring | Moderate | 2–3 weeks | <$5 per batch |
Sugar wax is gentle, reusable, and affordable, making it ideal for budget-conscious DIY enthusiasts seeking long-term results.
Frequently Asked Questions About sugar wax recipe
How do I make sugar wax?
Mix sugar, lemon juice, and water in a saucepan, cook until golden, and cool to a pliable consistency. Roll into small balls or spread with a spatula for hair removal.
Can I reuse sugar wax?
Yes! Store it in a clean, airtight container. Reheat small portions as needed for future sessions.
Is sugar wax safe for sensitive skin?
Generally, yes. Always do a patch test first, avoid open wounds, sunburned areas, or irritated skin.
What areas can I wax?
Legs, underarms, arms, bikini line, and even delicate facial areas. Adjust technique and ball size for sensitive regions.
How long does the smoothness last?
Typically 2–3 weeks for legs, 1–2 weeks for finer hair regions. Results vary with hair thickness and growth cycle.
Can I substitute ingredients?
Yes! Lemon juice can be swapped with apple cider vinegar, white sugar with brown sugar, and honey can be added for extra softness.
Sugar Wax Recipe
Ingredients
Equipment
Method
Video
Notes
If the wax becomes too hard, microwave in 5–10 second intervals to soften.
If too soft or sticky, cook slightly longer next batch for a deeper amber consistency.
Conclusion: Your Sugar Waxing Journey
Making your own sugar wax recipe is empowering, satisfying, and incredibly cost-effective. With minimal ingredients, a few tools, and a touch of patience, you can enjoy salon quality results from your kitchen. Bookmark this recipe, experiment with variations, and embrace the smooth, natural skin that sugar waxing delivers. Once you start, it’s hard to imagine going back to anything else, your wallet and your skin will both thank you.