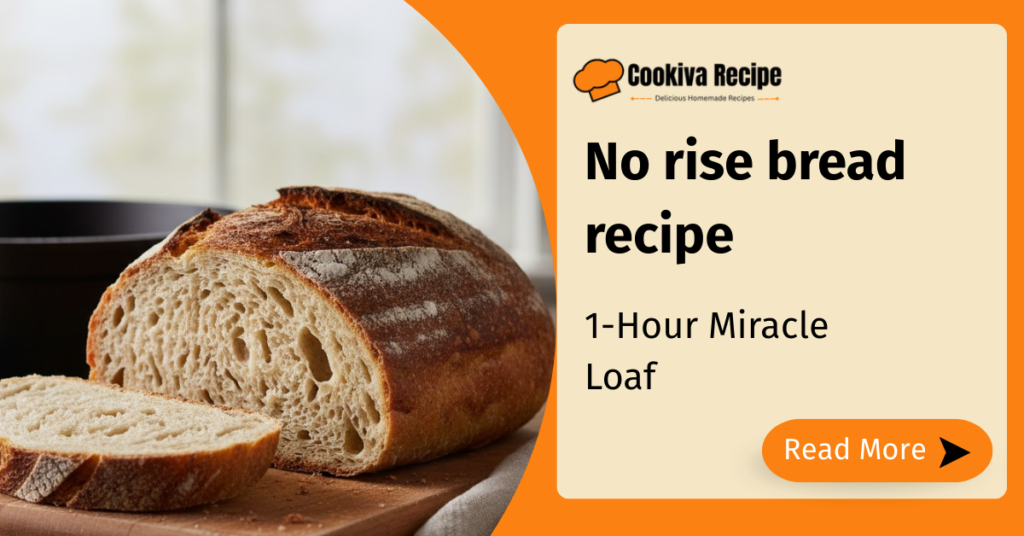
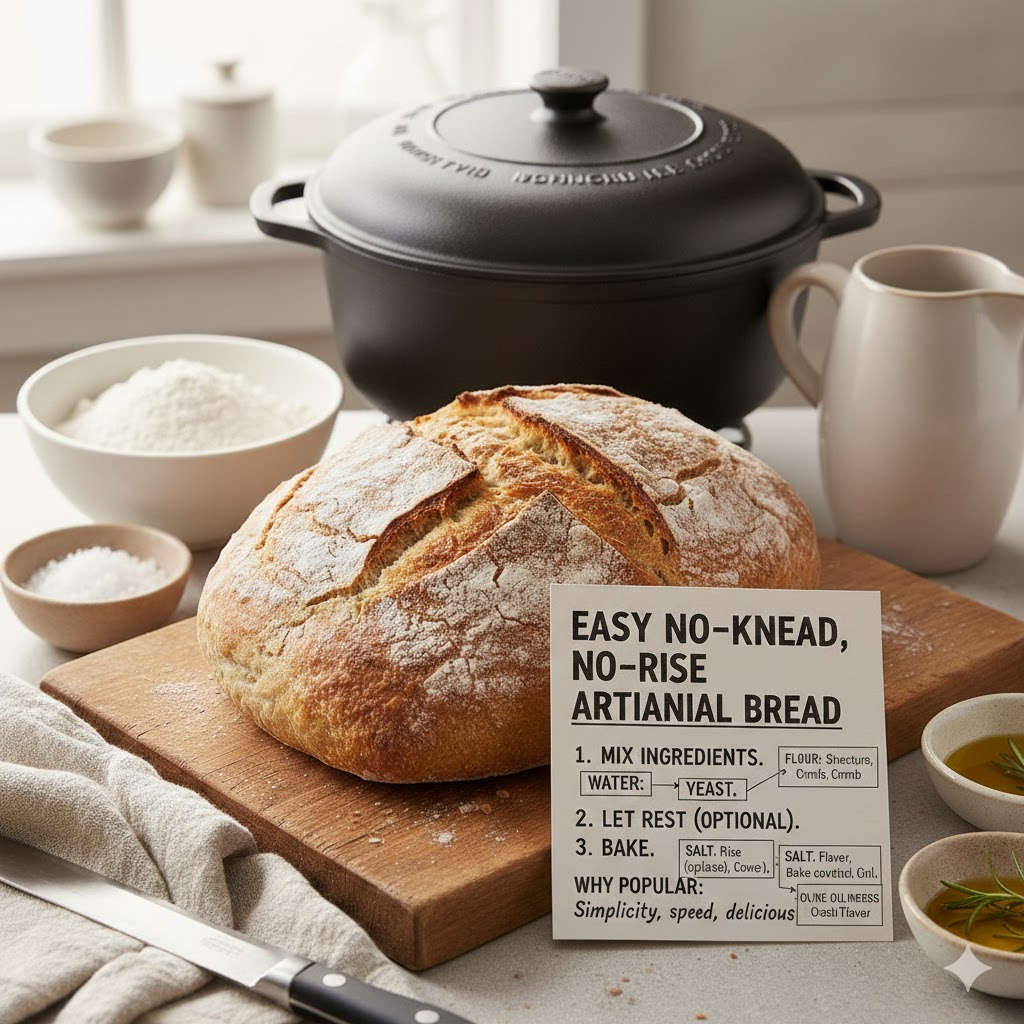
There’s something almost magical about pulling a warm, crackly loaf of homemade bread out of the oven especially when you didn’t knead it, didn’t baby it, and didn’t wait hours for it to rise. This no rise bread recipe is the kind of everyday baking win that feels a little unfair in the best way. You stir a shaggy dough together with a wooden spoon, let it rest, then bake it hot and fast until the crust turns deep golden and the kitchen smells like a neighborhood bakery.
The crust bakes up thick and crispy, the inside stays soft and chewy with a tender, slightly rustic crumb, and it slices beautifully for toast, sandwiches, or soup dipping. It’s the loaf I make when we run out of bread at dinner time or when I want something warm and comforting without the long wait. Simple ingredients, forgiving dough, and consistently great results that’s why this recipe lives on repeat in my kitchen.
This sausage stuffing recipe delivers rich, savory flavor and a perfectly crisp top, making it the kind of comforting side dish everyone goes back for seconds.
What Is No Rise Bread Recipe and Why It’s So Popular
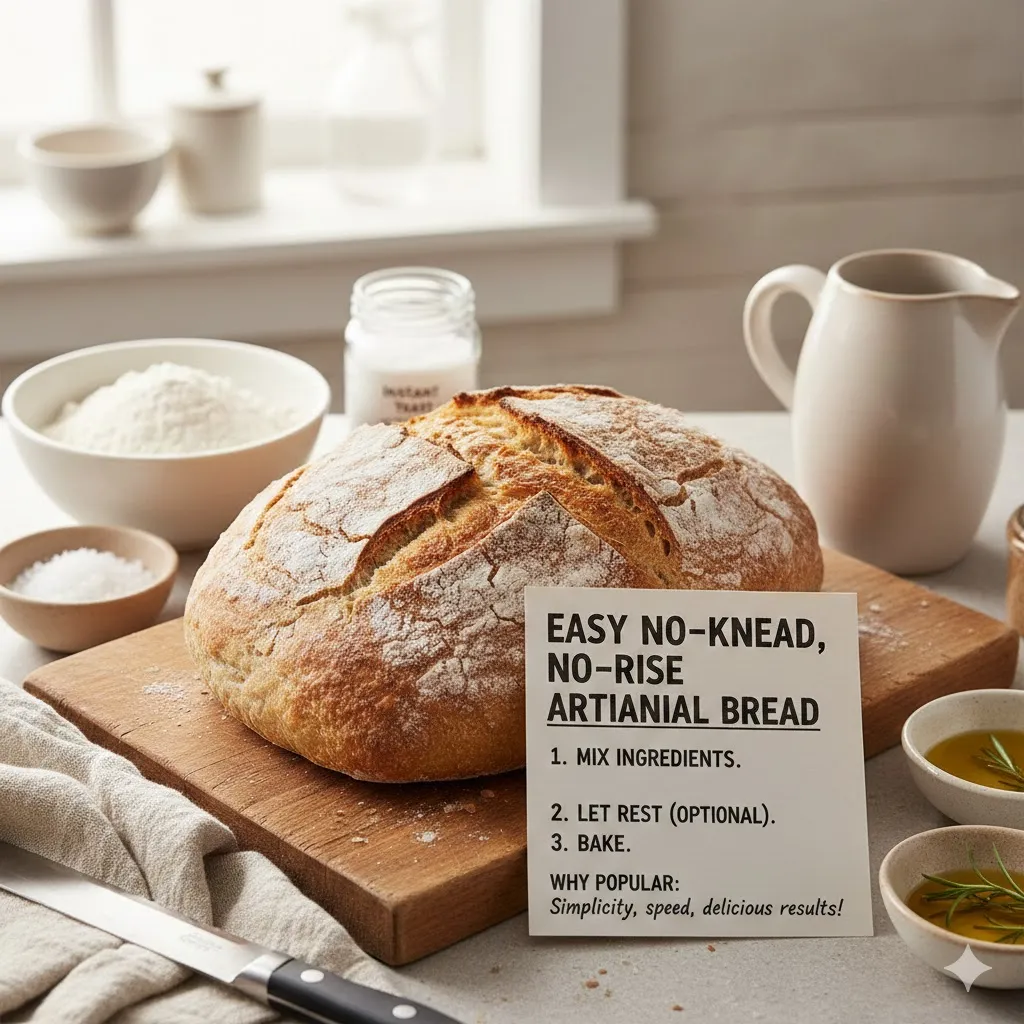
A no rise bread recipe is a quick, yeast based or chemical leavened bread that skips the traditional long first rise and second rise. Instead of hours of proof time, you rely on a wet, sticky dough and high heat baking often inside a Dutch oven to create oven spring and steam that mimics artisan bakery bread.
It’s popular because it fits real life. You can mix it before dinner and have a crusty loaf on the table in under an hour. There’s no kneading, no stand mixer, and no special skill required. For beginners, it’s often the first time they realize homemade bread doesn’t have to be complicated or intimidating.
Recipe Overview: What It Tastes Like, Feels Like, and When to Make It
This bread has that classic fresh baked loaf aroma toasty, slightly wheaty, and warm. The outside forms a thick, crispy crust that crackles as it cools. Inside, the crumb is moist and chewy with small to medium air pockets. It’s not as wildly open as a long fermented sourdough, but it’s hearty and satisfying.
It’s perfect for weeknights, last minute guests, or what I call “bread emergencies” when you suddenly realize dinner needs something to soak up sauce. It’s also incredibly budget friendly, which makes it easy to bake often.
Estimated Cost Per Loaf (US average)
| Ingredient | Approx. Cost |
| Flour (3 cups) | $0.60 |
| Yeast | $0.20 |
| Salt | $0.03 |
| Water | negligible |
| Total | ~$0.85–$1.00 |
Store bought artisan loaves often cost $4–$6, so this saves money fast.
Quick Summary
| Detail | Time/Info |
| Prep Time | 10 minutes |
| Cook Time | 35–40 minutes |
| Total Time | ~50 minutes |
| Servings | 10 slices |
| Difficulty | Beginner |
| Cuisine | Rustic American/European style |
| Calories | ~150 per slice |
Ingredients and Why Each One Matters for Flavor and Texture
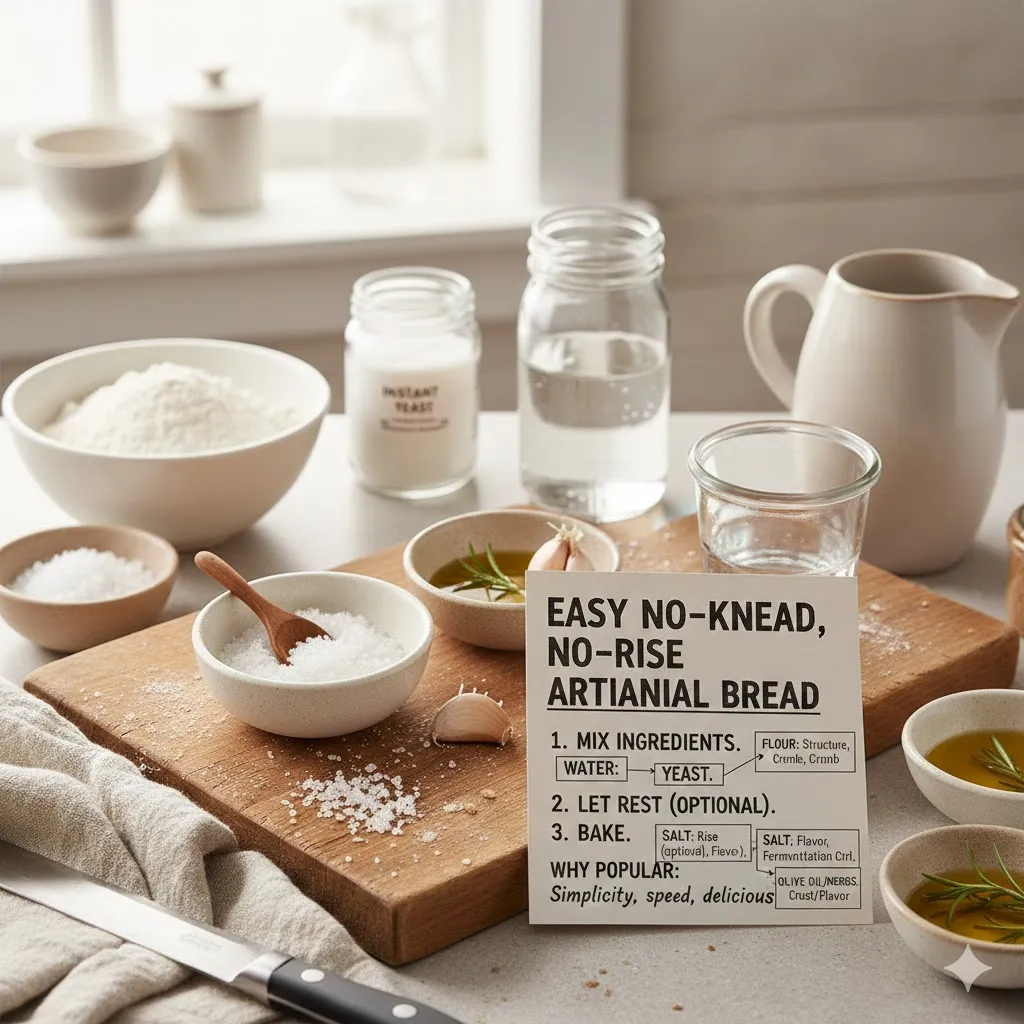
Great bread is about simplicity. Every ingredient has a job, and changing one slightly changes the final loaf.
- Flour (bread flour or all purpose flour) Structure and gluten. Bread flour gives a chewier crumb; all purpose works perfectly too. Unbleached is my preference for flavor.
- Instant yeast: Quick lift without proofing. Active dry yeast works if dissolved first. Rapid rise or fresh yeast also works.
- Sea salt: Flavor and gluten strength.
- Warm water hydrates: flour and activates yeast.
- Olive oil (optional): Slightly softer crumb and better browning.
Ingredient sourcing tips
All ingredients are standard grocery store pantry staples. If you don’t see self rising or specialty flours, regular all purpose works beautifully.
How No Rise Bread Recipe Actually Rises Without Long Proofing (The Simple Science)
Even without a long first rise, yeast still produces carbon dioxide as soon as it hits warm water. Because this dough is wet and loosely structured, bubbles expand quickly in the oven’s high heat. The covered pot traps steam, creating a mini “steam injection” environment. That steam keeps the crust soft at first so the loaf can expand, then it sets into a crisp shell.
That’s why you get oven spring without hours of waiting.
How to Make No Rise Bread Recipe the Right Way for a Crispy Dutch Oven Crust
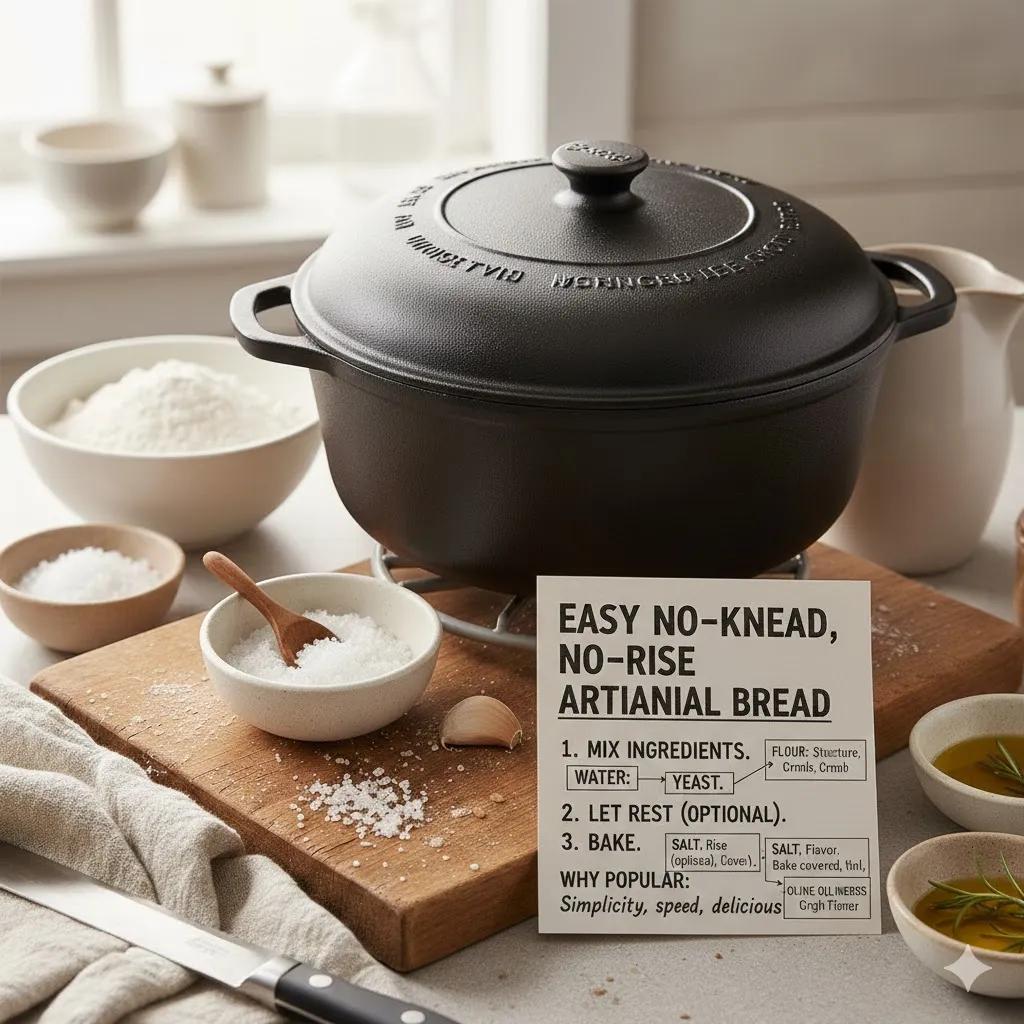
The method is simple: mix, rest briefly, shape, bake hot. The dough should look shaggy and sticky, not smooth like traditional kneaded bread.
Step by step
- Mix dry ingredients: Whisk flour, yeast, and salt in a large mixing bowl.
- Add warm water (and oil): Stir with a wooden spoon or silicone spatula until a shaggy dough forms.
- Rest: Cover with a tea towel for 20–30 minutes in a warm place. It should look bubbly and slightly puffy.
- Preheat oven & Dutch oven: Heat to 450°F with the cast iron pot inside.
- Shape gently: On a floured surface, fold sides inward using a bench scraper. Form a rough round loaf. Don’t knead.
- Transfer using parchment sling: Lower into the hot pot. Score top with a sharp knife.
- Bake covered: 25 minutes for steam.
- Bake uncovered: 10–15 minutes until deep golden brown.
- Cool completely; Let it rest on a cooling rack before slicing.
You’ll hear the crust crackle as it cools. That’s the sign of a great loaf.
Pro Tip for Best Results: Preheat the Pot Longer Than You Think
I always give my Dutch oven at least 25–30 minutes to fully heat. A blazing hot pot gives instant oven spring and that thick, crackled crust. If the pot isn’t hot enough, the loaf spreads instead of rising tall. That one small step makes the biggest difference.
Common Mistakes and Why They Ruin the Recipe
Bread is forgiving, but a few issues show up often. If your loaf is gummy inside, it’s usually under baked or sliced too soon. If it’s dense, the dough was too dry. If the crust is pale, the oven wasn’t hot enough.
Quick fixes:
- Let bread cool before slicing
- Dough should be sticky, not stiff
- Bake until deep golden brown
- Use a hot, covered pot for steam
Variations, Substitutions, and When to Use Them
Once you master the base dough, it becomes endlessly adaptable.
- Whole wheat flour (replace 25–50% for nuttier flavor)
- Gluten free flour blend (1:1 baking blend)
- Rosemary garlic bread with olive oil drizzle
- Cinnamon raisin bread with sugar swirl
- Sun dried tomato or olive mix ins
- Multigrain or seeded bread
If you lack a Dutch oven, bake on a sheet pan and place a pan of hot water underneath for steam.
My Experience Making This No rise bread Recipe at Home
The first time I made this, I added too much flour because the dough looked messy. The loaf baked up heavy and tight. Once I trusted the sticky dough and used a bench scraper instead of my hands, everything changed. The crumb opened up and the texture became chewy and light. Now I barely touch the dough at all.
Benefits of This Easy Everyday Bread
This recipe fits real schedules and doesn’t demand special tools or advanced baking skills. It’s the kind of wholesome baking that makes the house feel cozy.
- Quick and beginner friendly
- Very inexpensive
- Pantry staples only
- Great for soups, sandwiches, and toast
Supporting Background: How This Style Became a Home Baker Favorite
No knead and no rise breads gained popularity because they remove barriers. Instead of mastering kneading techniques or managing long bulk fermentation, you rely on time and steam. It gives everyday cooks access to bakery quality bread without professional equipment.
FAQ Real Questions People Ask
Why is my dough so sticky?
That’s intentional. Wet dough creates better steam expansion and a lighter crumb. Resist adding too much flour or the bread becomes dense.
Can I use active dry yeast instead of instant?
Yes. Dissolve it in warm water first and let it sit for five minutes until foamy before mixing.
Do I need a Dutch oven?
No. A roasting pan with a lid or a baking sheet with a steam pan works too. You just need trapped moisture.
Why is the center doughy?
It likely needs 5–10 more minutes baking or more cooling time. Bread continues cooking as it rests.
Can I refrigerate the dough overnight?
Yes. Cold fermentation actually improves flavor and texture.
What flour gives the chewiest crumb?
Bread flour because of higher protein content and stronger gluten network.
Storage, Freezing, and Reheating Best Practices
Let the bread cool completely before storing. Warm bread trapped in plastic creates moisture and soggy crusts.
- Room temperature: 2 days in bread box or airtight container
- Fridge: not recommended (stales faster)
- Freezer: sliced, up to 1 month
Toast slices straight from frozen or warm briefly in the oven.
Nutrition (Approximate per slice)
| Nutrient | Amount |
| Calories | 150 |
| Carbs | 30g |
| Protein | 4g |
| Fat | 1.5g |
| Fiber | 1g |
| Sodium | 220mg |
Flavor Ideas and All the Ways to Enjoy This No rise Bread recipe
This loaf shines warm with salted butter or dipped in olive oil and balsamic. It makes incredible grilled cheese, garlic bread, bruschetta, or French toast. I love it alongside tomato soup, minestrone, or pasta bolognese. Leftovers turn into croutons or bread crumbs.
No Rise Bread Recipe
Ingredients
Equipment
Method
- Preheat oven to 375°F (190°C) and lightly grease a 9×5-inch loaf pan. The pan should be fully coated to prevent sticking.In a large bowl, whisk together flour, baking powder, salt, and sugar until evenly combined. The mixture should look light and lump-free.In a separate bowl, whisk milk, oil, and egg until smooth and fully blended.Pour the wet ingredients into the dry ingredients and stir gently until just combined. The batter should be thick but scoopable—do not overmix.Transfer the dough into the prepared loaf pan and smooth the top with a spatula. The surface should look slightly textured but even.Bake for 30–35 minutes, or until the top is golden brown and a toothpick inserted in the center comes out clean.Let the bread cool in the pan for 10 minutes, then transfer to a wire rack. Slice once fully cooled for clean cuts.
Video
Conclusion
If you’ve ever felt intimidated by yeast baking, this no rise bread recipe is the perfect place to start. It’s simple, affordable, and wildly satisfying. Mix it once and you’ll realize homemade artisan bread doesn’t have to be a weekend project.
Give it a try, save it for later, and keep it in your back pocket for those nights when only warm, crusty bread will do. Happy baking
This Cuban bread recipe shows you how to bake a light, airy loaf with a crisp crust that’s perfect for sandwiches, toast, or dipping into soups.