Orangecello Recipe That Stays Smooth, Bright, and Never Bitter

A good Orangecello Recipe gives you a smooth, bright orange liqueur with fresh citrus flavor instead of harsh alcohol. It takes only about 15 minutes of hands-on work, then time does the rest. The orange peels slowly release their natural oils into the alcohol, creating a rich homemade drink that tastes even better after a little aging.
What I like most is how flexible this recipe is. You can make it with high-proof grain alcohol for a bold Italian-style version or use vodka for a softer flavor that many people prefer. I’ll also show you how to avoid the common mistakes, explain why some batches turn cloudy, compare the real cost with buying a bottle, and share the small tricks that made my own batches much better over time.
What Is an Orangecello Recipe?
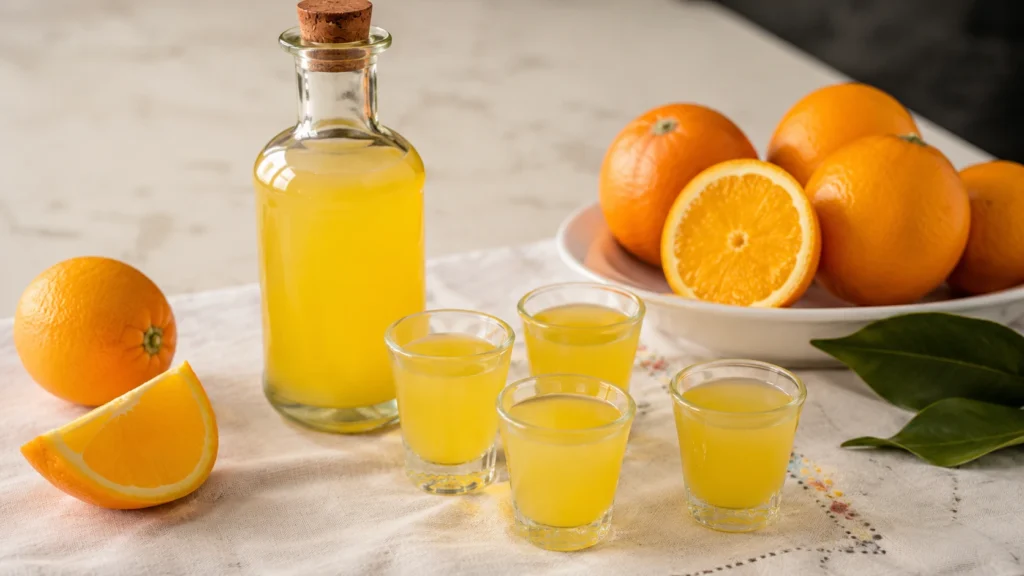
Orangecello Recipe is a homemade orange liqueur made with fresh orange peels, alcohol, water, and simple syrup. It has a sweet citrus flavor, a smooth texture, and a bright orange aroma. Most people chill it before serving as an after-dinner drink or use it in cocktails because it is refreshing and easy to sip.
Orangecello is often called Arancello in Italy because arancia means orange in Italian. It is closely related to limoncello, but instead of lemons, it uses oranges. The finished drink is sweeter, softer, and less sharp than traditional limoncello, making it a favorite even for people who normally find citrus liqueurs too tart.
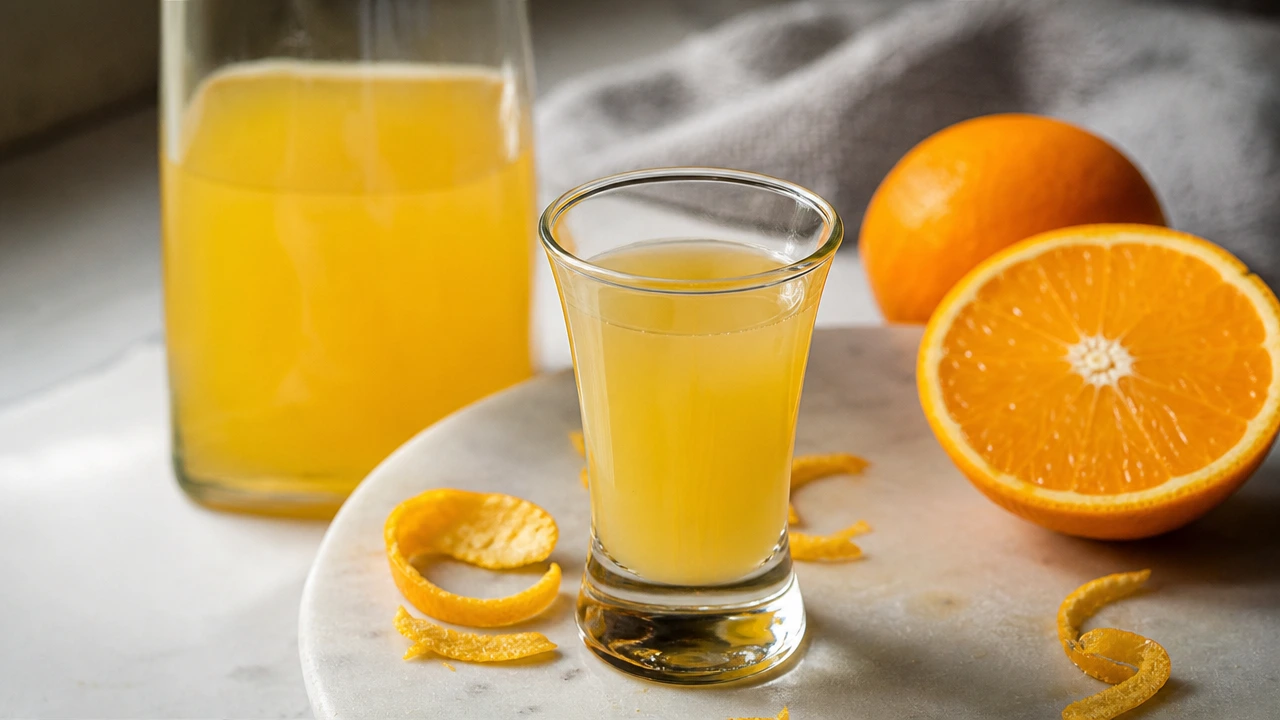
A well-made batch pours with a rich golden-orange color. After you add the simple syrup, it usually becomes slightly cloudy. That isn’t a mistake. It’s actually a sign that the natural orange oils have mixed with the liquid, giving the liqueur a fuller flavor and smoother mouthfeel.
Why This Orangecello Recipe Is Worth Making
Many recipes show you how to mix oranges, alcohol, and sugar. Very few explain why each step matters or help you fix problems before they happen. This guide focuses on both.
You’ll learn how to choose the right alcohol, avoid bitterness from the white pith, understand why homemade orangecello turns cloudy, adjust the sweetness to your taste, and store it correctly so it stays delicious for months. I also included realistic substitutions, cost estimates, and simple troubleshooting that many recipes leave out.
Recipe Overview
| Detail | Info |
|---|---|
| Prep Time | 15 minutes |
| Cook Time | 10 minutes |
| Waiting Time | 7–14 days |
| Total Time | About 1–2 weeks |
| Servings | About 28 servings (2-ounce pours) |
| Difficulty | Easy |
| Cuisine | Italian |
| Calories | About 155–160 per serving |
| Estimated Cost | $18–30 per batch (about $4–7 per 375 ml bottle, depending on your alcohol choice) |
Homemade vs. Store-Bought Cost
One thing surprised me after making my first batch. Homemade orangecello often costs less per bottle than buying a premium orange liqueur, especially if you’re making several bottles for gifts.
| Option | Approximate Cost |
|---|---|
| Homemade batch (4–5 small bottles) | $18–30 |
| Store-bought premium orangecello | $20–35 per bottle |
| Savings | Often 30–60% when making multiple bottles |
If you’re already buying oranges during winter, making an extra batch is one of the easiest ways to stretch your budget while ending up with something that tastes fresher than many commercial bottles.
What Ingredients Make the Best Orangecello Recipe?
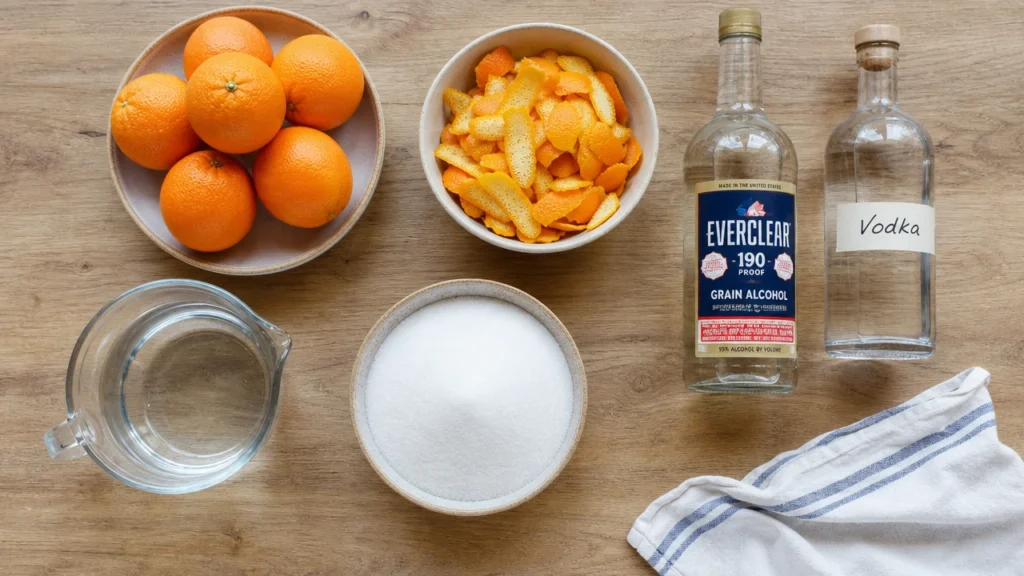
The ingredient list is short, so each one matters. Good oranges give you fresh citrus oils. The alcohol pulls those oils from the peel, while the simple syrup balances the strong citrus flavor without hiding it.
Ingredients
- 15–20 organic oranges (or about 200 grams of orange peels)
- 750 ml high-proof grain alcohol such as Everclear (190 proof where legal), or 750 ml vodka (80–100 proof)
- 4 cups filtered water
- 3½ cups sugar (adjust to taste)
Fresh Oranges
The oranges do almost all the work in this recipe, so buy the best ones you can find. Thick-skinned oranges usually produce more fragrant zest, while organic fruit reduces the chance of wax or pesticide residue on the peel.
If organic oranges aren’t available, scrub them well with hot water and a produce wash. This simple step removes much of the wax coating before you start peeling.
Everclear or Vodka?
This is probably the biggest choice you’ll make.
Everclear (190 proof) extracts orange oils quickly and creates a cleaner, stronger citrus flavor. You’ll need more water later to bring the alcohol down to a comfortable drinking strength.
Vodka (80–100 proof) makes a softer orangecello with a gentler finish. The infusion may take a little longer, but it’s easier to find and legal in places where 190-proof alcohol isn’t sold.
| Alcohol | Best For | Flavor | Availability |
|---|---|---|---|
| 190-proof Everclear | Traditional-style orangecello | Bright, clean citrus | Limited in some states |
| 100-proof vodka | Strong homemade batches | Smooth with good orange flavor | Easy |
| 80-proof vodka | Beginners | Mild and balanced | Widely available |
Why Simple Syrup Matters
Simple syrup isn’t there just to make the drink sweet. It also lowers the alcohol strength and helps create the smooth texture that homemade orangecello is known for.
Start with a lighter amount if you enjoy a stronger citrus bite. You can always stir in more syrup later, but it’s much harder to remove sweetness once it’s mixed in.
Easy Ingredient Swaps That Actually Work
| Original | Substitute | What Changes? | Recommended |
|---|---|---|---|
| Everclear | 100-proof vodka | Slightly softer orange flavor | Yes |
| Organic oranges | Well-scrubbed regular oranges | Very small flavor difference | Yes |
| White sugar | Cane sugar | Slightly deeper sweetness | Yes |
| Filtered water | Bottled water | Nearly identical results | Yes |
One swap I don’t recommend is using bottled orange juice instead of fresh peels. Almost all of the real orangecello flavor comes from the fragrant oils in the peel, not the juice.
How to Make Orangecello Recipe Step by Step
Making orangecello is mostly a waiting game. The hands-on work is quick, but giving the orange peels enough time to infuse is what creates a smooth, rich flavor. Don’t rush it. The extra days are worth it.
1. Wash and Peel the Oranges
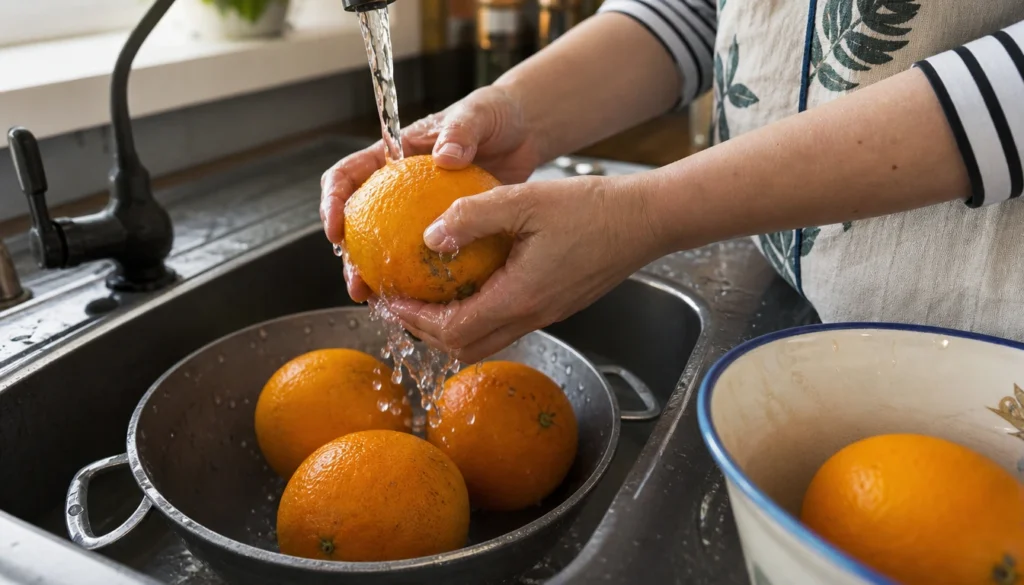
Wash each orange well with warm water. If the oranges are not organic, scrub them with a produce brush or produce wash to remove as much wax as possible.
Use a vegetable peeler to remove only the orange zest. Avoid the white pith. Your peels should look bright orange with very little white attached. This is the easiest way to keep the finished liqueur from becoming bitter.
2. Fill the Jar with Peels and Alcohol
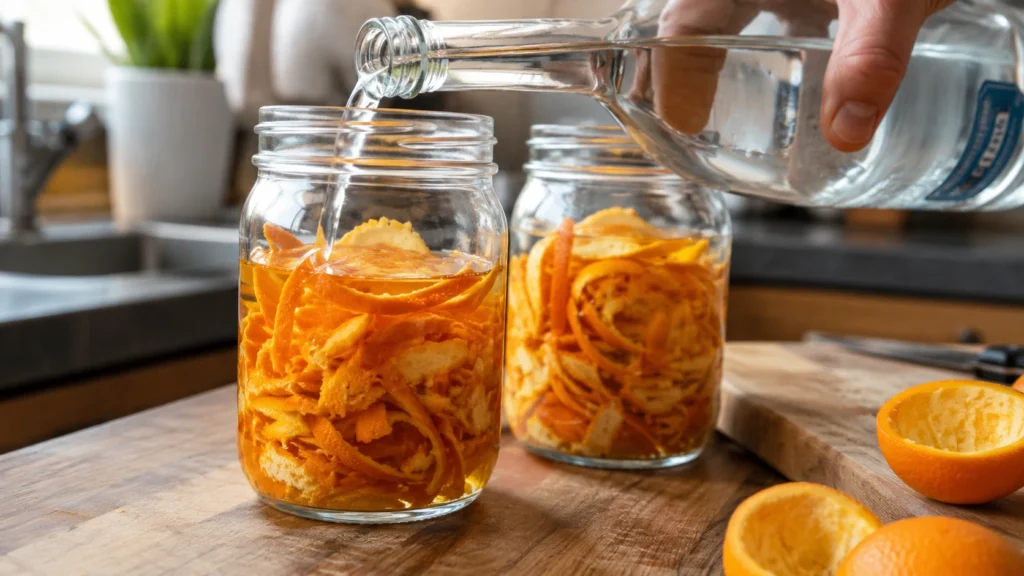
Place all the peels into a clean glass jar or divide them between two mason jars if needed. Pour in the alcohol until the peels are completely covered. Seal the jar tightly.
Visual cue: The liquid will still look clear, while the peels stay bright orange.
Why this matters: The alcohol slowly pulls the fragrant oils from the peel. Those oils create the fresh orange flavor.
3. Let the Peels Infuse
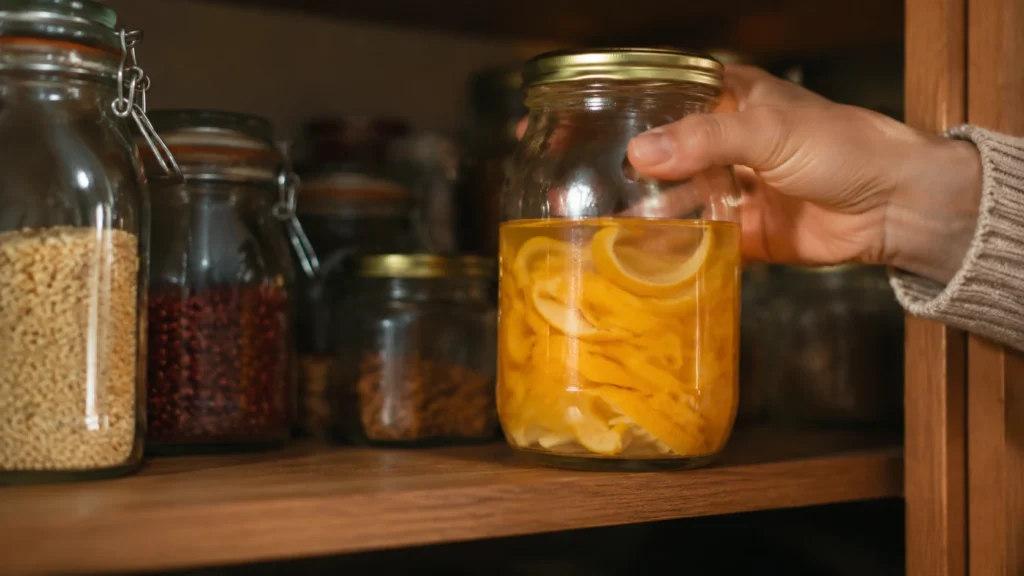
Store the jar in a cool, dark place like a pantry or cabinet. Leave it for 7 to 14 days, giving the jar a gentle shake every day or two.
Visual cue: The peels gradually fade from bright orange to pale yellow or almost white. The liquid becomes deep golden orange.
Why this matters: Once the peels lose most of their color, they’ve released most of their flavorful oils.
Time-saving tip: If you’re busy, set a reminder on your phone to shake the jar every other day. Missing a day won’t ruin the batch.
4. Strain the Orange Peels
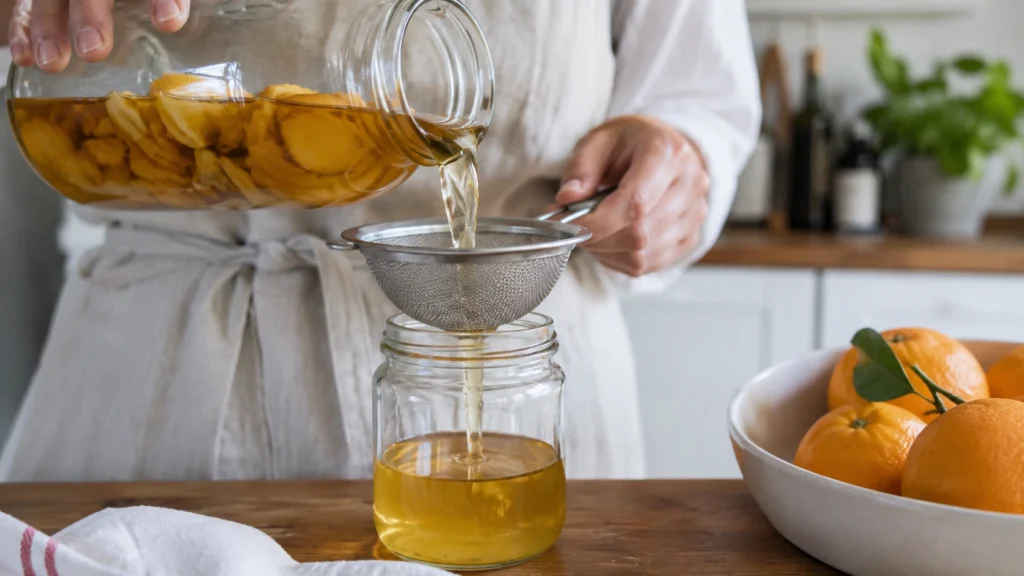
Pour the infused alcohol through a fine mesh strainer. For an extra-clear result, strain it a second time through cheesecloth or a coffee filter. Discard the peels once you’re done.
Visual cue: The liquid should smell intensely of fresh oranges without a harsh alcohol smell.
Why this matters: Removing the peels stops additional extraction, which helps prevent bitterness.
5. Make the Simple Syrup
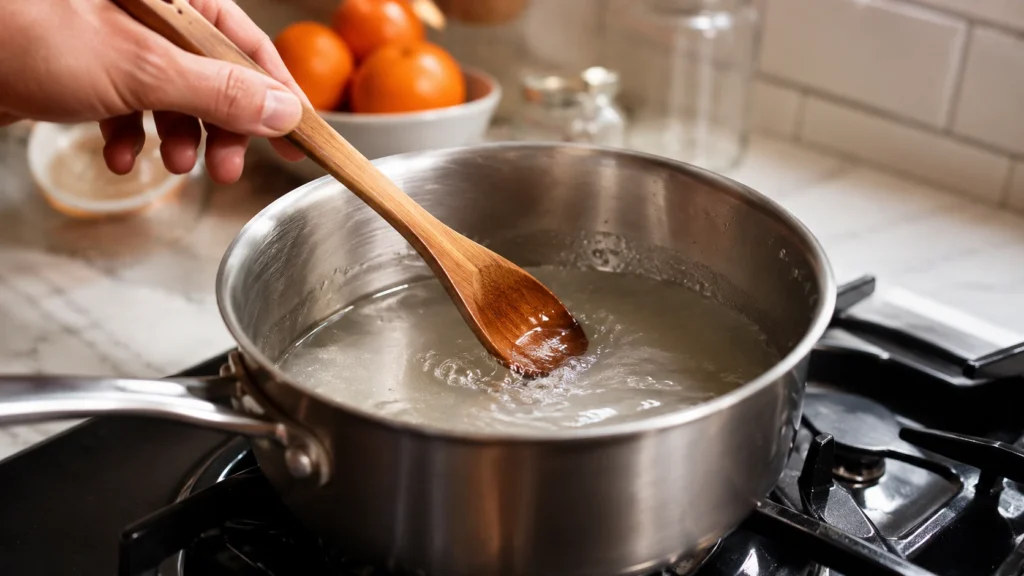
Combine the water and sugar in a saucepan over medium heat. Stir until the sugar completely dissolves. You don’t need a hard boil. Remove the pan from the heat and let the syrup cool to room temperature.
Visual cue: The syrup should be completely clear with no sugar crystals left on the bottom.
Why this matters: Adding hot syrup can dull some of the fresh citrus aroma.
6. Mix the Syrup with the Orange Alcohol
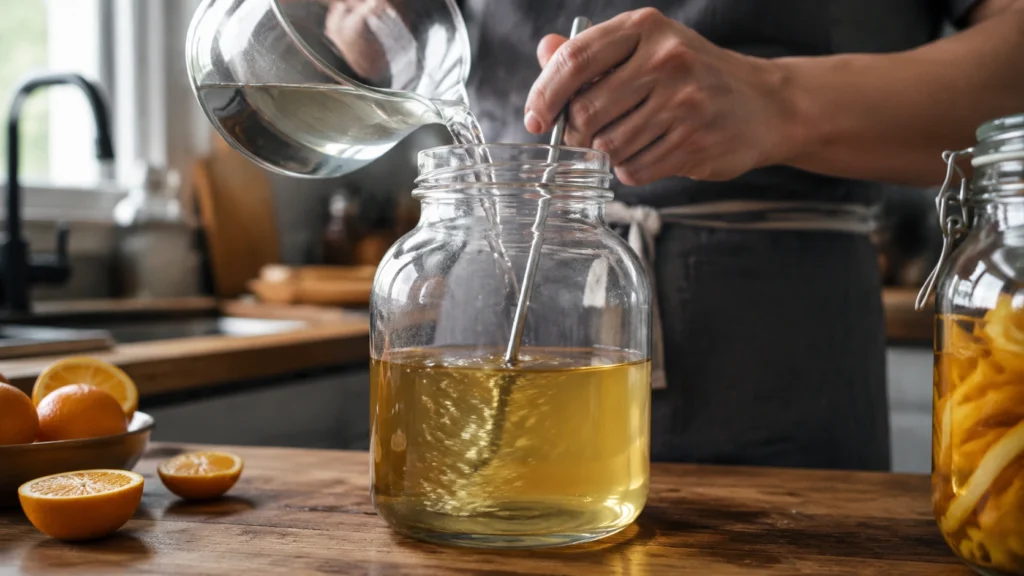
Slowly pour the cooled simple syrup into the infused alcohol while stirring gently. You’ll notice something interesting almost immediately.
Visual cue: The clear orange liquid turns slightly cloudy or milky. Don’t worry—that’s exactly what should happen.
Why this works: Orange oils dissolve easily in strong alcohol but not in water. When the syrup is added, those oils form tiny droplets throughout the drink. This natural process creates the soft, cloudy look that many people expect from homemade orangecello.
7. Taste Before Bottling
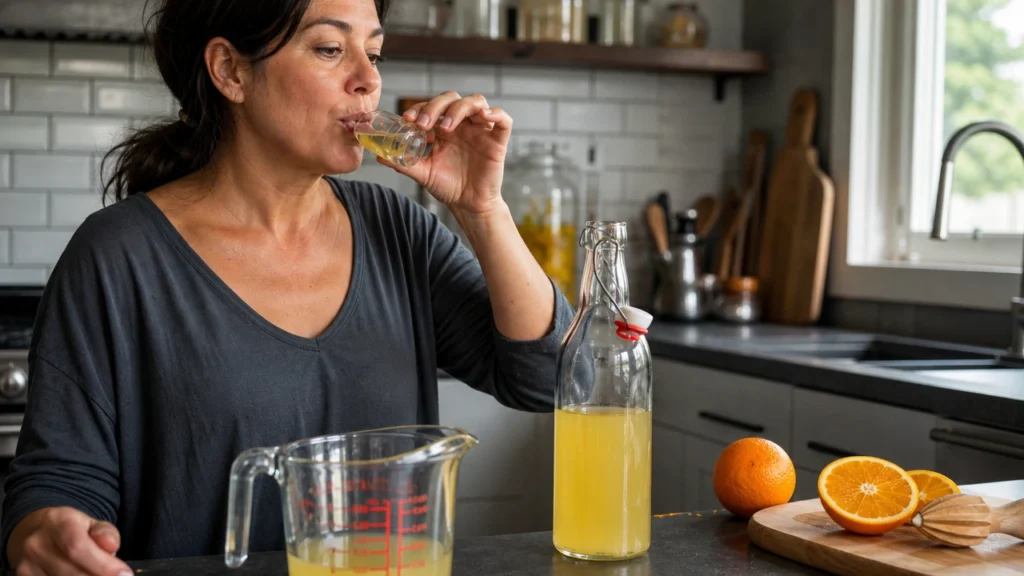
Take a small sip. If you’d like it sweeter, stir in a little more simple syrup. If you prefer a stronger orange flavor, leave it as it is.
This is your recipe, so adjust it to match your taste.
8. Bottle and Age
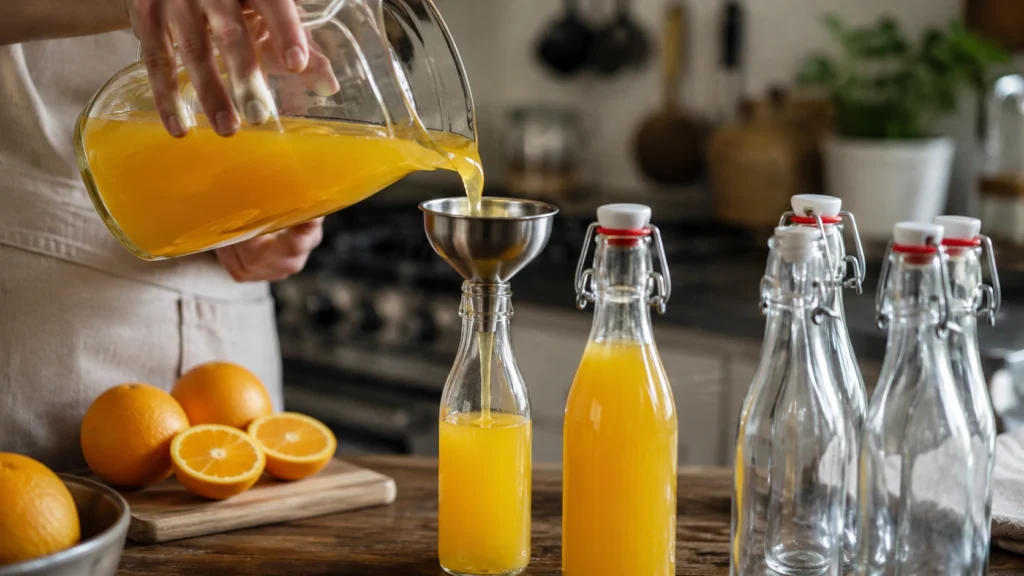
Use a funnel to pour the finished orangecello into clean glass bottles. Seal the bottles tightly and let them rest for at least two weeks before serving.
Visual cue: The flavor becomes smoother and the sharp alcohol edge fades during this resting time.
Why this matters: Aging allows the orange flavor, sweetness, and alcohol to blend together into a much more balanced liqueur.
9. Chill Before Serving
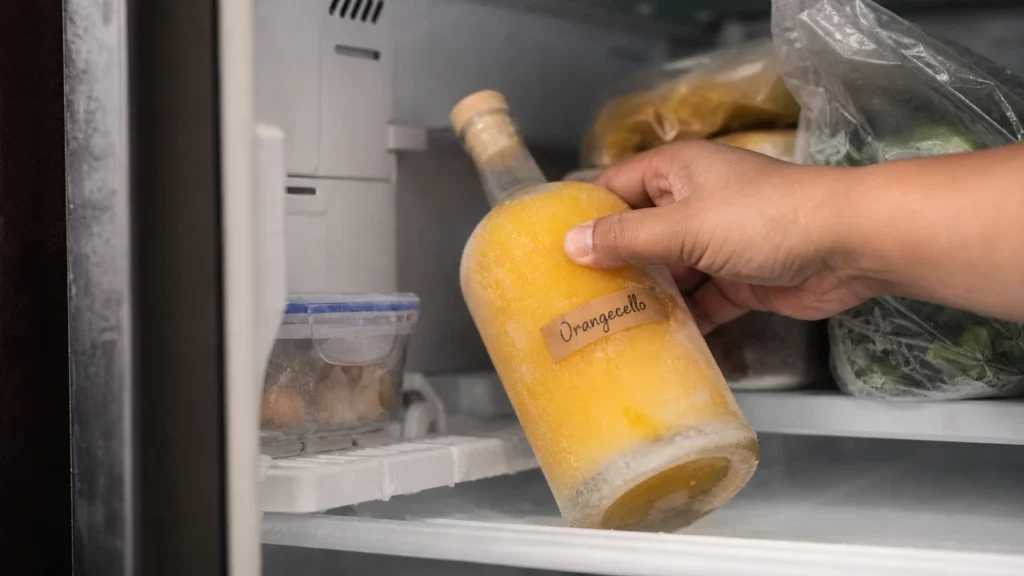
Place the bottle in the freezer for several hours before serving. A properly balanced batch becomes thick, silky, and ice cold but usually won’t freeze solid. Pour it into a small chilled glass and enjoy it on its own or use it in your favorite cocktail.
The Common Mistake That Ruins Orangecello
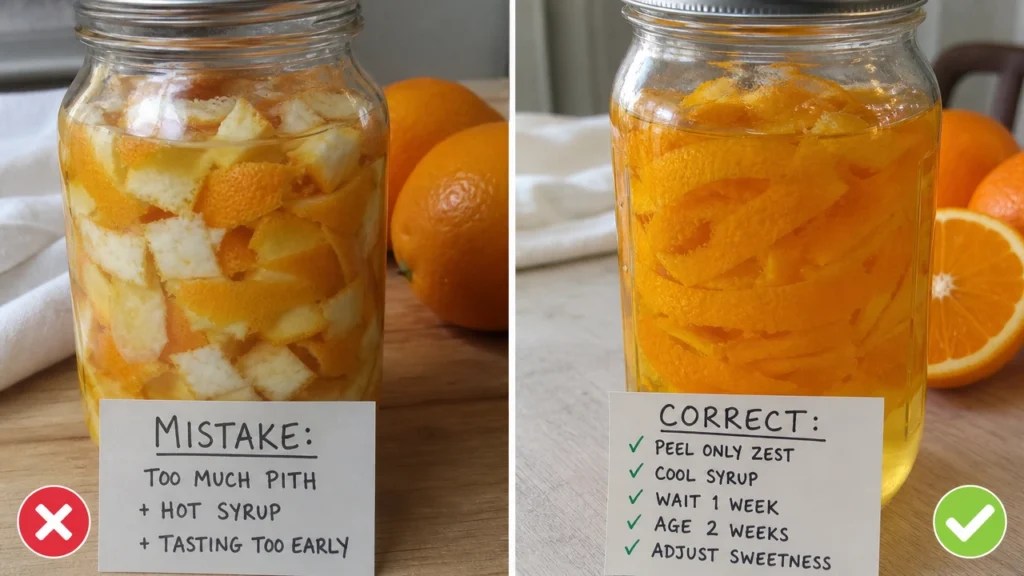
Most failed batches come down to one simple mistake: getting too much white pith in the jar.
The white layer under the peel contains bitter compounds. A little won’t ruin your batch, but thick strips of pith can leave the finished drink with a harsh aftertaste that no amount of sugar completely hides. Use a light touch with your vegetable peeler. If you notice thick white sections on the peel, trim them away with a small knife before adding them to the alcohol.
Another common mistake is using hot simple syrup. It may seem like a shortcut, but hot syrup can reduce some of the bright citrus aroma you’ve spent days extracting. Let the syrup cool completely before mixing.
The third mistake is tasting too early. Freshly mixed orangecello often tastes stronger than expected. Give it at least two weeks to rest. The flavor becomes smoother and more balanced with time.
Quick Tips for Better Results
- Peel only the orange zest, never the thick white pith.
- Let the syrup cool completely before mixing.
- Give the infusion enough time—at least one week.
- Age the finished bottles for two weeks if possible.
- Taste first, then adjust the sweetness little by little.
Pro Tip: The Small Step That Makes Orangecello Taste Better
Instead of pouring all the simple syrup into the alcohol at once, add about three-quarters of it first.
Stir well and taste the mixture. Then add more syrup a little at a time until the flavor feels balanced.
This works because oranges naturally vary in sweetness and oil content. One batch may need the full amount of syrup, while another tastes perfect with less. Small adjustments almost always produce a better homemade bottle.
Easy Variations You Can Try at Home
Once you’ve mastered the basic recipe, it’s fun to experiment with different flavors.
- Blood Orangecello: Use blood oranges for a deeper color and a richer citrus taste.
- Vanilla Orangecello: Add two split vanilla beans during the infusion for a smooth creamsicle-style flavor.
- Creamy Orangecello: Stir the finished liqueur into a sweet cream mixture for a dessert-style drink that should be stored in the refrigerator.
- Limoncello Blend: Replace half the orange peels with lemon peels for a bright citrus combination.
- Spiced Holiday Version: Add one cinnamon stick during aging for a warm winter flavor, then remove it before bottling.
- Lower-Sugar Version: Reduce the simple syrup slightly if you enjoy a stronger citrus flavor with less sweetness.
Love making kitchen staples from scratch? Browse our collection of homemade recipes for flavorful sauces, traditional dishes, baked favorites, and unique drinks you can easily make at home.
What to Serve With Orangecello for the Best Flavor
Orangecello is usually served after dinner, but it works in many more ways than most people realize. Its bright citrus flavor pairs well with creamy desserts, simple pastries, and even a few savory bites. Serve it ice cold in a small glass so the orange aroma stays fresh.
- Cheesecake – The creamy filling balances the sweet citrus flavor beautifully.
- Vanilla ice cream – Pour a small splash over a scoop for an easy grown-up dessert.
- Chocolate cake – Dark chocolate and orange are a classic match.
- Fresh berries and whipped cream – A light dessert that lets the orangecello shine.
- A cheese board – Mild cheeses, toasted nuts, and crackers make a great evening pairing.
If you’re planning a cozy dinner, pair your homemade orangecello with our Mamaliga Recipe. This traditional cornmeal dish has a creamy, comforting texture that goes beautifully with hearty meats, rich stews, or roasted vegetables.
My Honest Experience Making This Recipe
The first batch I made looked perfect, but it tasted a little bitter. I peeled the oranges too deeply and didn’t realize how much of the white pith I had collected.
The next time, I slowed down and used a lighter touch with the vegetable peeler. The difference surprised me. The orange flavor became cleaner, sweeter, and much smoother without changing anything else.
Another thing I learned was patience. Freshly mixed orangecello always seemed a little sharp on day one. After two weeks in the bottle, it tasted like a completely different drink. Now I always make it well before I plan to serve it.
How to Store Orangecello the Right Way
Homemade orangecello keeps well because of its alcohol content, but proper storage helps preserve its fresh orange flavor.
Keep the bottles tightly sealed and away from direct sunlight while they age. Once they’re ready, I like storing them in the freezer so they’re always perfectly chilled for serving.
One thing many recipes don’t explain is that the final alcohol strength affects how your orangecello behaves in the freezer. A stronger batch stays silky and pourable. If you add too much water or syrup, it may become slushy or even freeze.
Storage Guide
| Storage Method | How Long | Notes |
|---|---|---|
| Room temperature | During infusion only | Store in a cool, dark place |
| Refrigerator | 6–12 months | Good if freezer space is limited |
| Freezer | Up to 2 years | Best texture and serving temperature |
Use clean, airtight glass bottles for the longest shelf life.
Why Alcohol Strength Changes Freezer Storage
This is one area where many recipes leave readers guessing.
| Estimated Final ABV | Freezer Result | Best Storage |
|---|---|---|
| Around 40% | Stays liquid and silky | Freezer |
| Around 30–35% | Slightly thicker | Freezer |
| Around 20–25% | May become slushy | Refrigerator or freezer |
| Below 20% | Can partially freeze | Refrigerator recommended |
The exact alcohol percentage depends on the proof of the alcohol you start with and how much simple syrup you add.
Everclear vs. Vodka: Which Should You Use?
This is probably the biggest question new makers ask.
| Feature | Everclear (190 Proof) | Vodka (80–100 Proof) |
|---|---|---|
| Orange flavor | Very bright | Softer |
| Oil extraction | Excellent | Very good |
| Aging time | Slightly shorter | Slightly longer |
| Availability | Limited in some places | Easy to find |
| Cost | Usually higher | Often lower |
| Beginner friendly | Medium | Excellent |
If 190-proof grain alcohol isn’t available where you live, don’t worry. A good-quality vodka still produces excellent homemade orangecello.
Troubleshooting: Why Did My Orangecello Turn Out Like This?
Almost every homemade batch can be fixed. Here are the problems I see most often.
My Orangecello Is Bitter
This usually happens when too much white pith was peeled with the zest.
If the bitterness is mild, stir in a little more simple syrup and let the bottle rest for another week. If it’s still too bitter, use it in cakes, sauces, or cocktails where other flavors help balance it.
My Orangecello Is Clear Instead of Cloudy
A clear batch is not necessarily bad.
Cloudiness appears when the orange oils mix with water from the simple syrup. If your recipe uses less syrup or weaker alcohol, the change may be less noticeable.
As long as it smells fresh and tastes good, the drink is perfectly fine.
My Orangecello Is Too Strong
This usually means the alcohol hasn’t been diluted enough.
Add a little more cooled simple syrup, stir well, and taste again. Make small adjustments instead of adding a large amount at once.
My Orangecello Is Too Sweet
This is much harder to fix after the syrup has been added.
Mixing in a small amount of reserved orange alcohol, if you still have some, can help restore balance. Otherwise, use the sweeter batch in mixed drinks where the extra sweetness works well.
My Bottle Froze Solid
This usually means the finished alcohol level is lower than expected.
Move the bottle to the refrigerator until it softens. For future batches, reduce the amount of water or syrup slightly if you plan to keep it in the freezer.
I Only Have Regular Oranges
That’s completely fine.
Wash them carefully with warm water and scrub away as much wax as possible before peeling. Fresh fruit is much more important than finding a specific variety.
Frequently Asked Questions About Orangecello Recipe
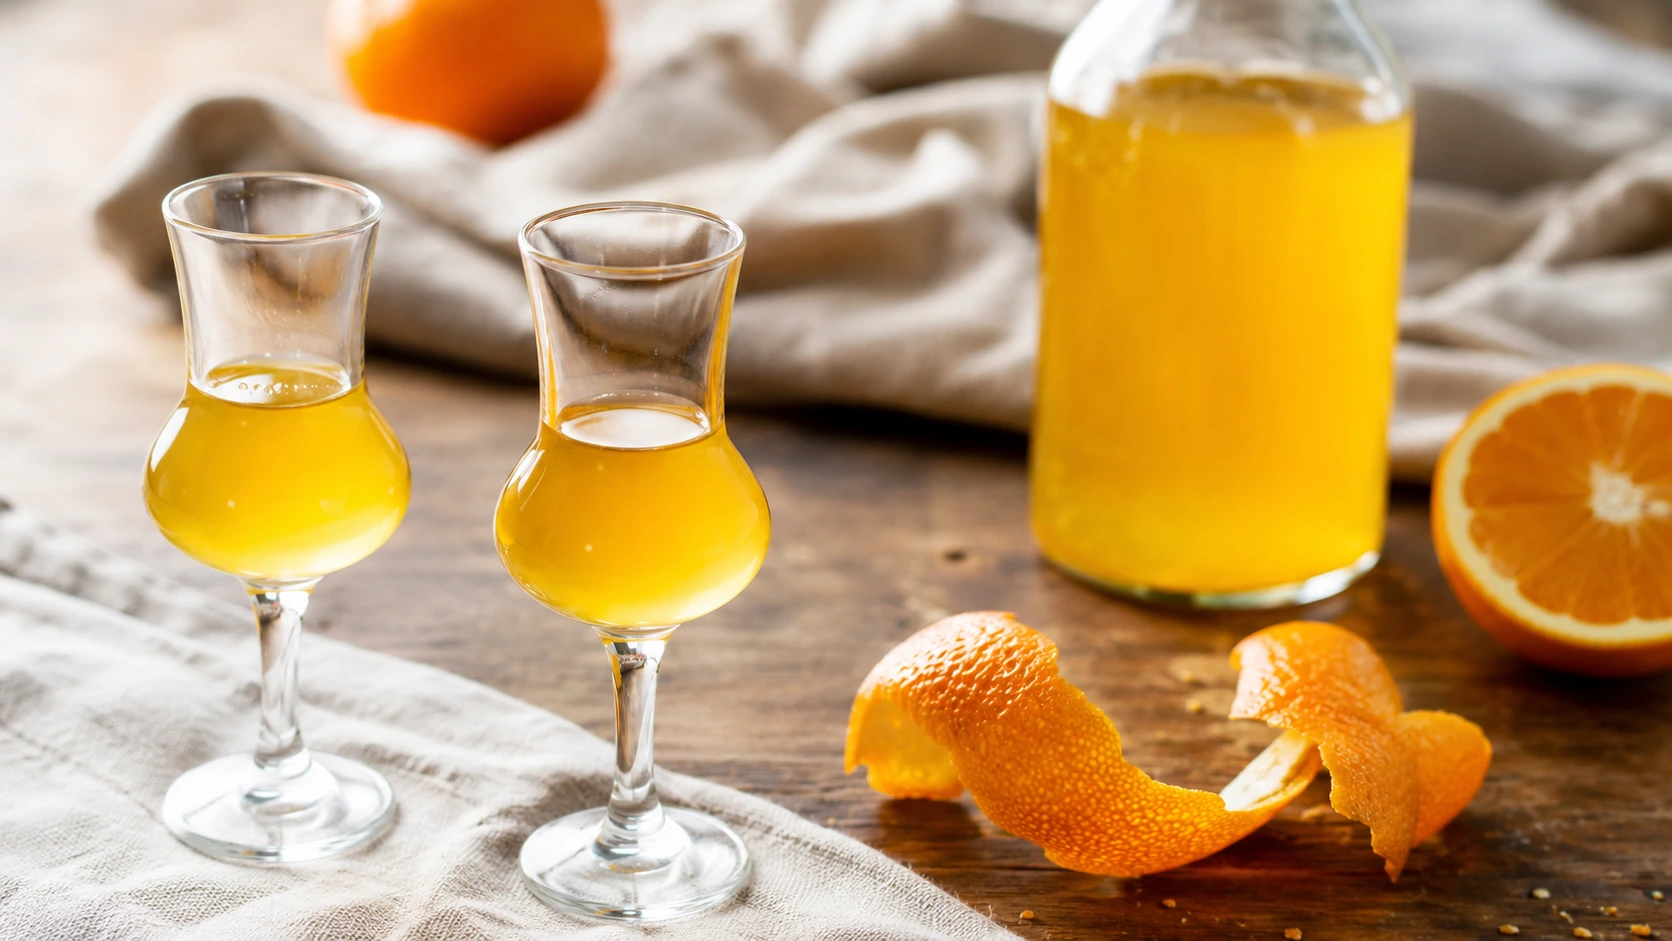
Orangecello Recipe
Ingredients
Equipment
Method
- Wash the oranges well and peel off only the bright orange zest, avoiding the white pith to prevent bitterness.
- Place the peels into clean mason jars and pour the alcohol over them until fully covered. Seal tightly.
- Store the jars in a cool, dark place for 7–10 days, shaking gently every day or two. The peels will fade while the liquid turns a rich orange.
- Strain the infused alcohol through a fine mesh strainer into a clean bowl. Discard the peels.
- In a medium saucepan, combine the water and sugar. Heat over medium until the sugar completely dissolves, then let the syrup cool to room temperature.
- Slowly stir the cooled syrup into the infused alcohol. The mixture will become slightly cloudy as the orange oils blend with the water.
- Taste the orangecello and adjust the sweetness with a little extra syrup if desired.
- Pour into clean bottles using a funnel. Seal tightly and let the bottles age for at least 2 weeks before serving.
- Chill in the freezer for several hours before serving. The finished liqueur should pour smoothly with a bright citrus aroma.
Notes
- Peel only the colored zest—too much white pith will make the liqueur bitter.
- Always cool the simple syrup completely before mixing it with the infused alcohol.
- Let the bottled orangecello rest for at least two weeks for the smoothest flavor.
Final Thoughts on Orangecello Recipe
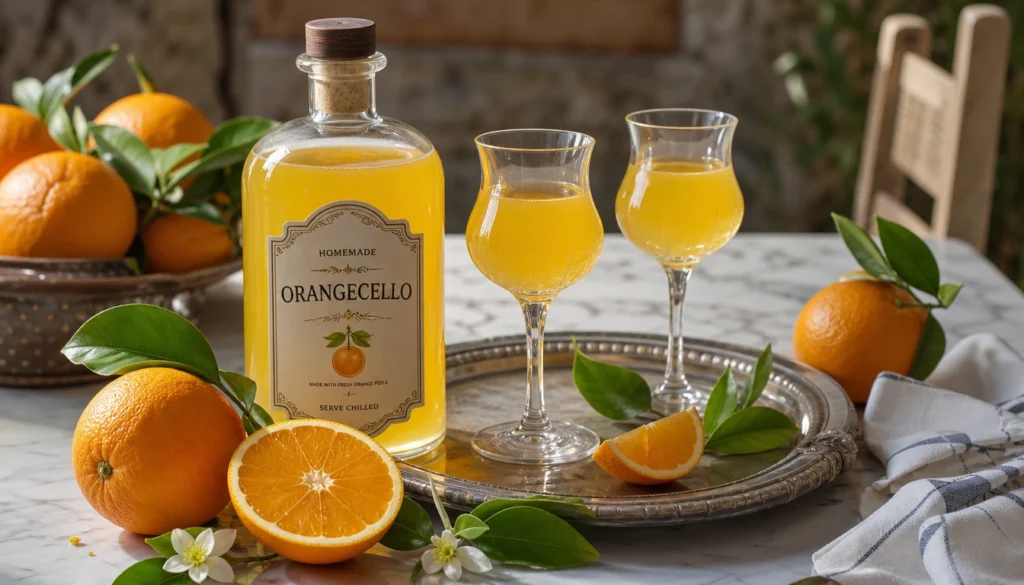
A homemade Orangecello Recipe is one of those projects that rewards patience more than hard work. The ingredient list is short, the steps are simple, and most of the time is spent letting the orange peels slowly infuse. When you pour that first chilled glass, you’ll understand why so many people make a fresh batch every citrus season.
The best part is that you can easily make it your own. Adjust the sweetness, experiment with blood oranges or vanilla, or mix it into your favorite cocktails. Once you’ve made one successful batch, the process becomes surprisingly easy.
If you enjoy making flavorful recipes from scratch, don’t stop here. Our Chimichurri Recipe is another simple homemade favorite. This vibrant Argentine herb sauce is packed with fresh parsley, garlic, olive oil, and vinegar, making it the perfect companion for grilled steak, chicken, seafood, roasted vegetables, and crusty bread.